
Vegan Red Velvet Whoopie PIes
Dive into the world of plant-based indulgence with our Vegan Red Velvet Whoopie Pies. Easy to make, delightful to devour. These treats include cocoa-infused cake-like cookies sandwiched with a tangy vegan cream cheese filling.
Servings 20 whoopie pies
Calories 316kcal
Equipment
Ingredients
- ¾ cup plant-based milk
- 1 tablespoon apple cider vinegar
- 1 flax egg
- 3 cups all-purpose flour
- 4 tablespoons unsweetened cocoa powder (natural, not dutch-process)
- 1 teaspoon salt
- 1 ½ teaspoons baking soda
- 2 tablespoons cornstarch
- ½ cup vegan butter
- 1 cup granulated sugar
- ⅓ cup brown sugar
- 2 teaspoons vanilla extract
- 2 tablespoons red food coloring (see note)
Vegan Cream Cheese Filling
- ½ cup vegetable shortening (such as Cristco)
- ½ cup vegan butter
- 2 teaspoons apple cider vinegar
- ¾ teaspoon lemon juice
- 3 cups powdered sugar
- ¼ teaspoon salt
- 3 to 4 tablespoons vegan creamer (vanilla flavored)
Instructions
- Preheat oven to 350°F/175°C. Line parchment paper on two cookie sheets.
- Vegan Buttermilk: Make the vegan buttermilk by combining plant-based milk with apple cider vinegar. Stir and set aside.
- Vegan Egg: Prepare the flax egg by combining ground flax seeds with water. Stir and set aside.
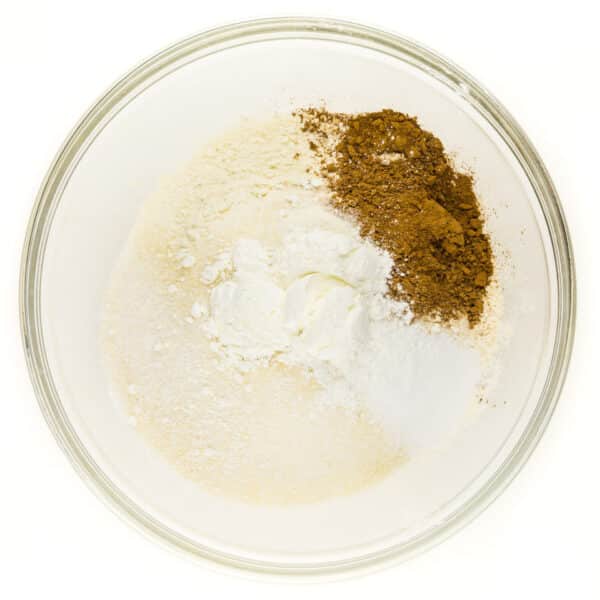
- Dry Ingredients: Combine in a large mixing bowl the flour, cocoa, salt, baking soda, and cornstarch. Stir to combine.
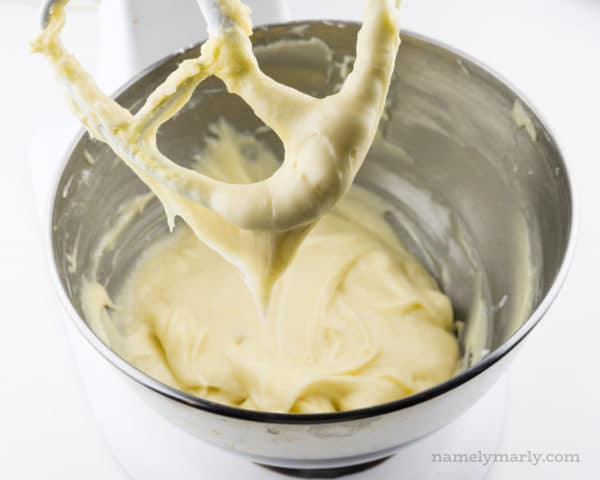
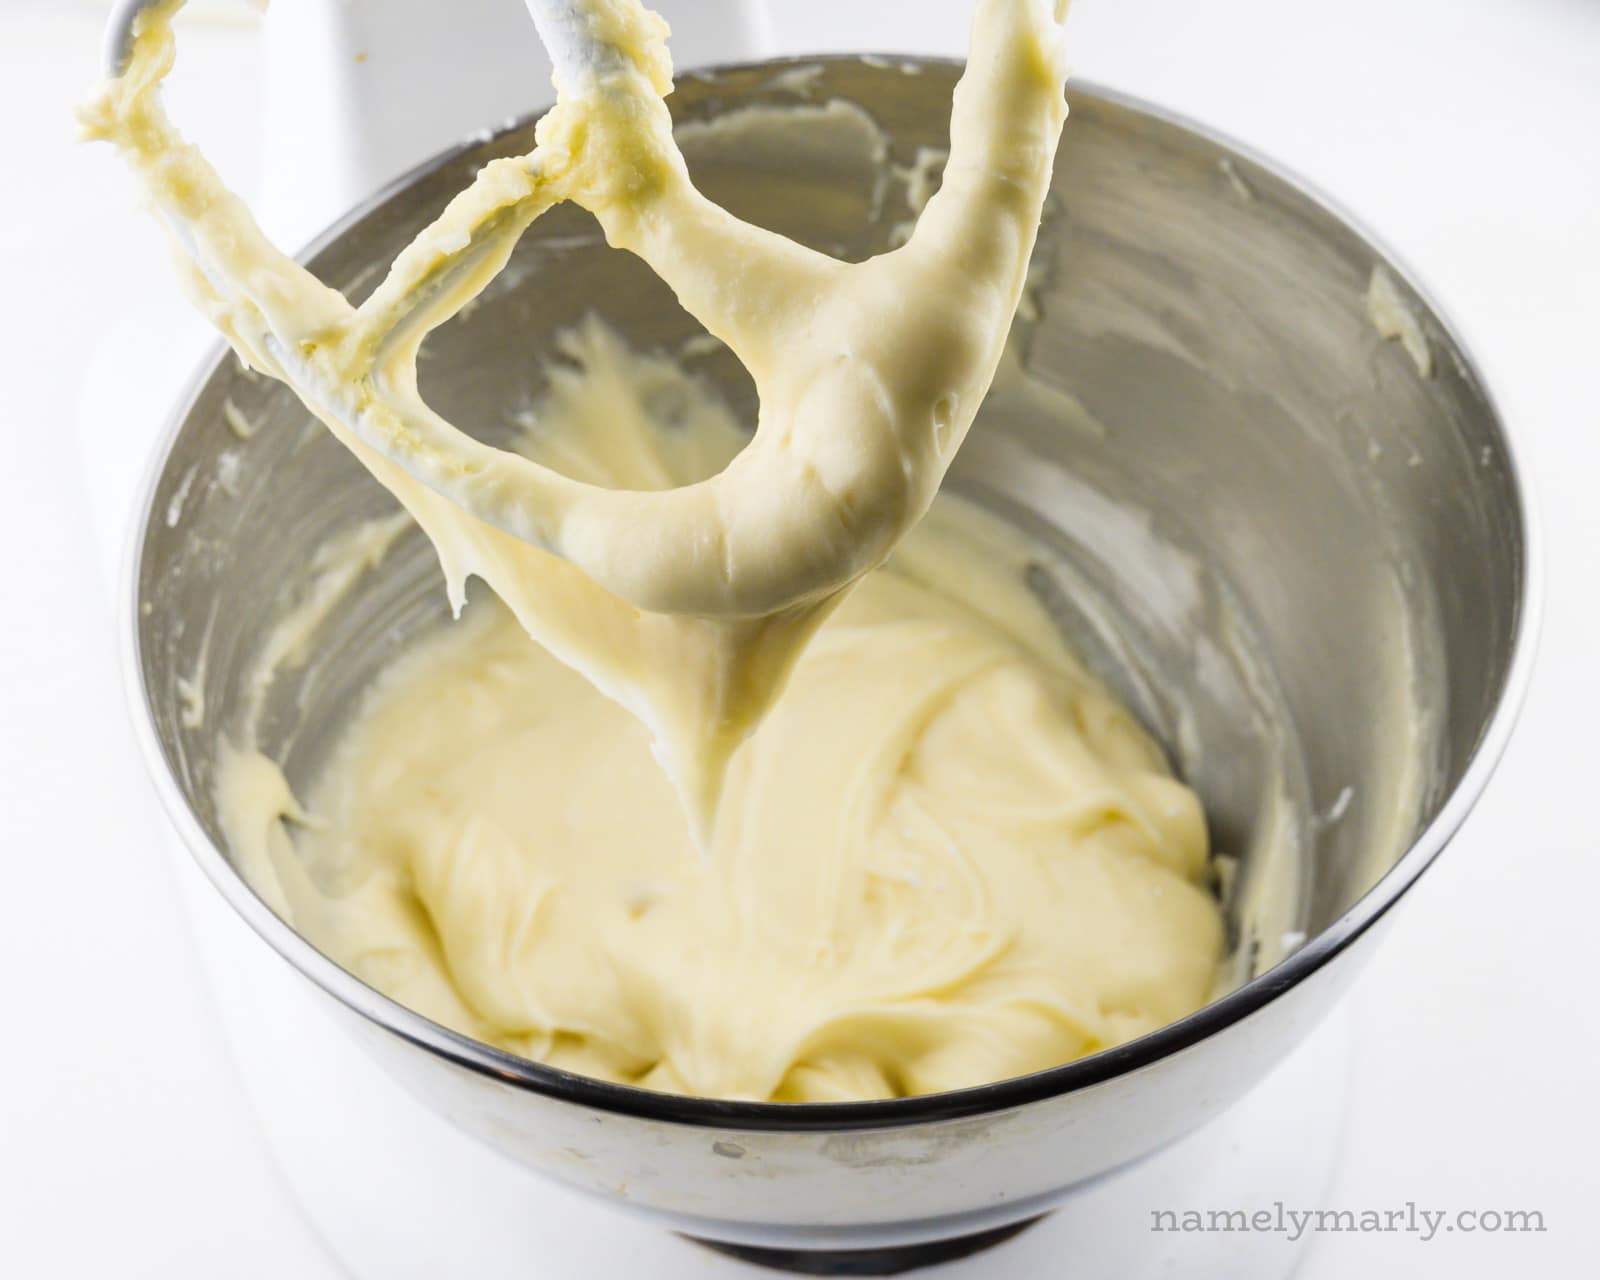
- Whipped Butter: In a mixing bowl beat the butter until light and fluffy. Add the sugars and beat again until fluffy and light. Beat in vanilla, flax egg, and red food coloring.
- Making the Batter: Beat in about a third of the vegan buttermilk with the batter. Then beat in around half of the flour mixture.

- Repeat, by beating in a third of the buttermilk, followed by half of the remaining flour. Finish by beating in the final third of the buttermilk.

- Bake: Use a cookie scoop (or a 1/8 measuring cup) to make even scoops on the prepared pans, spacing them about 2 inches in between each. This should make around 40 cookies. Bake for 9 to 11 minutes. The little cakes should spring back when you gently press it with your finger.
- Cool the cookies on the pan for 3 minutes, then transfer to a wire rack to cool completely.


Vegan Cream Cheese Frosting
- Cream together the vegan butter and vegetable shortening in a mixing bowl using either a handheld mixer or a stand mixer with the paddle attachment. Cream for 1–2 minutes until light and fluffy. Add the vinegar and lemon juice and mix again for another minute.
- In a bowl combine the powdered sugar and salt. Whisk to combine. Add this to the butter mixture and mix on low until mostly combined, scraping down the sides of the bowl as needed. Add the vegan creamer, one tablespoon at a time, mixing in between each addition. Continue until you get a smooth, spreadable consistency.
Whoopie Pie Assembly
- Use a cookie scoop to distribute a dollop of filling onto the flat side of one of the cakes. Top with the flat side of another cake, gently pressing them together to showcase the filling all around the whoopie pie. Repeat with remaining cookies.
- Sprinkle powdered sugar on top for a festive look.
- Store the whoopie pies in an airtight container in the fridge for up to 5 days. They can be frozen in a freezer-safe container for up to 2 months.
Notes
- Make-Ahead Tips: After layers are baked, cool them completely, and cover in an airtight container. They can be stored overnight at room temperature. You can also prepare the frosting the day before. Simply store in the fridge in an airtight container. Be sure to let it sit at room temperature for about 15 to 20 minutes before frosting the cake.
- Food Coloring: For this vibrant red cake, I used 2 tablespoons of red food coloring. If you have gel, use 2 to 3 teaspoons. However, you don't have to use any food coloring at all (the cake won't be red, but will still taste great) or see post tips for natural options.
- Sheet Cake: If you prefer a sheet cake over a layered cake, pour batter into a 9x13" cake pan or 12x17" sheet pan. Bake at the same oven temperature for 40–45 minutes for the 9x13" pan or 20 to 25 minutes for the 12x17" pan. Use a tester to test for doneness.
Nutrition
Calories: 316kcal | Carbohydrates: 48g | Protein: 2g | Fat: 13g | Saturated Fat: 3g | Polyunsaturated Fat: 4g | Monounsaturated Fat: 5g | Trans Fat: 1g | Sodium: 308mg | Potassium: 61mg | Fiber: 1g | Sugar: 32g | Vitamin A: 451IU | Vitamin C: 0.1mg | Calcium: 19mg | Iron: 1mg