Vegan Red Velvet Whoopie Pies
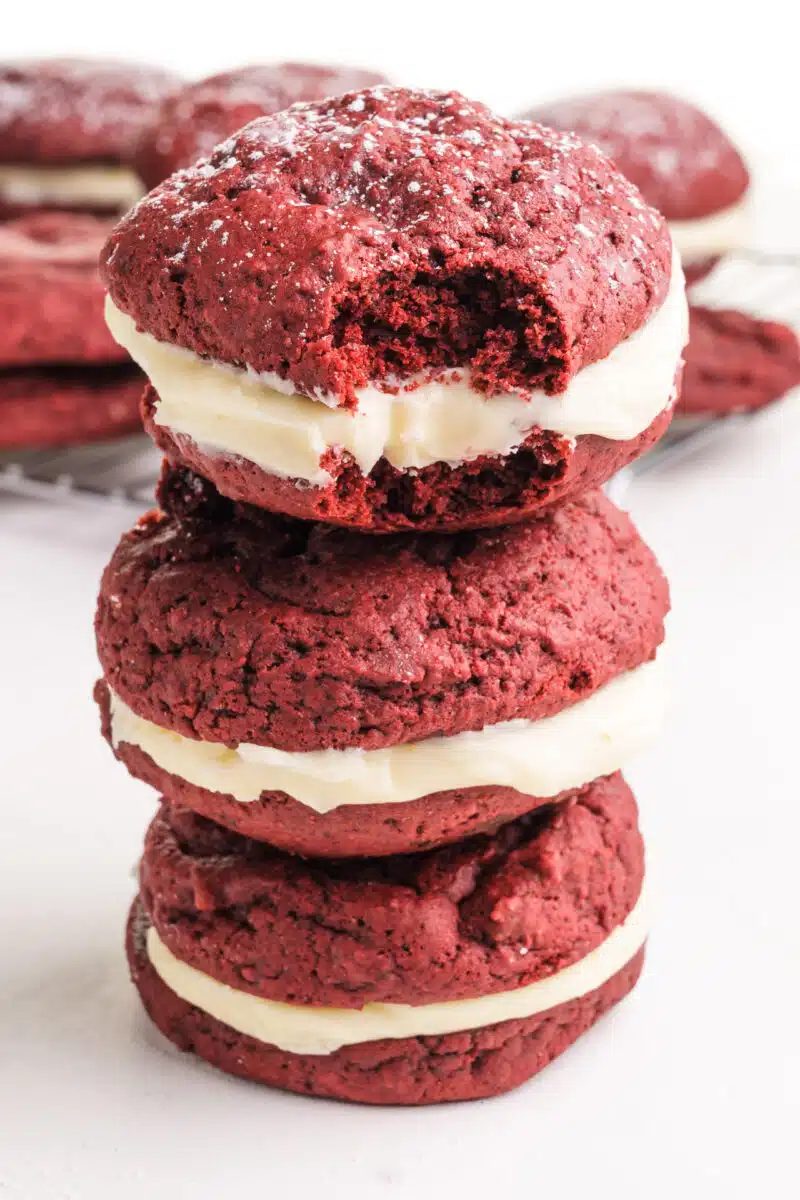
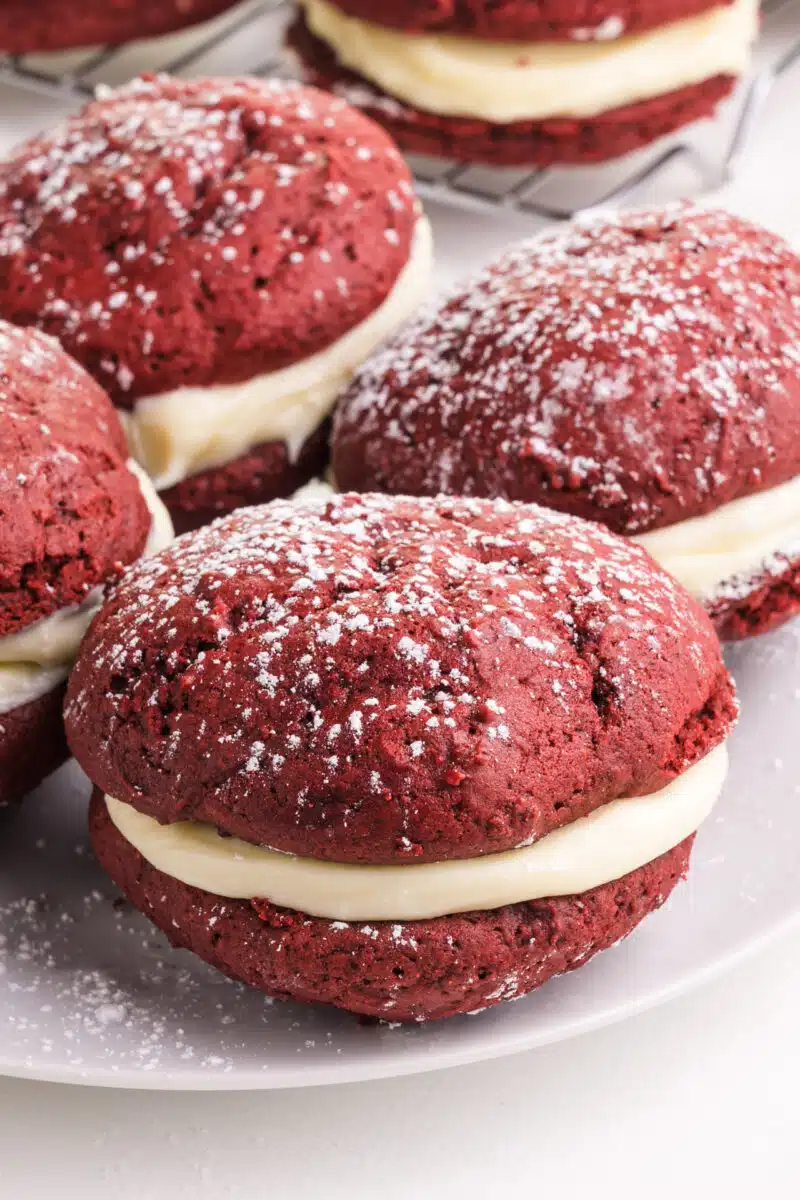
These Vegan Red Velvet Whoopie Pies will satisfy your sweet tooth thanks to soft cocoa cookies with a luscious cream cheese filling. These little sweet treats are stunning to serve on a dessert table, but they’re delicious, too!

I love being the one to deliver that absolutely delicious dessert treat. Whether it’s taking dessert to a party (hello, book reading club!), delivering goodies to a neighbor, or hosting a family get-together. I like having that dessert treat that people can’t refuse!
These vegan red velvet whoopie pies are more than a mouthful to say, they’re a satisfying treat, too!
What is a Whoopie Pie?
A whoopie pie is a classic American dessert that consists of two soft, cake-like cookies sandwiched together with a creamy filling.
The cookies are typically round and can vary in flavor, with popular choices including chocolate, vanilla, and red velvet. I’ve even made some vegan gingerbread whoopie pies that are pretty delicious!
You’ll most often see a creamy mixture for the filling. It can be made with ingredients like marshmallow fluff or some other kind of cream.
Whoopie pies are known for their handheld, sandwich-like form, making them a convenient and delightful treat. They originated in the northeastern United States and have become a beloved dessert around the globe!
Whoopie Pie Ingredients
You can find the full printable recipe, including ingredient quantities, below. But first, here are some explanations of ingredients and steps to help you make this recipe perfect every time.
Here are the ingredients you’ll need for this recipe, including substitution ideas:
- Milk — Use your favorite plant-based milk, although I prefer using soy milk because it’s affordable and has a higher protein content. That means it interacts well with the vinegar to create more flavor. Learn more about making DIY dairy-free buttermilk.
- Vinegar — I used apple cider vinegar, but you can substitute white vinegar.
- Egg substitute — A simple flax egg will do the trick here.
- Flour — All-purpose flour works perfectly for this recipe.
- Cocoa powder — I recommend using natural cocoa powder, not dutch-process. Why? Because we want the chocolate flavor without the dark color that dutch-processed cocoa powder adds.
- Salt — You know the drill — a bit of salt enhances the other flavors in this recipe.
- Baking soda — We need a chemical reaction with the vinegar and baking soda is the perfect ingredient to do that! This ensures soft and tender cake-like cookies.
- Cornstarch — I like adding a bit of cornstarch to soften the proteins in the flour and help create a cohesive cookie. Are whoopie pies cookies or cakes? They’re a little bit of both!
- Fat — For the fat I prefer using for the cookies is vegan butter and I use the type that is formulated for baking, such as Earth Balance sticks. You can substitute coconut oil. We’ll use a combination of vegan butter and vegetable shortening for the creamy filling.
- Sugar — We’ll use both granulated and light brown sugar for the cookies. Then, we’ll use powdered sugar for the filling.
- Vanilla — Red Velvet is both cocoa and vanilla flavors combined. So, we’re using 2 teaspoons of vanilla extract. Want more vanilla flavor? Boost this up to a tablespoon.
- Color — Yes, we will be using red food coloring to get that bright red color in the cookies. See the recipe card notes below for other options, such as food coloring gel.
- Lemon juice — To make the filling good and tangy, I like adding both vinegar and lemon juice. Fresh lemon juice is best, but bottled will work in a pinch.
- Creamer — I like using vegan creamer (vanilla flavored) for the filling/frosting. However, you can always substitute plant-based milk.
How to Make Red Velvet Whoopie Pies
- Stir together plant-based milk with apple cider vinegar and set aside
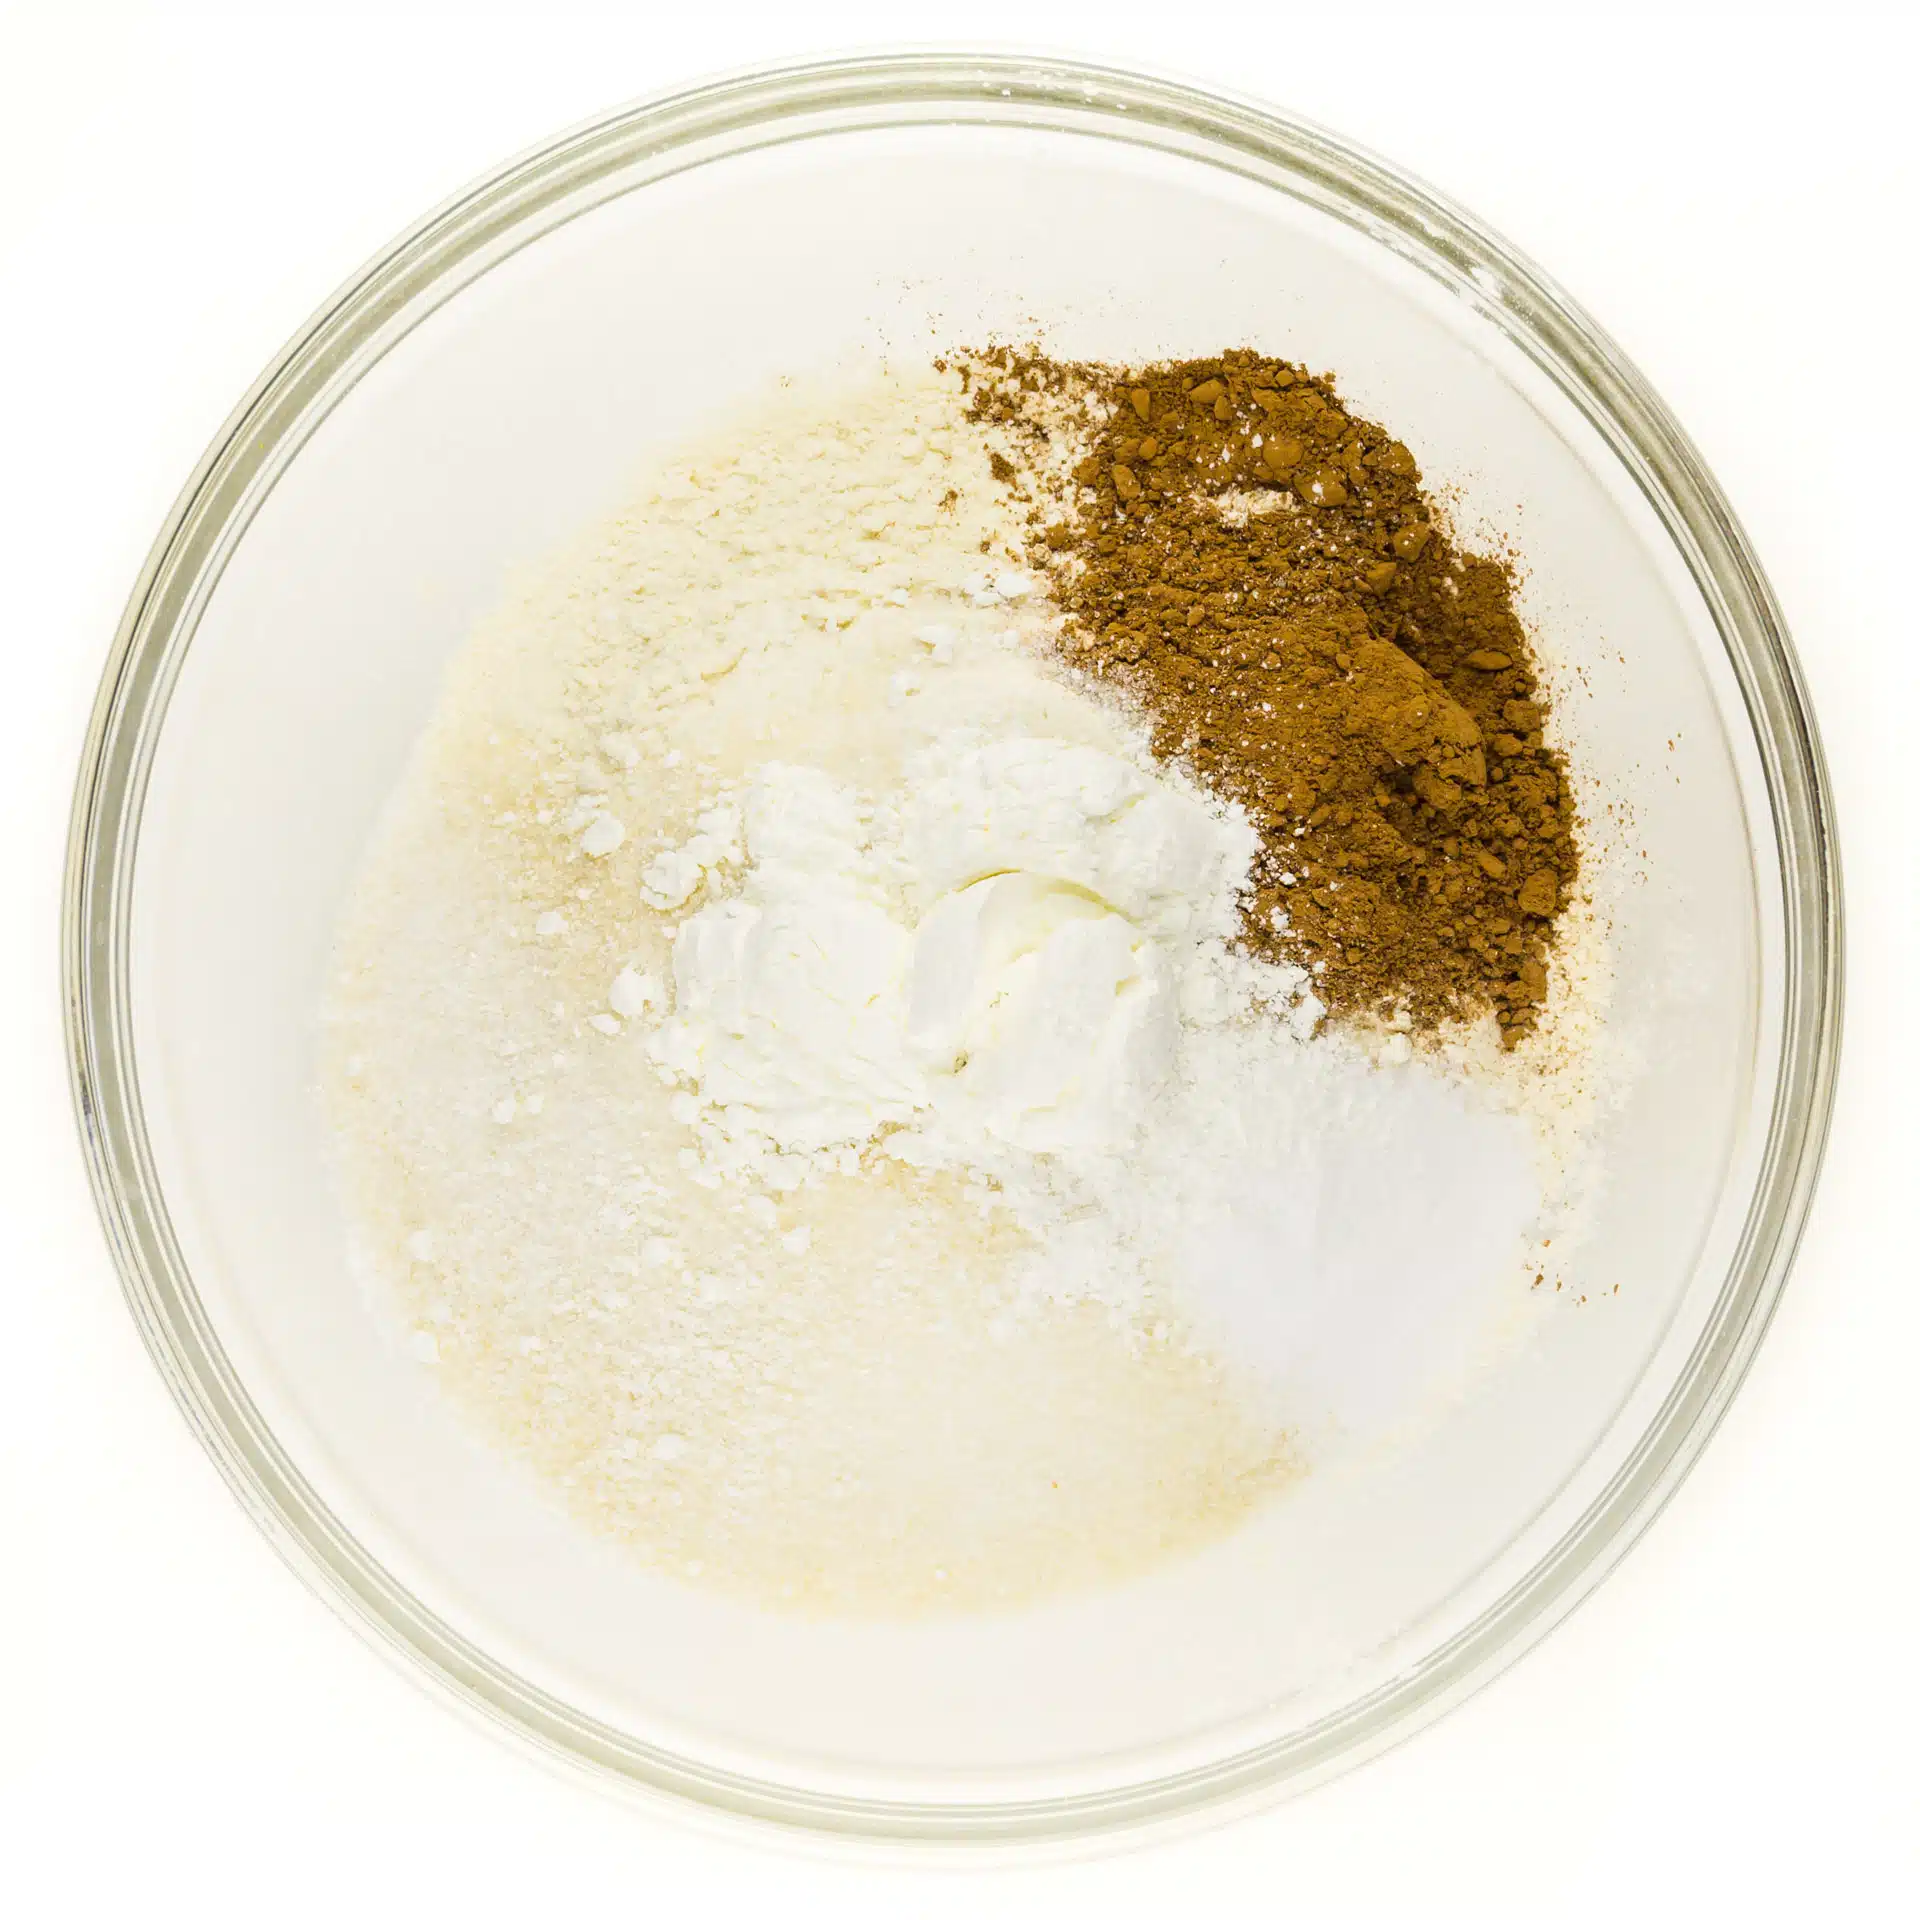
- Combine the dry ingredients from the flour to the salt.
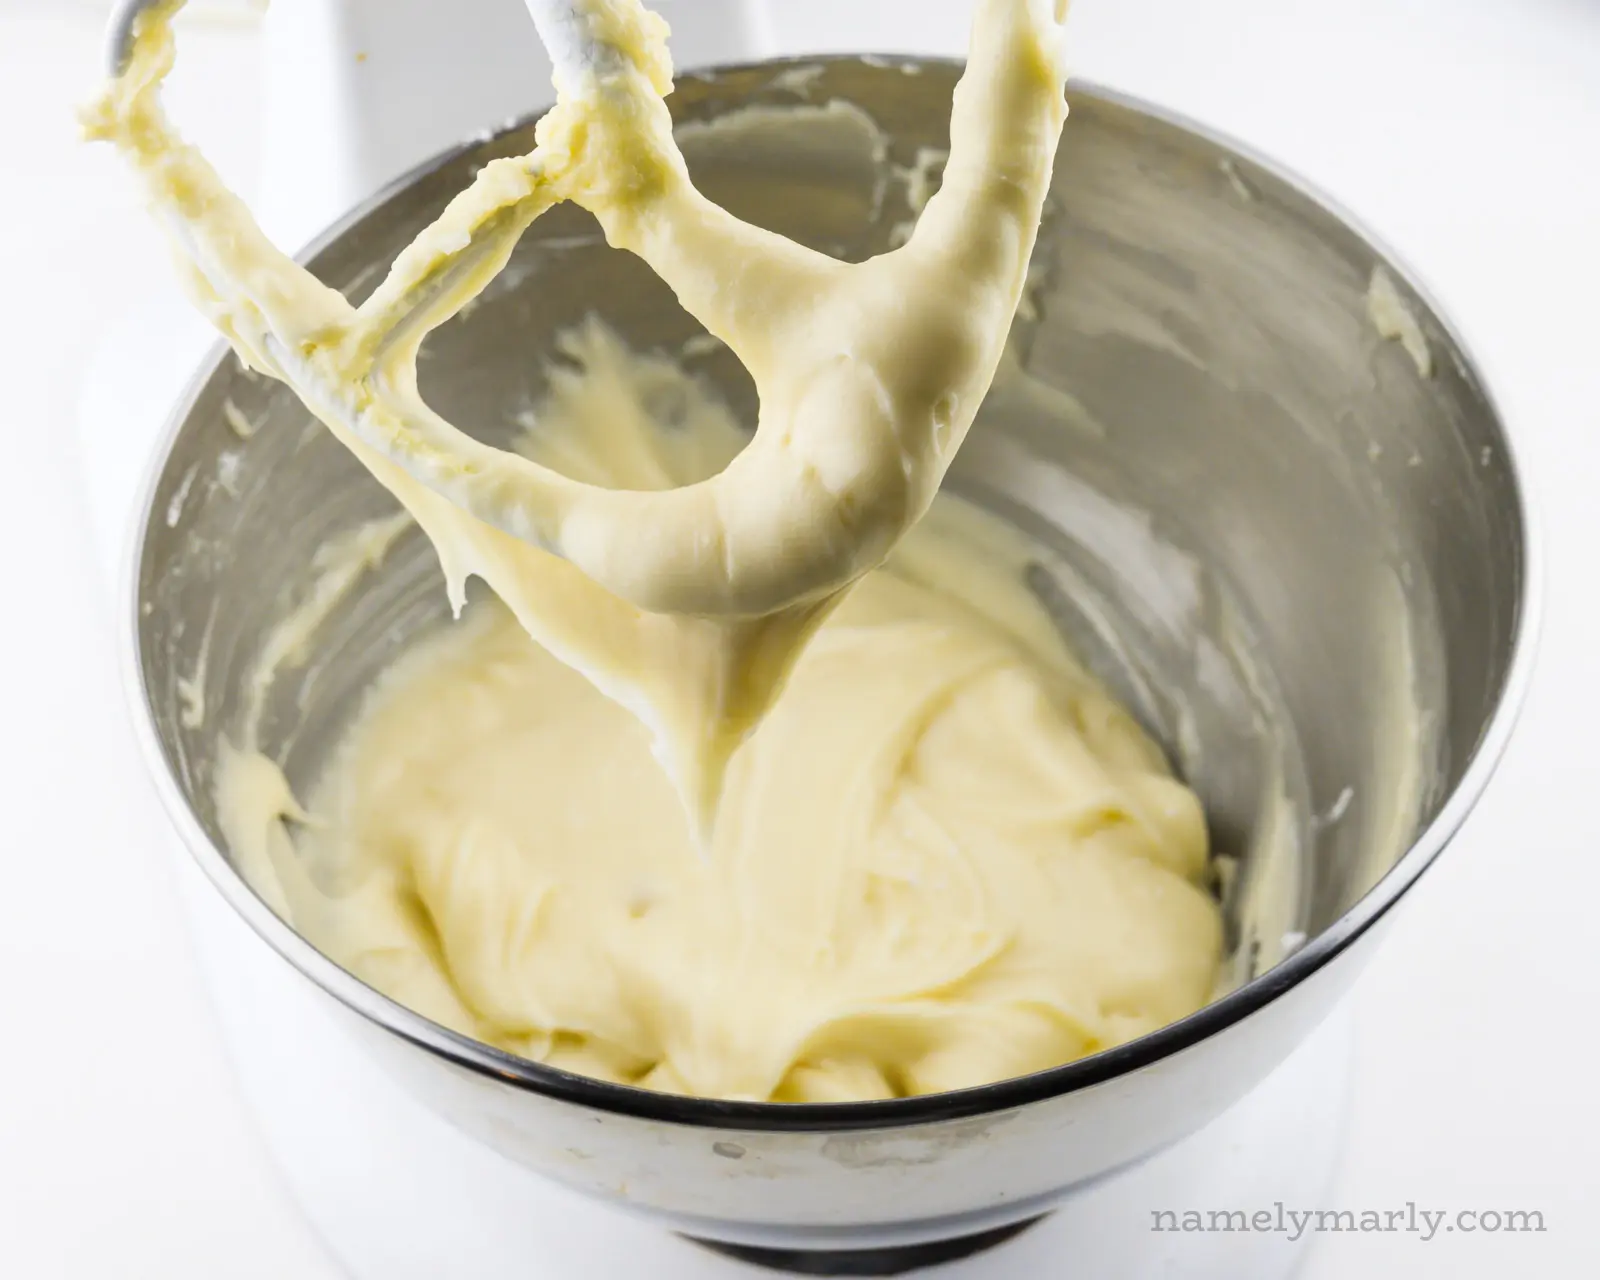
- Beat the butter until light and fluffy.
- Add the sugars and beat again until fluffy and light.
- Beat in vanilla and red food coloring.
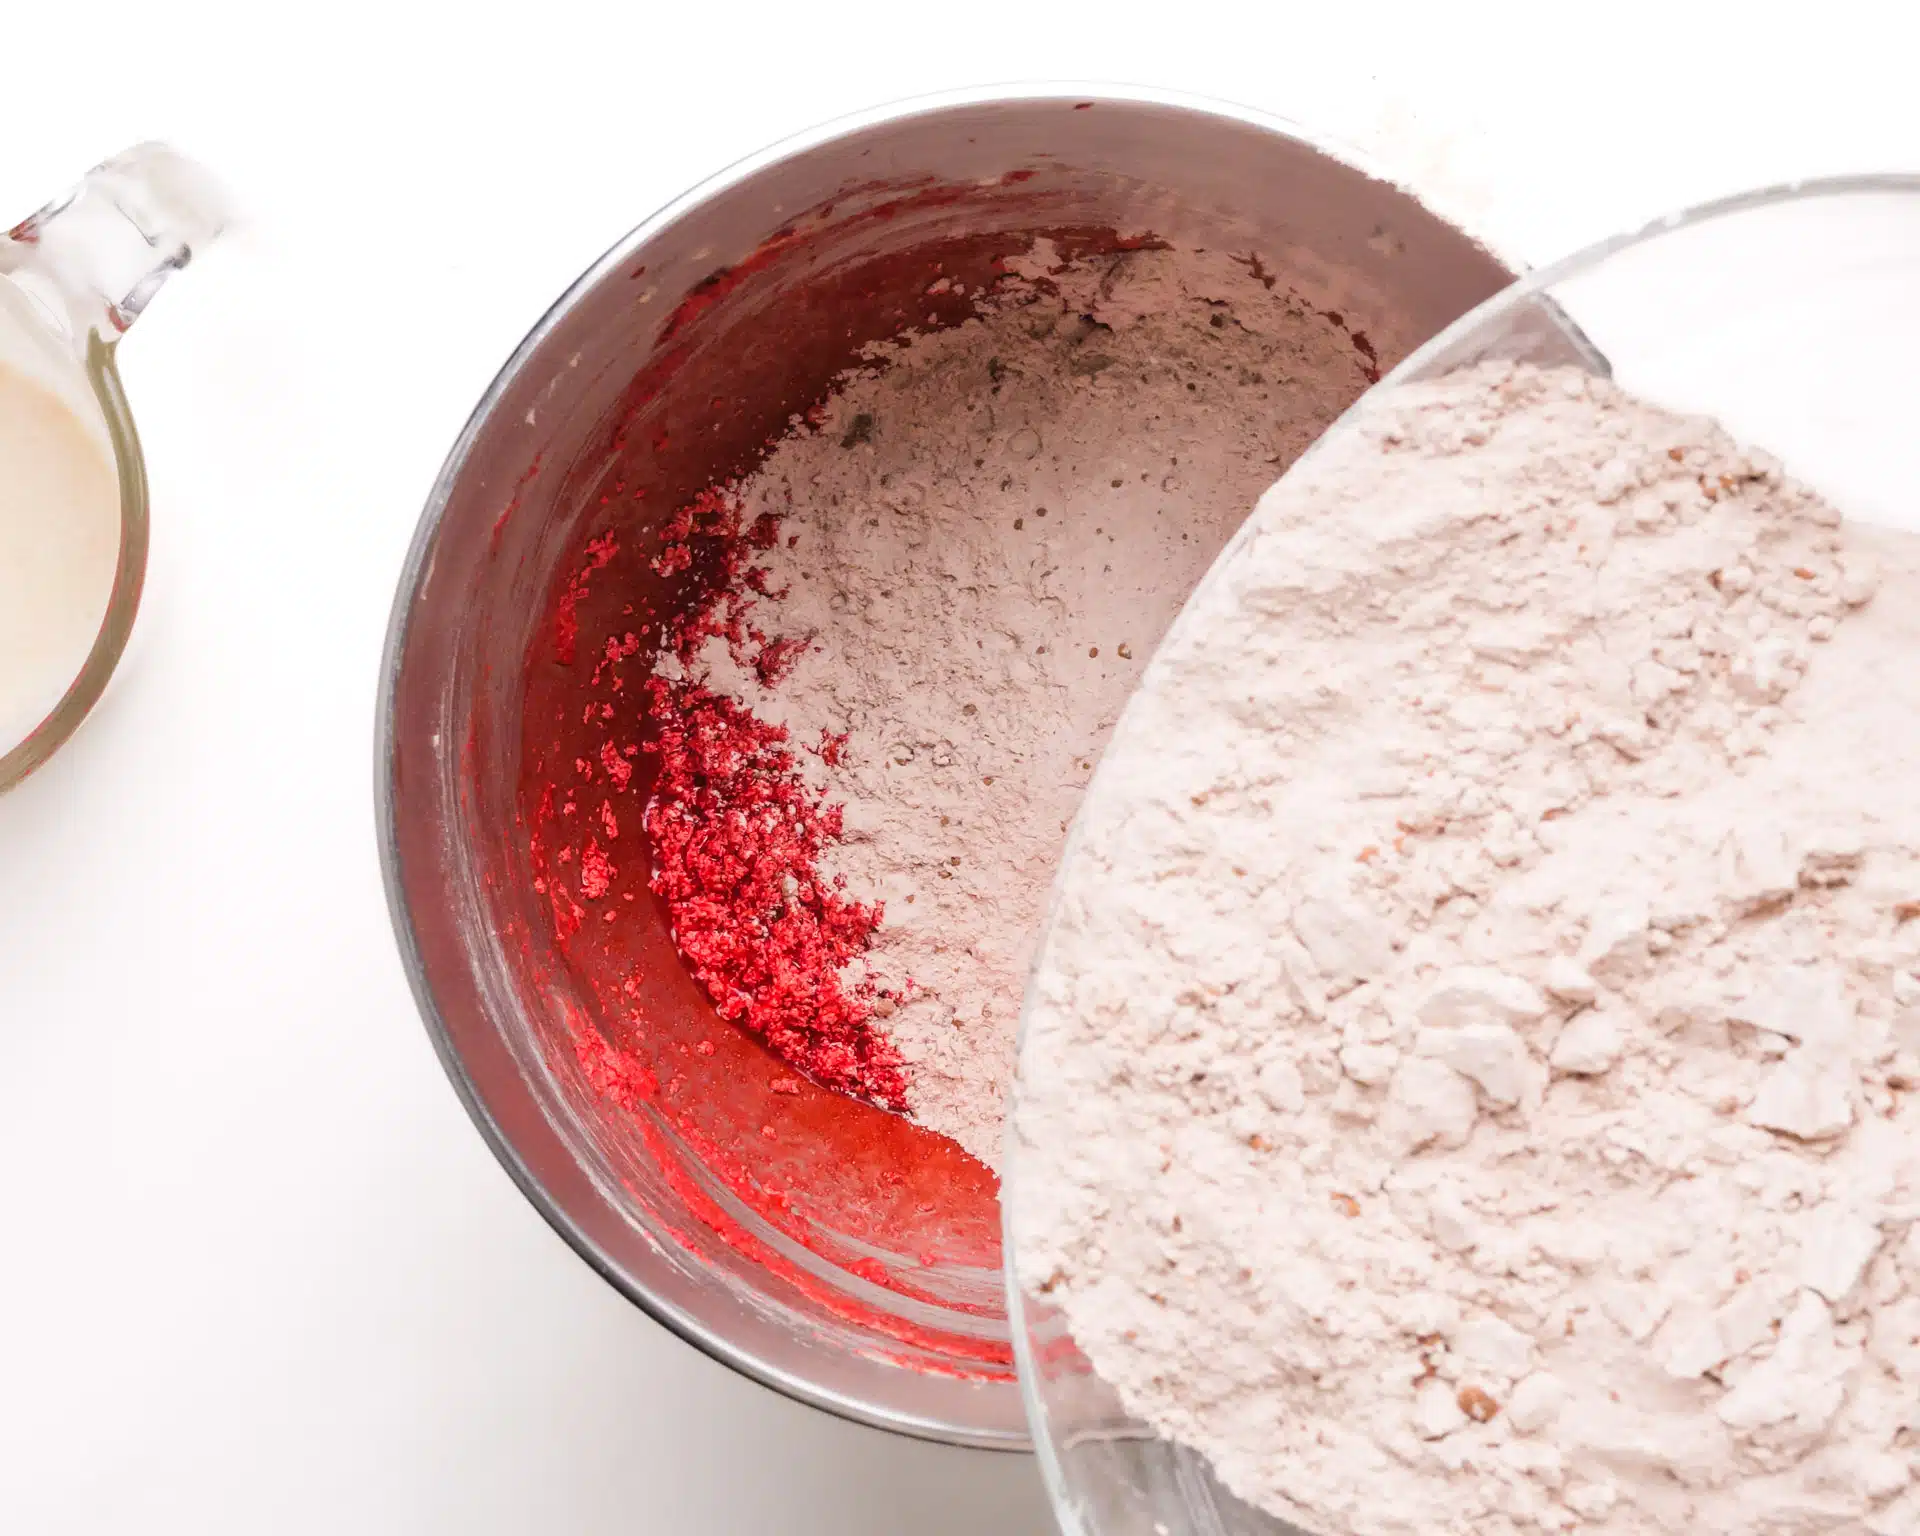
- Beat in a third of the vegan buttermilk followed by half of the flour.
- Repeat #6 and end with a third of the buttermilk.
- Distribute the dough onto prepared cookie sheets and bake.
- Cool the cookies on the pan for a few minutes, then transfer to a wire rack to cool completely.
- Make the filling.
- Top the flat side of a cookie with filling and sandwich with another cookie.
- Repeat with the remaining cookies and filling.
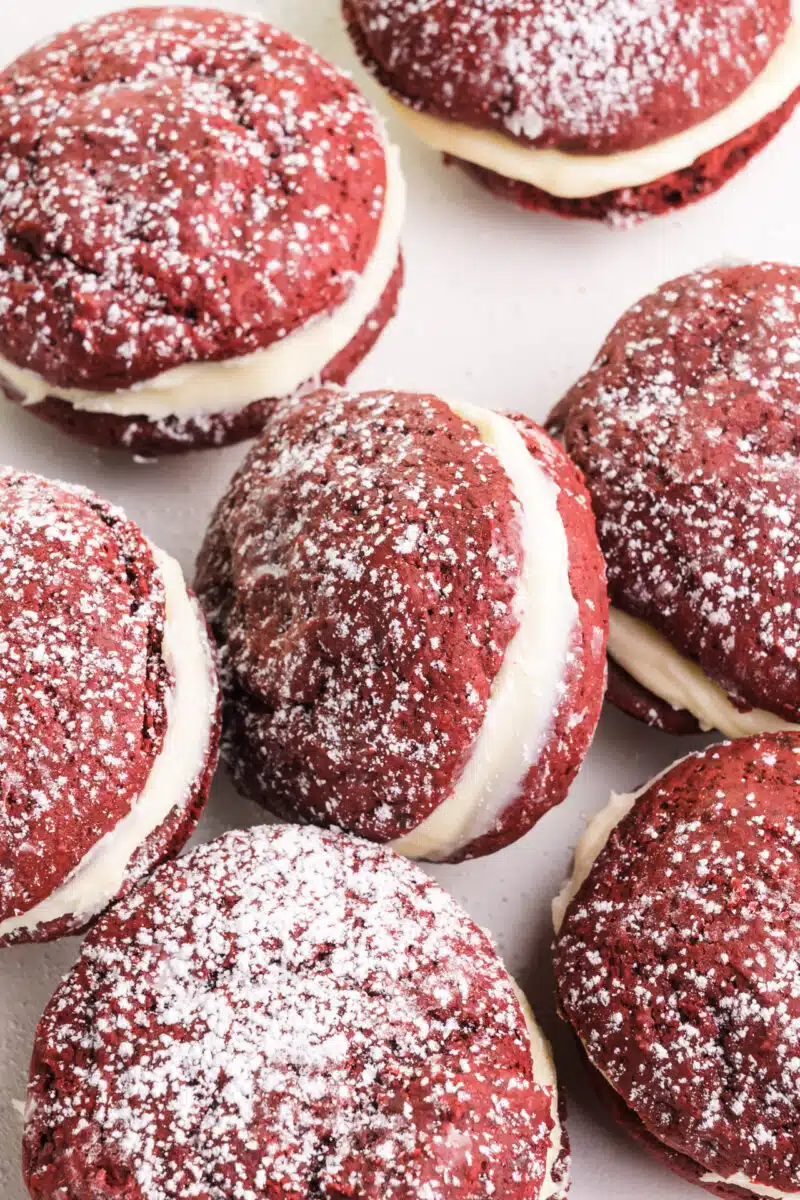
- Sprinkle powdered sugar on top for a festive look.
What Makes This Recipe Shine?
- HARMONIOUS FLAVOR — Create a taste sensation with the rich cocoa flavor in the soft, red velvet cookies combined with the luscious creaminess of the vegan cream cheese filling.
- ELEGANT — These whoopie pies bring an air of elegance to any occasion without the hassle. Impress your guests or treat yourself to a decadent dessert.
- VERSATILE — Get creative with add-ins and toppings to make special occasions and everyday sweet cravings even better.
Frequently-Asked Questions
Can I make these whoopie pies in advance?
Absolutely! These whoopie pies store well in an airtight container in the refrigerator for up to three days. You can also freeze them for longer storage.
Can I substitute the beetroot puree for the food coloring?
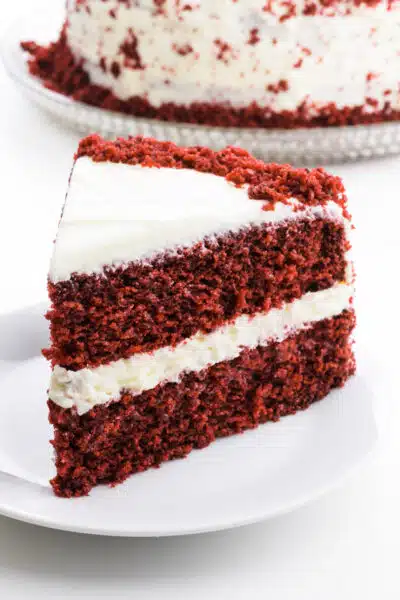
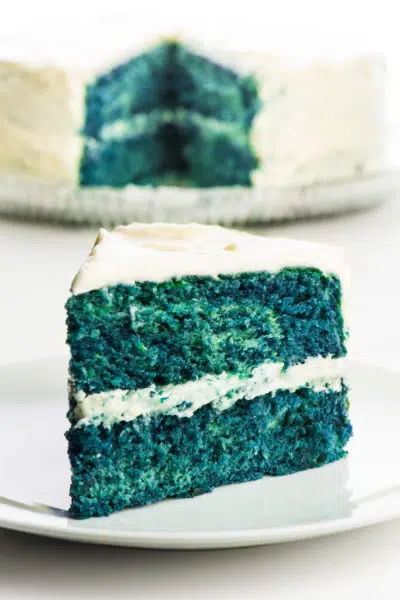
You can substitute beetroot puree for red food coloring, however, be prepared for the color to be less vibrant and less red. In addition, it can impact the texture of the baked goods, too. I talk more about natural food coloring options in my vegan red velvet cake recipe.
Serving Suggestions
Your Red Velvet Whoopie Pies deliver amazing flavor on their own, but why not make them even better with some tasty sides?
Whether you’re hosting a gathering or simply indulging in a cozy evening treat, here are some perfect pairings to complement the rich and luscious goodness of your whoopie pies:
- Ice Cream — Take your dessert game to the next level by serving your Red Velvet Whoopie Pies with a scoop of your favorite dairy-free vanilla ice cream.
- Berries — Add a burst of freshness by serving a side of fresh berries alongside your whoopie pies. Strawberries, raspberries, or blueberries provide a delightful fruity balance.
- Sprinkles — Dip the edges of your filling in colorful sprinkles based on the season. You can even set out some bowls with different sprinkle options so your guests can dip their own.
- Hot Beverages — Pair your whoopie pies with a comforting beverage such as a cup of vegan hot chocolate, herbal tea, or coffee.
Storage Tips
Store the whoopie pies in an airtight container in the fridge for up to 5 days. They can be frozen in a freezer-safe container for up to 2 months.
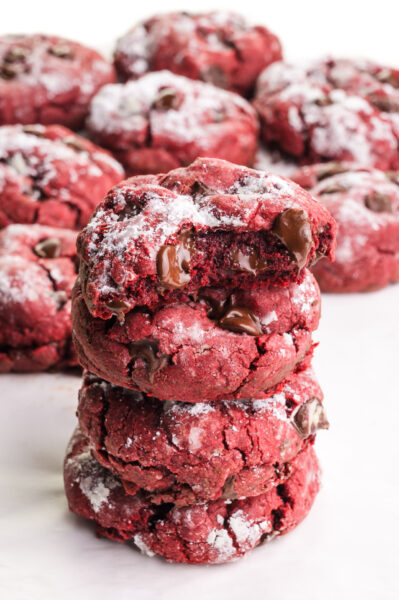
Red Velvet Favorites
Do you love these vegan red velvet whoopie pies? Then you’re gonna want to expand your red velvet repertoire. Here are some more of our red (and blue) velvet favorites to try:


Subscribe and get a free Easy Vegan Recipes eBook
Plus our latest vegan recipes, delivered right to your inbox!

Vegan Red Velvet Whoopie PIes
Ingredients
- ¾ cup plant-based milk
- 1 tablespoon apple cider vinegar
- 1 flax egg
- 3 cups all-purpose flour
- 4 tablespoons unsweetened cocoa powder (natural, not dutch-process)
- 1 teaspoon salt
- 1 ½ teaspoons baking soda
- 2 tablespoons cornstarch
- ½ cup vegan butter
- 1 cup granulated sugar
- ⅓ cup brown sugar
- 2 teaspoons vanilla extract
- 2 tablespoons red food coloring (see note)
Vegan Cream Cheese Filling
- ½ cup vegetable shortening (such as Cristco)
- ½ cup vegan butter
- 2 teaspoons apple cider vinegar
- ¾ teaspoon lemon juice
- 3 cups powdered sugar
- ¼ teaspoon salt
- 3 to 4 tablespoons vegan creamer (vanilla flavored)
Instructions
- Preheat oven to 350°F/175°C. Line parchment paper on two cookie sheets.
- Vegan Buttermilk: Make the vegan buttermilk by combining plant-based milk with apple cider vinegar. Stir and set aside.
- Vegan Egg: Prepare the flax egg by combining ground flax seeds with water. Stir and set aside.
- Dry Ingredients: Combine in a large mixing bowl the flour, cocoa, salt, baking soda, and cornstarch. Stir to combine.

- Whipped Butter: In a mixing bowl beat the butter until light and fluffy. Add the sugars and beat again until fluffy and light. Beat in vanilla, flax egg, and red food coloring.
- Making the Batter: Beat in about a third of the vegan buttermilk with the batter. Then beat in around half of the flour mixture.
- Repeat, by beating in a third of the buttermilk, followed by half of the remaining flour. Finish by beating in the final third of the buttermilk.
- Bake: Use a cookie scoop (or a 1/8 measuring cup) to make even scoops on the prepared pans, spacing them about 2 inches in between each. This should make around 40 cookies. Bake for 9 to 11 minutes. The little cakes should spring back when you gently press it with your finger.
- Cool the cookies on the pan for 3 minutes, then transfer to a wire rack to cool completely.

Vegan Cream Cheese Frosting
- Cream together the vegan butter and vegetable shortening in a mixing bowl using either a handheld mixer or a stand mixer with the paddle attachment. Cream for 1–2 minutes until light and fluffy. Add the vinegar and lemon juice and mix again for another minute.
- In a bowl combine the powdered sugar and salt. Whisk to combine. Add this to the butter mixture and mix on low until mostly combined, scraping down the sides of the bowl as needed. Add the vegan creamer, one tablespoon at a time, mixing in between each addition. Continue until you get a smooth, spreadable consistency.
Whoopie Pie Assembly
- Use a cookie scoop to distribute a dollop of filling onto the flat side of one of the cakes. Top with the flat side of another cake, gently pressing them together to showcase the filling all around the whoopie pie. Repeat with remaining cookies.
- Sprinkle powdered sugar on top for a festive look.
- Store the whoopie pies in an airtight container in the fridge for up to 5 days. They can be frozen in a freezer-safe container for up to 2 months.
Recommended Equipment
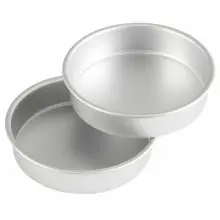

(The products above contain sponsored links to products we use and recommend)
Notes
- Make-Ahead Tips: After layers are baked, cool them completely, and cover in an airtight container. They can be stored overnight at room temperature. You can also prepare the frosting the day before. Simply store in the fridge in an airtight container. Be sure to let it sit at room temperature for about 15 to 20 minutes before frosting the cake.
- Food Coloring: For this vibrant red cake, I used 2 tablespoons of red food coloring. If you have gel, use 2 to 3 teaspoons. However, you don’t have to use any food coloring at all (the cake won’t be red, but will still taste great) or see post tips for natural options.
- Sheet Cake: If you prefer a sheet cake over a layered cake, pour batter into a 9×13″ cake pan or 12×17″ sheet pan. Bake at the same oven temperature for 40–45 minutes for the 9×13″ pan or 20 to 25 minutes for the 12×17″ pan. Use a tester to test for doneness.
The nutrition information shown is an estimate provided by an online nutrition calculator and should not be considered a substitute for a professional nutritionist’s advice.