Vegan Nutella
![]() by Marly McMillen
by Marly McMillen
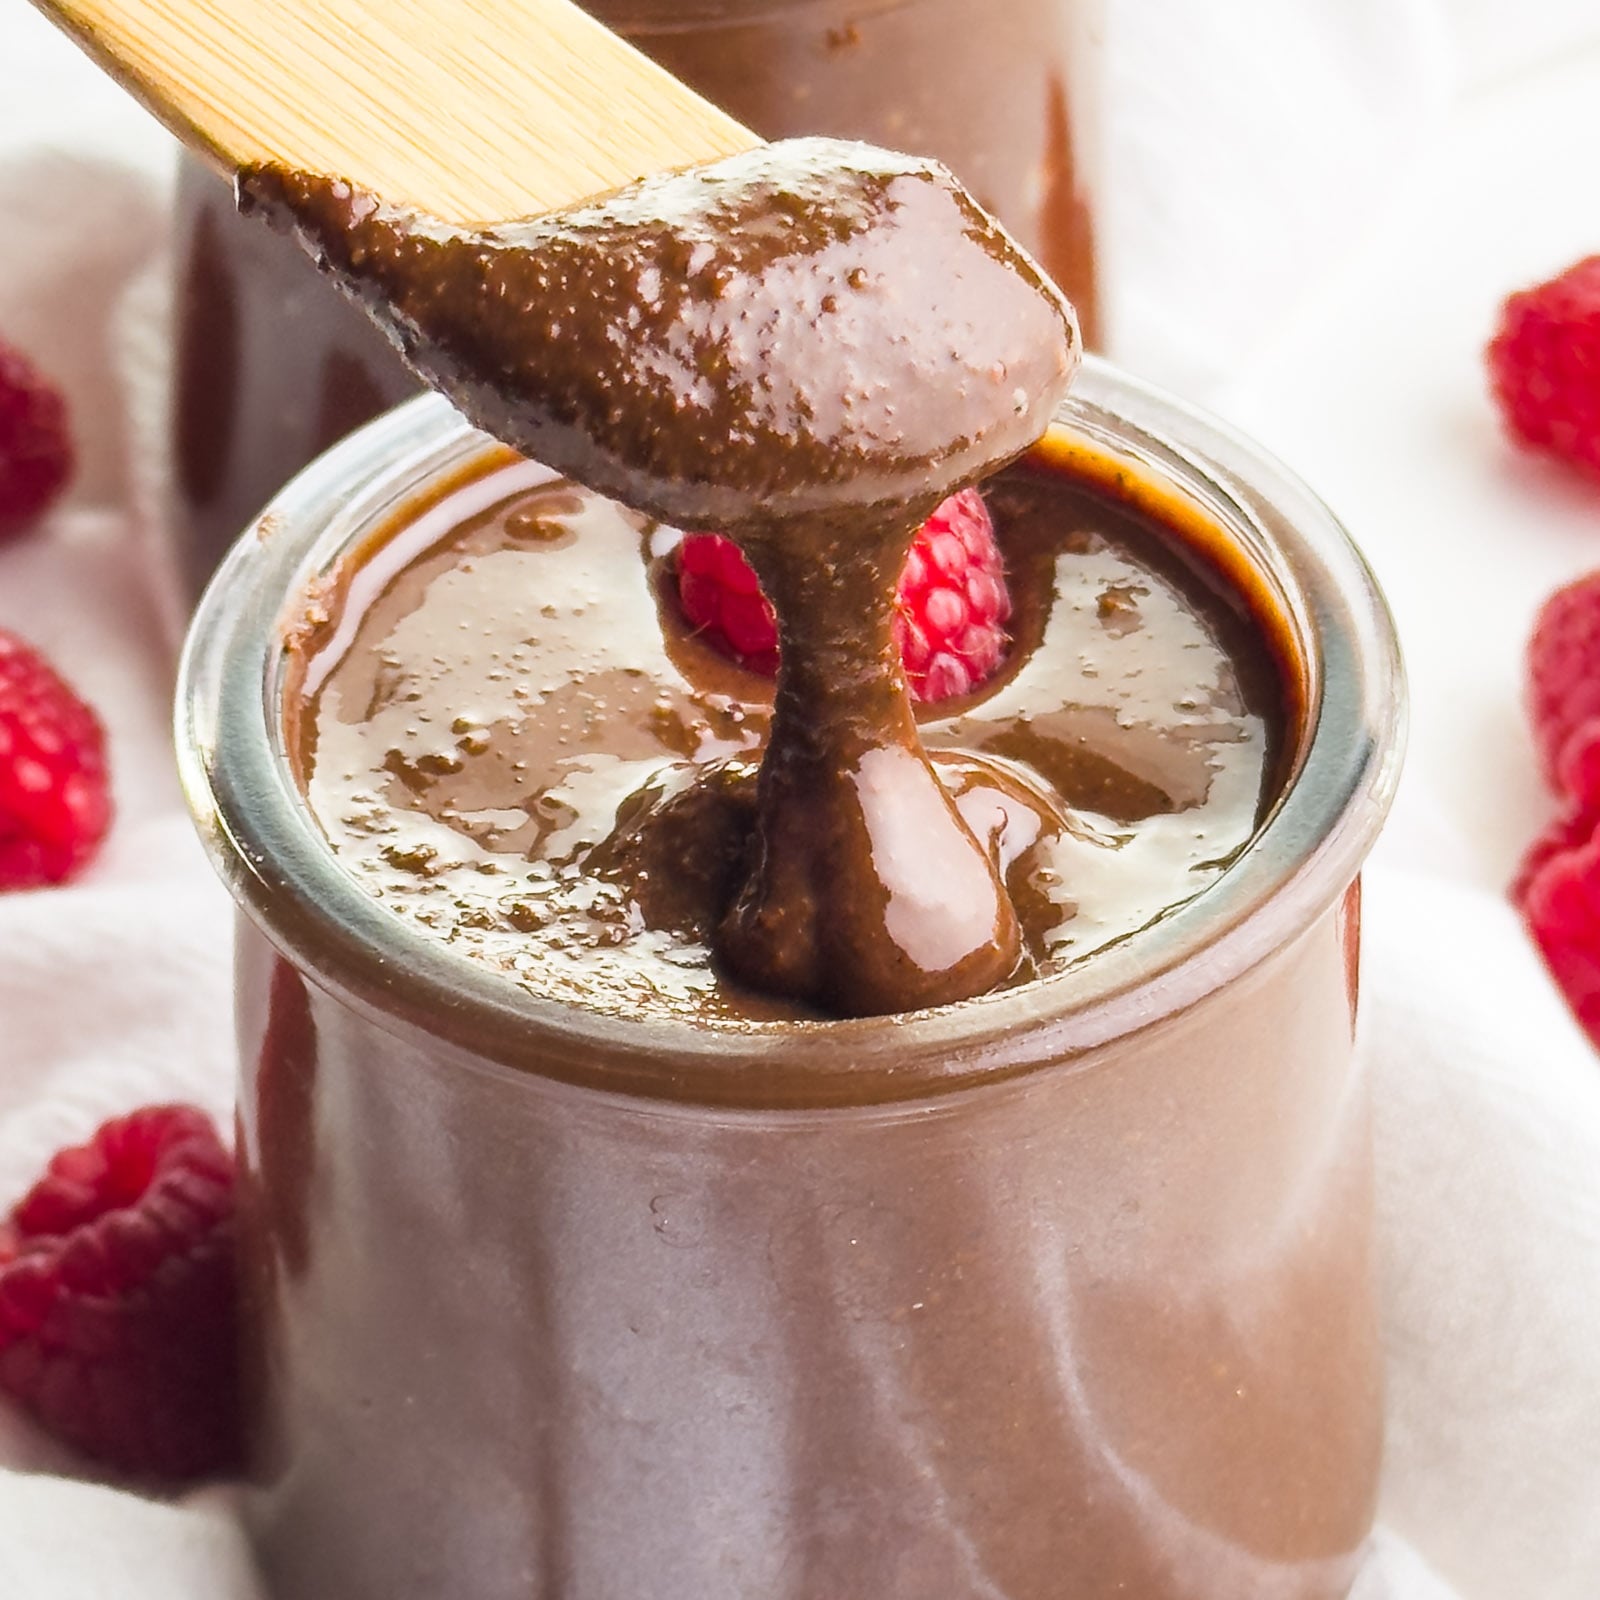
Make your mornings magical with this creamy, dairy-free Vegan Nutella. Rich, chocolatey, and irresistibly smooth— it’s perfect for toast, fruit dipping, or baking.

This post may contain affiliate links. Disclosure Policy
You'll also get even more vegan recipes delivered to your inbox every week!

Who doesn’t love a spoonful of Nutella? But when I transitioned to a plant-based lifestyle, I wanted a dairy-free option that delivered the same rich, nutty indulgence.
Enter my homemade Vegan Nutella! This recipe brings all the chocolatey hazelnut goodness you crave without the dairy. Whether spread on toast or drizzled over pancakes, it’s a game-changing kitchen staple you’ll want to make again and again.
In this Post
Is Nutella Vegan?
Traditional Nutella contains skimmed milk powder, making it non-vegan. This homemade version skips the dairy while keeping the classic flavor.
Ingredients & Substitutions
You can find the full printable recipe, including ingredient quantities, below. But first, here are some explanations of ingredients and steps to help you make this recipe perfect every time.
- Raw Hazelnuts: These are the star of the show! Roasting them intensifies their flavor. Look for raw, unsalted hazelnuts in the baking aisle or bulk bins.
- Cocoa Powder: Choose unsweetened cocoa powder for a deep chocolate flavor. Dutch-processed cocoa works well if you prefer a milder taste.
- Semi-Sweet Chocolate Chips: Use dairy-free chocolate chips to keep it vegan. Brands like Enjoy Life or Simple Truth are great options.
- Vanilla Extract: Opt for pure vanilla extract for the best flavor—synthetic vanilla can be overpowering.
- Salt: Just a pinch of salt balances the sweetness and enhances the nutty, chocolatey flavors.
What Makes This Recipe Shine?
This Vegan Nutella recipe is all about balance: roasted hazelnuts provide a deep, nutty base, while the combination of cocoa powder and melted chocolate creates an irresistibly creamy texture. A touch of vanilla and salt enhances the flavors, ensuring every bite is perfectly sweet and smooth. The secret? Blending the hazelnuts until their natural oils release, creating a silky consistency that rivals any store-bought spread.
How to Make Vegan Nutella
Please see the full, printable recipe care below for ingredients, quantities, and recipe details.
Step One: Prepare the Hazelnuts
Hazelnuts are famously hard to shell, but I’ve found the perfect hack to make it much easier: boiling them with baking soda! This simple trick softens the skins, so they slip off with a gentle rub.
Start by boiling the hazelnuts in water with baking soda for 3–4 minutes. Drain and rinse them under cool water. Then, use a paper towel to rub off the loosened skins. Don’t worry if a few stubborn bits remain—it won’t affect the flavor!
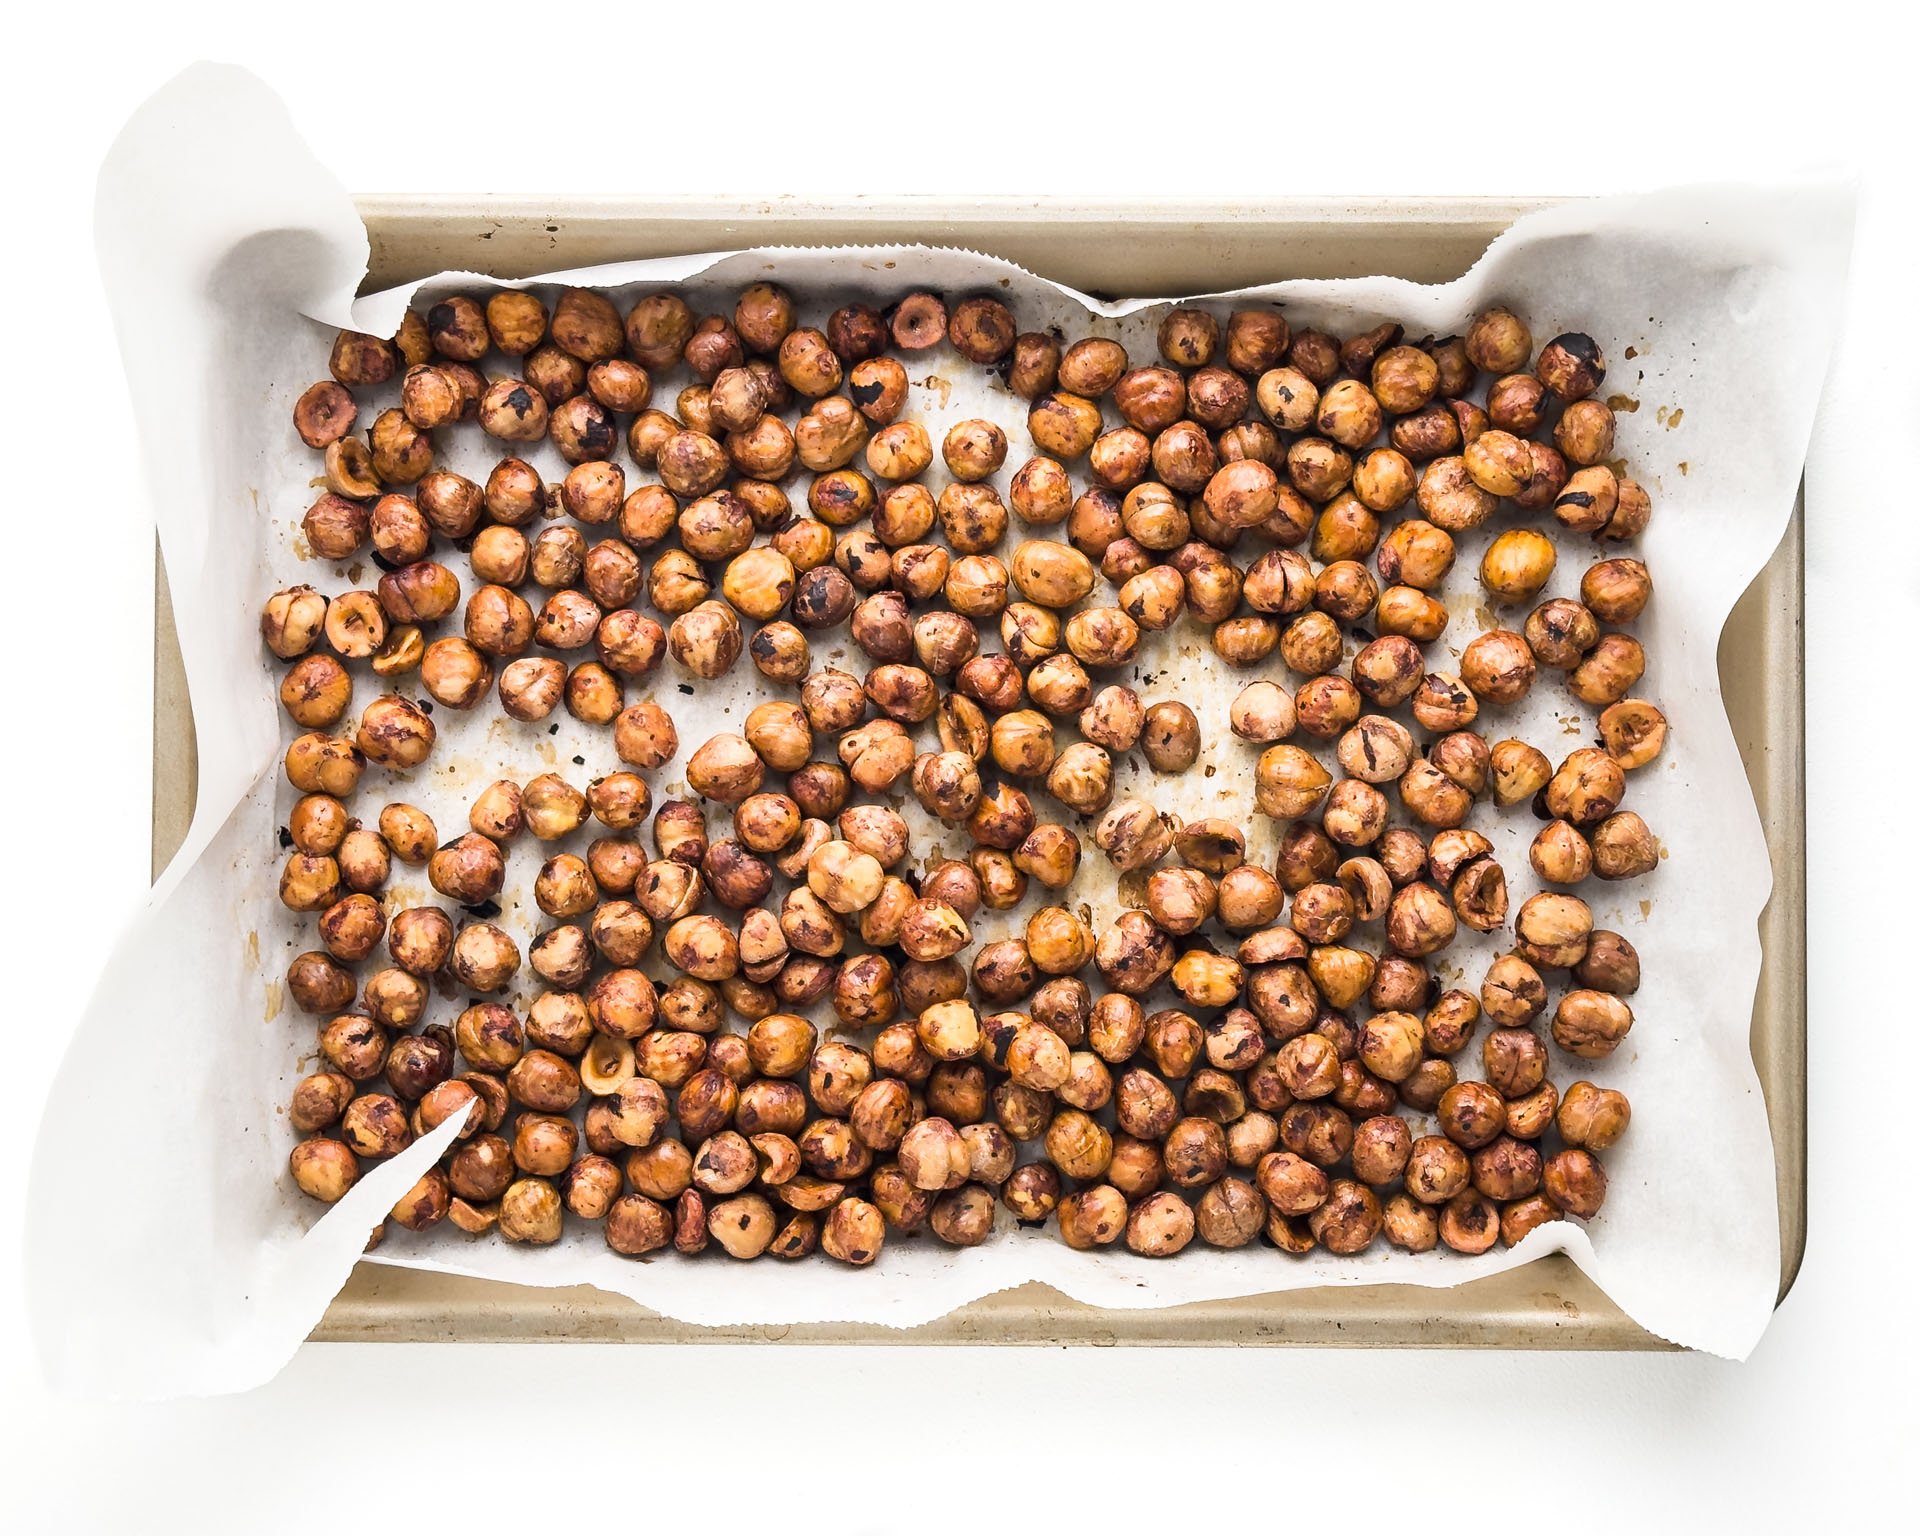
Next, spread the skinned hazelnuts on a baking sheet lined with parchment paper. Roast them in a preheated oven. They’ll turn golden, fragrant, and slightly crunchy—watch closely, as nuts can burn quickly!

Marly’s Tips
Keep a close eye on the hazelnuts as they’re roasting—nuts can go from golden to burnt in seconds!
Step Two: Blend to Butter
Blending hazelnuts into butter takes a little patience, but the creamy, dreamy results are worth it.
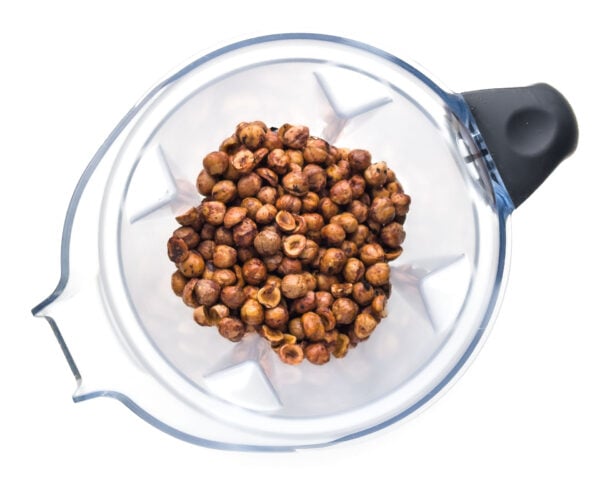
Start by adding the cooled, roasted hazelnuts to a high-speed blender. Begin on the lowest speed, letting the nuts break down gradually. Stop every minute or so to scrape down the sides and push the mixture back toward the blades. If your blender has a tamper tool, now’s the time to use it!
At first, the nuts will become a dry powder, then a thick paste. Keep going—this is normal.
Soon, the natural oils will be released, and the mixture will transform into a creamy nut butter. Once the texture is smooth, increase the speed to refine it further.
Note: If the mixture seems stubbornly thick, add 1–2 teaspoons of neutral oil (like refined coconut oil) to help it along.

Marly’s Tips
How do you prevent your hazelnut spread from being too gritty? Blend the hazelnuts longer to release their oils fully. A high-speed blender, like a Vitamix, is key to achieving a silky-smooth texture.
Step Three: Add Flavor
Now comes the fun part—turning that nutty goodness into a chocolatey spread!
Start by melting the chocolate chips in a microwave or double boiler until smooth. Add the melted chocolate to the blender along with cocoa powder, vanilla, and salt. Blend again until everything is fully combined and silky smooth.
Taste your Vegan Nutella and make adjustments to your liking.
Want a richer chocolate flavor? Add more cocoa powder.
Prefer it sweeter? Stir in a drizzle of maple syrup.
Once you’ve achieved your perfect flavor, transfer the spread to a glass jar and let it cool before enjoying.

Recipe Shortcuts
- Pre-Peeled Hazelnuts: Skip the boiling and skinning process by purchasing pre-peeled hazelnuts.
- Microwave Melting: Melt the chocolate chips in 15-second bursts in the microwave instead of on the stovetop for a quick, mess-free option.
- Food Processor Hack: If your hazelnuts seem too dry, add a teaspoon of neutral oil like refined coconut oil to help them blend smoothly.
Serving Suggestions
Now that you’ve whipped up your very own batch of rich and creamy dairy-free Nutella, let’s explore all the delicious ways to enjoy it! Here are some irresistible ideas:
- Spread it on toast – Slather it over a warm slice of bread or your favorite bagel for a comforting, chocolatey start to the day.
- Swirl it into oatmeal – Add a spoonful to a steaming bowl of oats and watch it melt into pure decadence.
- Drizzle over fruit – Pair it with sliced bananas, strawberries, or apple wedges for a quick, indulgent snack.
- Dip it – Use it as a dip for pretzels, graham crackers, or even vegan marshmallows for a fun dessert board.
- Bake with it – Spread it as a filling between layers of vegan chocolate cake, drizzle it over muffins, or use it as a topping for pancakes and waffles.
Whether it’s breakfast, snack time, or dessert, this versatile spread will make every bite better. What’s your favorite way to enjoy Nutella? Let us know in the comments!
Storing Hazelnut Spread
Store your Vegan Nutella in an airtight container in the refrigerator for up to 2 weeks. It may firm up when chilled—simply let it sit at room temperature for a few minutes to soften.
For longer storage, freeze it in a freezer-safe container for up to 3 months. Thaw overnight in the fridge before using.

Subscribe and Get a Free Easy Vegan Recipes eBook
Plus our latest vegan recipes, delivered right to your inbox!
We won’t send you spam. Unsubscribe at any time.
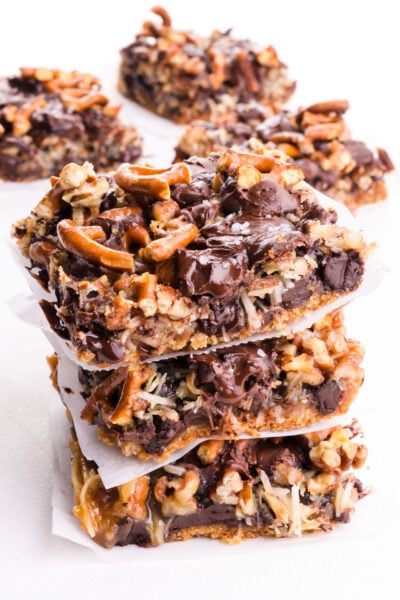
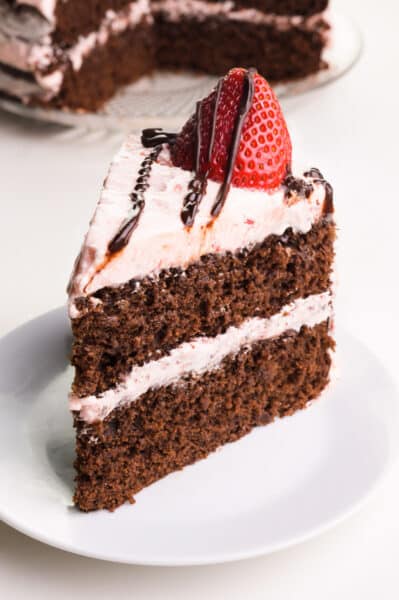
More Vegan Recipes
If you love this vegan Nutella recipe, here are more chocolate-inspired favorites to try:


Dairy-Free Hazelnut Spread
You’ll also get even more vegan recipes delivered to your inbox every week!
Ingredients
- 2 cups raw hazelnut
- 2-4 tablespoons cocoa powder (begin with 2 T and add more if you desire more chocolate flavor)
- ½ cup semi-sweet chocolate chips
- 1 teaspoon vanilla extract
- ¼ teaspoon salt
Instructions
Prepare Hazelnuts:
- Preheat the oven to 350°F/175°C. Line a baking sheet with parchment paper.
- Fill a pot half-way full of water and bring it to a boil. Add 3 tablespoons of baking soda. Let that fizz and dissipate and then add the hazelnuts. Boil the nuts for 3-4 minutes.
- Pour finished nuts in a colander and rinse in cold water. When they're cool enough to handle, pinch them between your fingers to remove the skins.
- Allow the hazelnuts to cool, then rub them in a clean kitchen towel to remove as much of the skin as possible.
- Dry the hazelnuts with a kitchen towel. Add them to the prepared pan. Spread the hazelnuts evenly on a baking sheet and roast them for about 15–25 minutes, stirring every 5 minutes or so. The nuts will become fragrant and slightly golden. Allow them to cool. Test one to make sure it's crunchy all the way through. If not, return them to the oven for another 5 minutes.

Blend Hazelnuts:
- Place the roasted hazelnuts in a high-speed blender or food processor. Blend until creamy, scraping down the sides as needed. This may take about 5–10 minutes.

Add Cocoa and Melted Chocolate:
- Once the hazelnuts are smooth and creamy, add the cocoa powder, melted chocolate, vanilla, and salt to the hazelnut butter and blend again until fully combined and smooth.
- Blend again until all ingredients are well incorporated and the spread is smooth. If the mixture is too thick, add a tablespoon of coconut oil or a bit of plant-based milk until you reach your desired consistency.
Taste and Adjust:
- Taste the spread and adjust sweetness or cocoa if needed. You can add maple syrup or a touch more salt to enhance the flavors.
Store and Enjoy:
- Transfer the hazelnut spread to a clean glass jar and store it in the fridge for up to 2 weeks.
- Serve on toast, as a dip for fruit, or as a topping for oatmeal!
(The products above contain sponsored links to products we use and recommend)
Notes
- Blending Tips: This recipe is designed with a high-speed blender in mind, which makes achieving a smooth texture easier and faster. If using a food processor, expect to blend a bit longer. Pause periodically to scrape down the sides, and allow the machine to cool if it begins to heat up.
- Adjusting Sweetness: If you prefer a sweeter spread, add an extra tablespoon or two of melted chocolate chips or even a drizzle of maple syrup. Just be cautious with added liquid sweeteners, as they can affect the spread’s consistency.
- Storage: Store your hazelnut spread in an airtight container in the fridge for up to 2 weeks. The spread may firm up when chilled, so let it sit at room temperature for a few minutes to soften before serving.
- Serving Suggestions: This spread is perfect on toast, as a dip for fruit, swirled into oatmeal, or even used as a filling for vegan crepes or pancakes. It’s also delicious in smoothies for a nutty chocolate boost!
More Blending Tips
- Scrape Frequently: Pause the blender every minute or so to scrape down the sides and push the hazelnuts back toward the blade. This prevents clumps and helps everything blend evenly.
- Use a Tamper (if your blender has one): Some high-speed blenders come with a tamper tool that can help push the nuts down toward the blades without needing to stop as often.
- Patience Through the Stages: Hazelnuts will first turn into a powder, then into a dry, thick paste, and finally, a creamy nut butter. If you keep blending, the natural oils will release, and it will become smooth and spreadable.
- Add Oil (Optional): If the mixture isn’t reaching the creamy stage, add 1–2 teaspoons of neutral oil (like refined coocnut oil) to help things along. This can help if your blender is struggling or if the hazelnuts seem particularly dry.
Nutrition
The nutrition information shown is an estimate provided by an online nutrition calculator and should not be considered a substitute for a professional nutritionist’s advice.
About the Author
Hi! I’m Marly McMillen. I’m the founding editor, author, recipe developer, vegan home chef, and food stylist behind Namely Marly. I’m so grateful to you and every member of my audience for your support and dedication. More about Namely Marly ›