Vegan Evaporated Milk
Make this simple vegan evaporated milk recipe to use in your favorite vegan dishes! Many recipes call for evaporated milk, and now you’ll have this quick and easy vegan version to make at home. You can add this dairy-free evaporated milk to your coffee, in puddings, sauces, and more.
This post may contain affiliate links. Disclosure Policy
You'll also get even more vegan recipes delivered to your inbox every week!

Evaporated milk has interesting origins. It’s similar to the wacky cake and has its roots in American history; this time, it was the civil war. It turns out the original condensed and/or evaporated milk was created for food safety reasons — so it could be canned and stored for long periods.
Evaporated milk and condensed milk share a similar production process where milk is simmered over heat to cause evaporation of up to 60% of the water.
The original purpose may have been to distribute milk safely, but eventually, home cooks discovered that the thick, creamy texture was perfect for recipes.
But what are you supposed to do when you’re vegan? Can you make evaporated milk vegan? I’m glad to report that not only is it possible, but it’s also easy too!
I think you’ll love this vegan substitute for evaporated milk!
Reader Reviews
★★★★★
Melody
I use this in the Libby’s pumpkin pie recipe. Swap out the milk and use Just egg and it is perfect!
★★★★★
Dottie
I made this for the first time and it was great. I used it to make a pudding and it was creamy!
In this Post
Ingredients & Substitutions
You can find the full printable recipe, including ingredient quantities, below. But first, here are some explanations of ingredients and steps to help you make this recipe perfect every time.
- Plant-based milk — Making non-dairy evaporated milk doesn’t require a lot of ingredients. In fact, there’s really only one: plant-based milk. I use soy milk, but I have used other kinds of milk. I have yet to try my pecan milk, but I imagine it would make a tasty evaporated milk too.
How to Make Vegan Evaporated Milk
When you have your plant-based milk ready, here are the steps for making a vegan evaporated milk substitute:
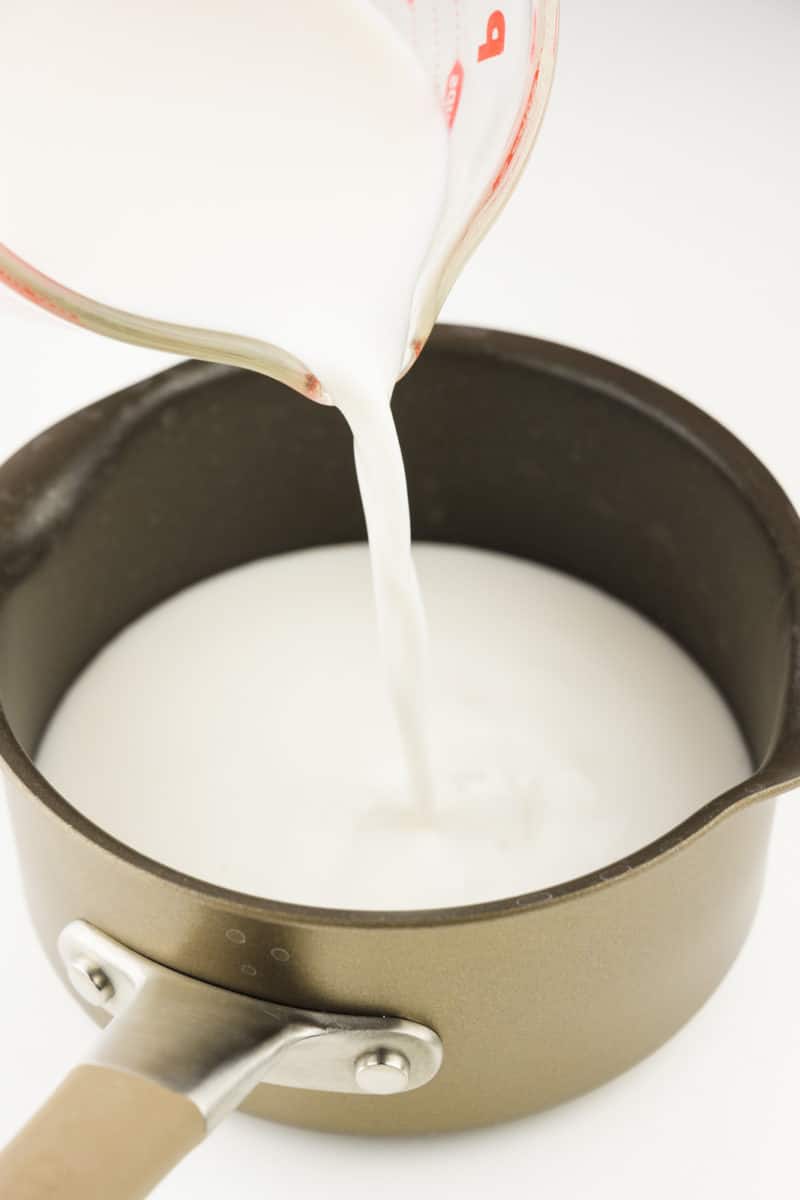
- Add milk to a saucepan over medium heat and bring it to a simmer (low boil).
- Simmer for 30 to 40 minutes, stirring occasionally to make sure it’s not browning on the bottom.
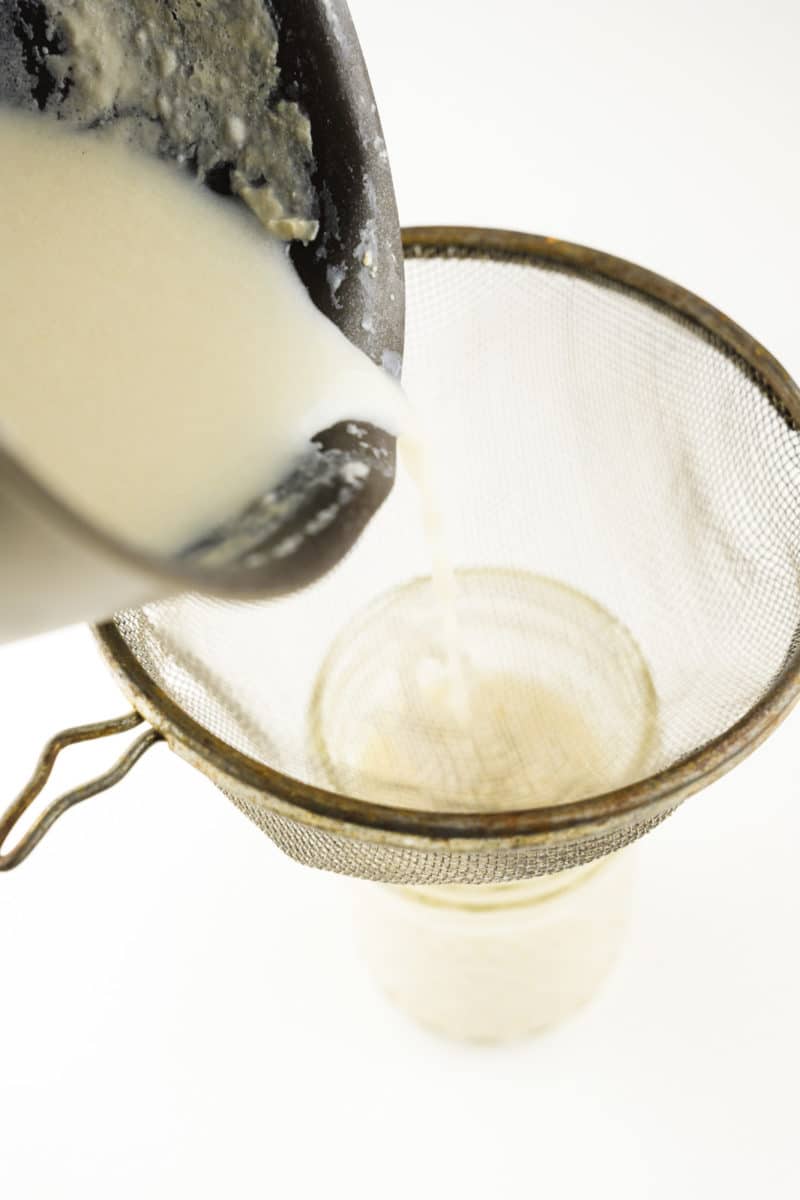
- Strain it by pouring it into a fine-mesh strainer to remove any milk skin that might have formed while cooking
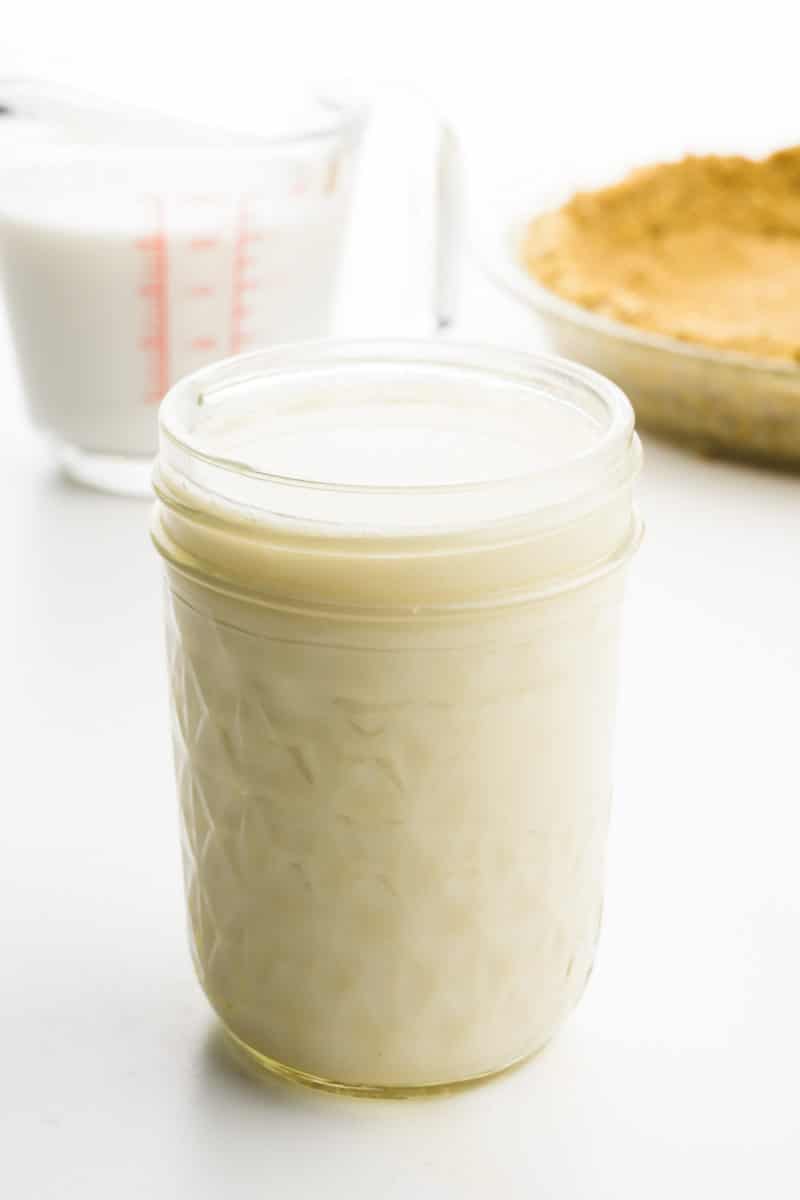
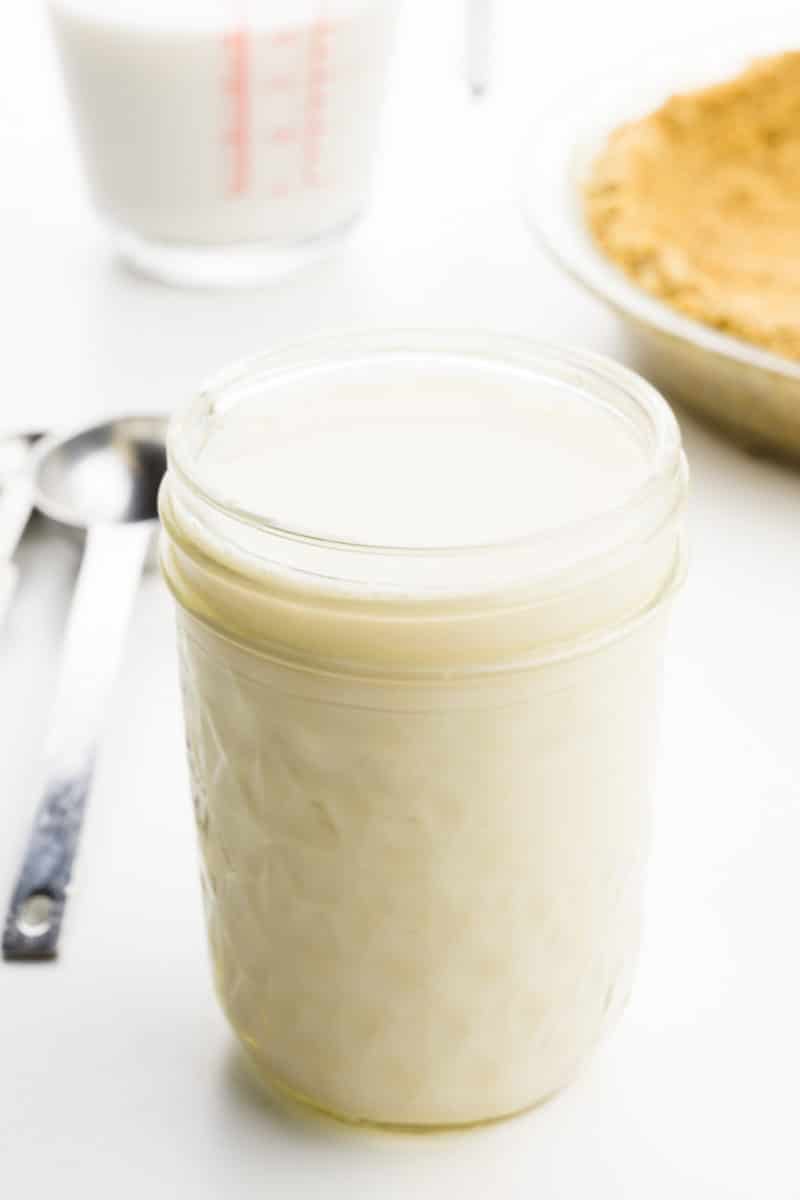
- Transfer it to a lidded glass jar and refrigerate.
Step-by-Step Instructions
You will also need a saucepan and a little bit of time. Most of the time involved in this recipe is indirect, allowing the milk to simmer in the pan, but you will want to stir it occasionally.
Here’s a visual guide to making it:
Step One: Add Milk to a Saucepan
Pour the milk into a saucepan and cook over medium heat until it simmers (low boil).
Turn the heat down to medium-low and allow it to gently simmer.
Step Two: Simmer
I like to stir the milk occasionally to make sure it doesn’t burn on the bottom of the pan. If it seems like it’s getting brown on the bottom, be sure to turn the heat down a little more.
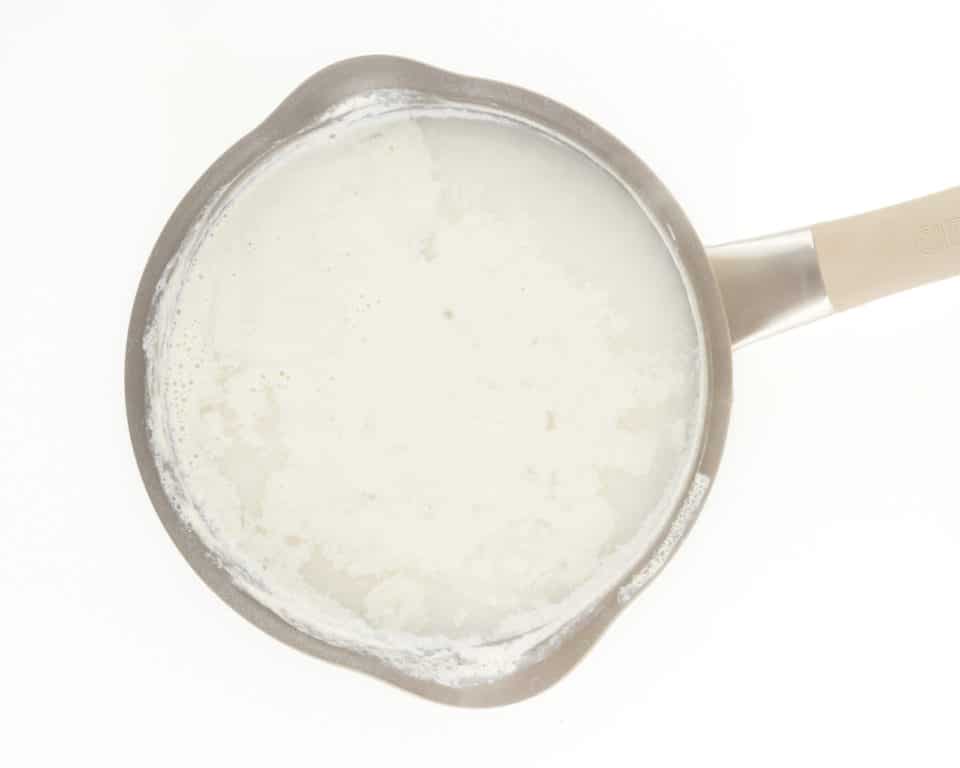
Keep it at a gentle simmer for 30–40 minutes. Keep a pyrex measuring cup nearby and pour it into it when you think the milk is ready. It should measure out around 1½ cups when finished.
Step Three: Strain
Remove the pan from the heat source and allow it to cool slightly before passing it through a fine-mesh strainer to remove any milk skin that might have formed while cooking. If you don’t have milk skin, you can skip the strainer and pour it directly into the jar.
Transfer the milk to a lidded container (I like to use mason jars) and refrigerate for up to 5 days.
Evaporated Almond Milk
Wondering how to make vegan evaporated almond milk? It’s good to know you have options for a vegan alternative to evaporated milk!
Follow the same steps as above and use your favorite almond milk.
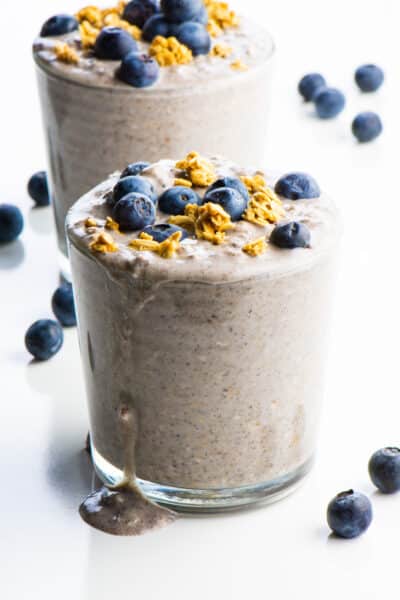
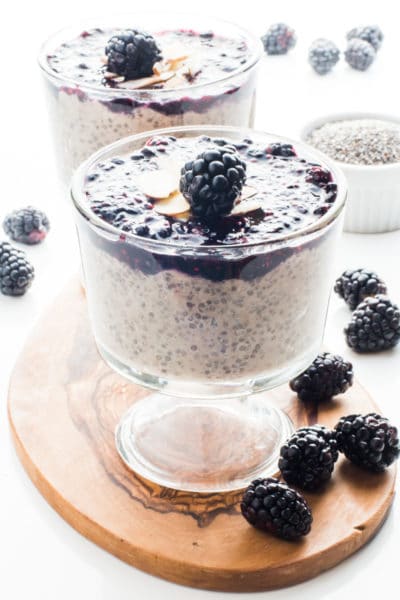
I find vanilla-flavored works best when I’m making things like vegan chia pudding, vegan chocolate ice cream, or vegan banana cream pudding.
Unsweetened plain almond milk works best when used in savory sauces, like the one found in this vegan pot pie.
Frequently-Asked Questions
What is a vegan substitute for evaporated milk?
Evaporated milk is simply milk that has been cooked to evaporate up to 60% of the water content. This means you can make a vegan substitute using plant-based milk and a saucepan!
What kind of milk can I use?
I prefer to use soy milk, but there are a number of different plant-based kinds of milk you can use, such as almond milk, cashew milk, and more. To make evaporated coconut milk, simply use coconut milk. Whichever type of plant-based milk you’re using, follow the steps in the recipe to create an extra creamy condensed milk.
New to Vegan Baking?
The idea of making cookies, cakes, or muffins without eggs or dairy can seem like a hill too tall to climb. But with the simple tips in my Guide to Vegan Baking, you’ll be baking like a vegan pro in no time!
Subscribe and Get a Free Easy Vegan Recipes eBook
Plus our latest vegan recipes, delivered right to your inbox!
We won’t send you spam. Unsubscribe at any time.
Vegan Evaporated Milk Recipes
Cook with confidence using these delectable vegan evaporated milk recipes. Nothing is sacrificed in flavor, with all the guilt being taken away. Get started making amazing vegan dishes today and enjoy the guilt-free culinary experience!
Now that you’ve made your evaporated almond milk (or whatever milk you’ve used), what do you do with it? I love using dairy-free evaporated milk in my pudding recipes. Here are some of my favorites:


Plant-Based Evaporated Milk
You’ll also get even more vegan recipes delivered to your inbox every week!
Ingredients
- 3 cups plant-based milk
Instructions
- Pour the milk into a medium saucepan and cook over medium heat until it simmers (low boil).
- Turn the heat down to medium-low and allow it to gently simmer. Stir the milk occasionally to make sure it's not scorching (burning) at the bottom of the pan. If it is beginning to burn, turn the heat down a little more.
- Keep it at a gentle simmer for 30 to 40 minutes. The milk should measure out around 1 ½ cups when finished.
- Remove from heat and allow it to cool slightly before passing it through a fine-mesh strainer to remove any milk skin that might have formed while cooking.
- Transfer the milk to a lidded container (I like to use mason jars) and refrigerate for up to 5 days.
Recommended Equipment
(The products above contain sponsored links to products we use and recommend)
Notes
Nutrition
The nutrition information shown is an estimate provided by an online nutrition calculator and should not be considered a substitute for a professional nutritionist’s advice.
About the Author
Hi! I’m Marly McMillen. I’m the founding editor, author, recipe developer, vegan home chef, and food stylist behind Namely Marly. I’m so grateful to you and every member of my audience for your support and dedication. More about Namely Marly ›

Have you tried using unsweetened soy milk for this? Thank you
Hi Liz. I have not tried using unsweetened soy milk for this evaporated milk recipe, but I feel positive it will work. The thing you have to watch out for with soymilk is it has a tendency to boil over very easily, so keep an eye on it. Or just simmer at a lower temperature.
How lang can you keep it in the fridge?
Hi Vlada. This recipe can be refrigerated for 3 to 5 days.
Have not tried this yet, but I have been scouring the internet for dairy-free substitutions. I have known about my wheat allergy for over a decade and making the switch to gluten-free was not a huge issue, but finding out within the last 9 months that I have now sprouted a dairy allergy, as well as a sensitivity to Xanthan gum (within the last 2 months) has really put a scanner in the works!
My dietary category is some kind of bizarre intersection of gluten-free, paleo and vegan.
I am so relieved, that there are people like you around who are “pioneers” in this area and share freely your experiments and substituions for the usual dairy ingredients. Makes adapting favourite recipes a bit easier.
Hi Rebecca! Thank you so much for your kind words! I know how challenging new food sensitivities can be. I actually dealt with gluten issues myself that improved over time (possibly thanks to Seed probiotics, though everyone’s different!). Please don’t hesitate to reach out if you need help with dairy-free substitutions or recipe adaptations – I’m always happy to help!
Will this work with unsweetened plant based milk or does it only work with sweetened kind?
I’ve used it with both types of plant-based milk and it’s worked fine!
Former Dairyman here.
I haven’t made this yet, however, I plan to.
I’m not vegan, however, I am plant forward, or flexitarian. Mainly for economic reasons.
However, I’ve been making my own plant based milks ( Oat, Barley, Peanut, Pumpkin Seed, Green Split Pea So far… I haven’t tried rice milk yet. So that’s on the horizon ) for more than a year. Recently work colleagues introduced me to Agua Fresca. I’ve seen a bunch of recipes calling for both evaporated milk, and sweetened condensed milk. The prices dairy sweetened condensed milk and evaporated milk at my local store cost a lot more than I prefer to pay. Especially, when I can produce a homemade, preservative free plant based milk for approximately $1.00USD per litre/quart.
Luckily your page popped up as the first entry when I searched for “Can I make vegan sweeteneed condensed milk out of split pea milk?” That led me to your vegan sweetened condensed milk page. That in turn led me to this evaporated milk recipe page. I have also begun blogging about my adventures in what most folks call a kitchen. I have another name for it With that being said, when I make vegan evaporated milk, I will definitely give you a shoutout…
Thank you muchly.
Yours, Very Sincerely And Respectfully,
Wayne S
Hi Wayne! Great to hear from you! I haven’t tried this myself, but I’ve often thought an interesting way to approach evaporated milk when making it entirely from scratch, would be to simply add less water. That would eliminate the cooking and reduction. The main goal of cooking down milk to create evaporated milk is to create steam and cause the water to evaporate. But if you’re making split pea milk from scratch, you could try making it with less water? Or, maybe, you’ll find that adding water to the milk-making process is necessary for texture purposes. Just a thought. Let me know how it goes!
I use this in the Libby’s pumpkin pie recipe. Swap out the milk and use Just egg and it is perfect!
I have just made this with barista oat milk and it turned out perfectly. I am now going to make it with unsweetened coconut milk (the ones in cartons) which I am going to use in curries so it will be far less calorific than the tinned ones. Thanks so much for a brilliant idea!
Hi Louise! So glad you like this recipe. I like your idea of thickening coconut milk to use in place of the ones in the can!
Can you do this with nut-free options such as oatmilk?
Hi Anna. I have tried this with a variety of milk, but not oatmilk. That said, I wouldn’t hesitate to do it. I think it would work just fine!
I have just made this with barista oat milk and it turned out perfectly. Going to use it to make a rice pudding.
This is very useful. However, since I make my own plant milk, I’m going to try using less water to make “evaporated milk”. Do you think that might work?
Hi Melissa. I think that’s a great idea! You would end up with a creamy milk which is what you’l get with evaporated milk too.