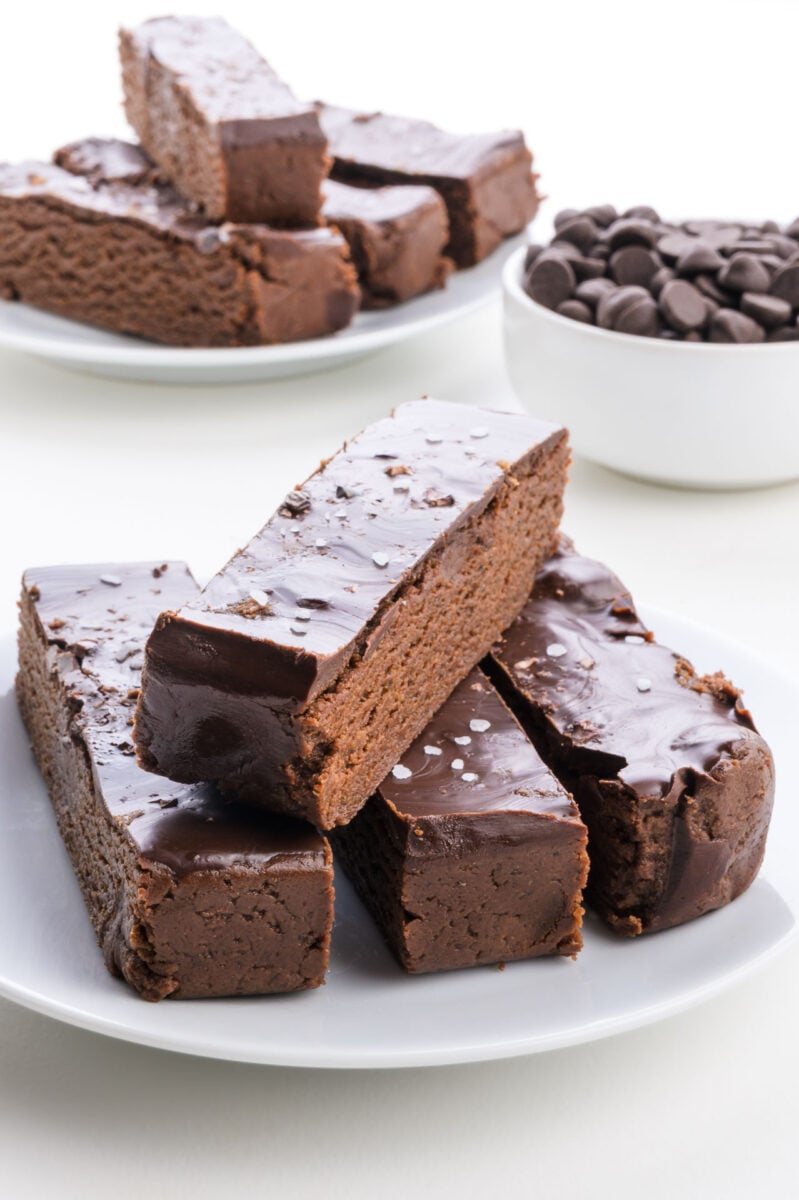
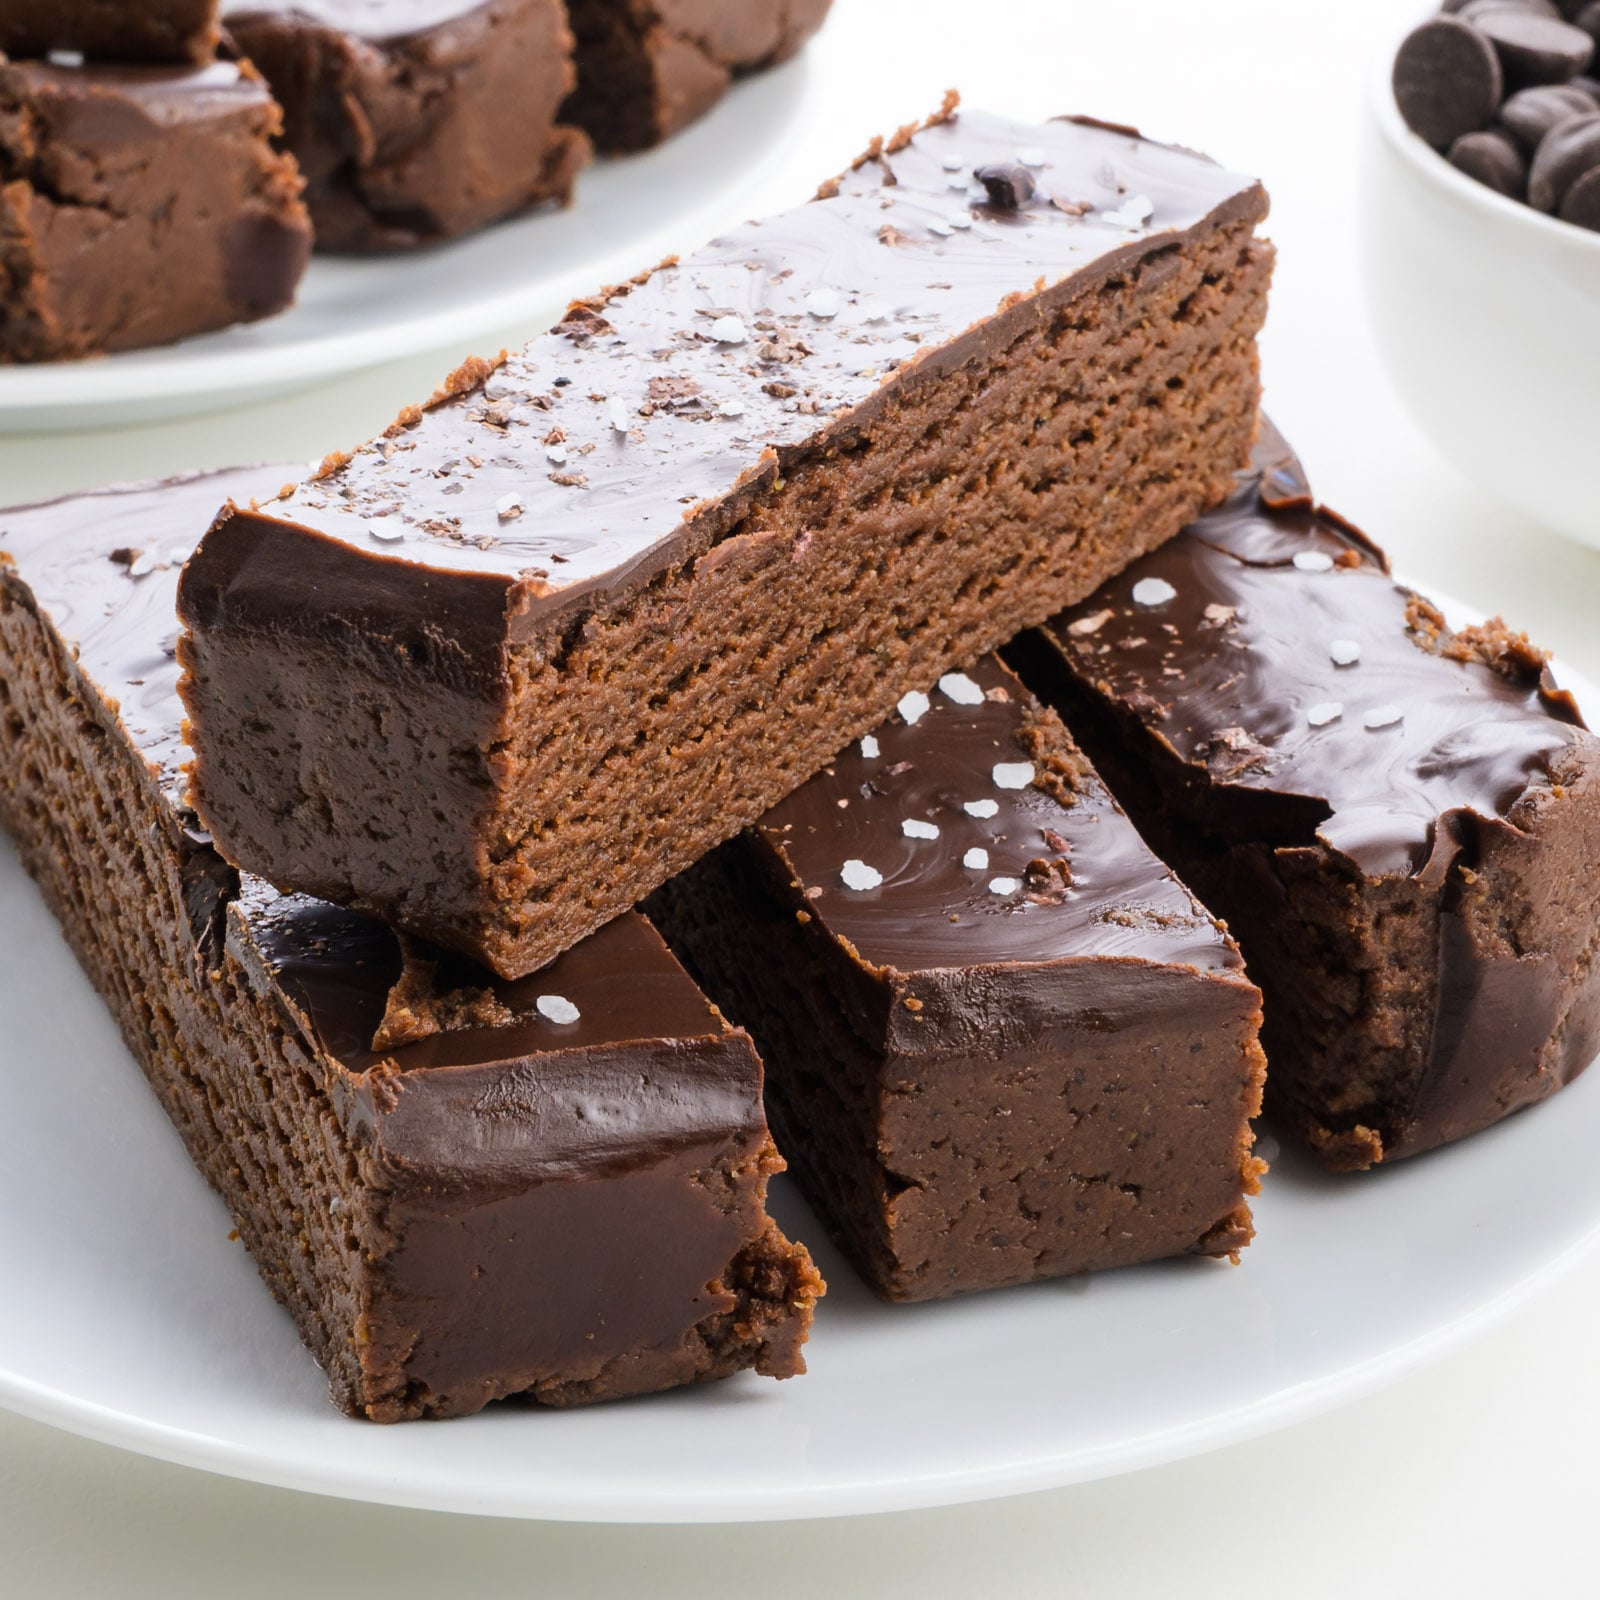
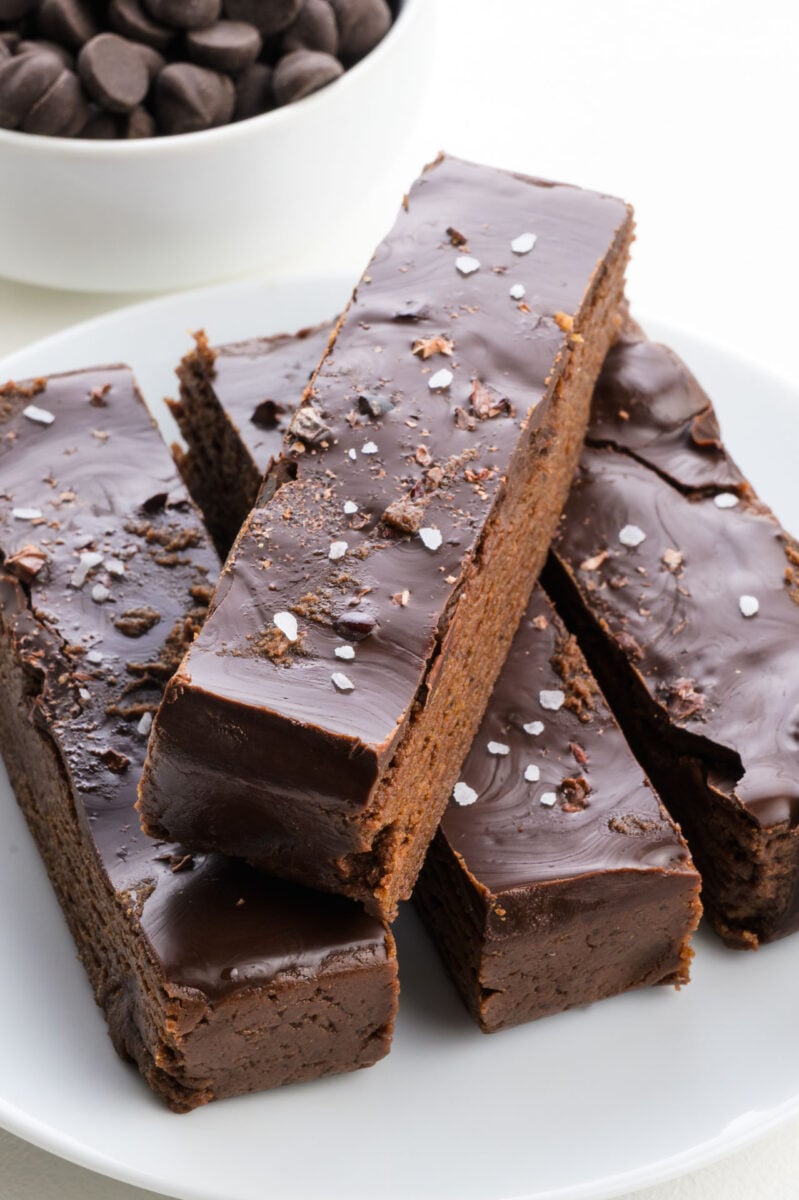
Brownie Protein Bars
These fudgy, no-bake Brownie Protein Bars are the perfect vegan snack! Packed with 13g of protein and only 210 calories, they satisfy chocolate cravings with clean ingredients. Ready in minutes!
This post may contain affiliate links. Disclosure Policy
You’ll also get even more vegan recipes delivered to your inbox every week!
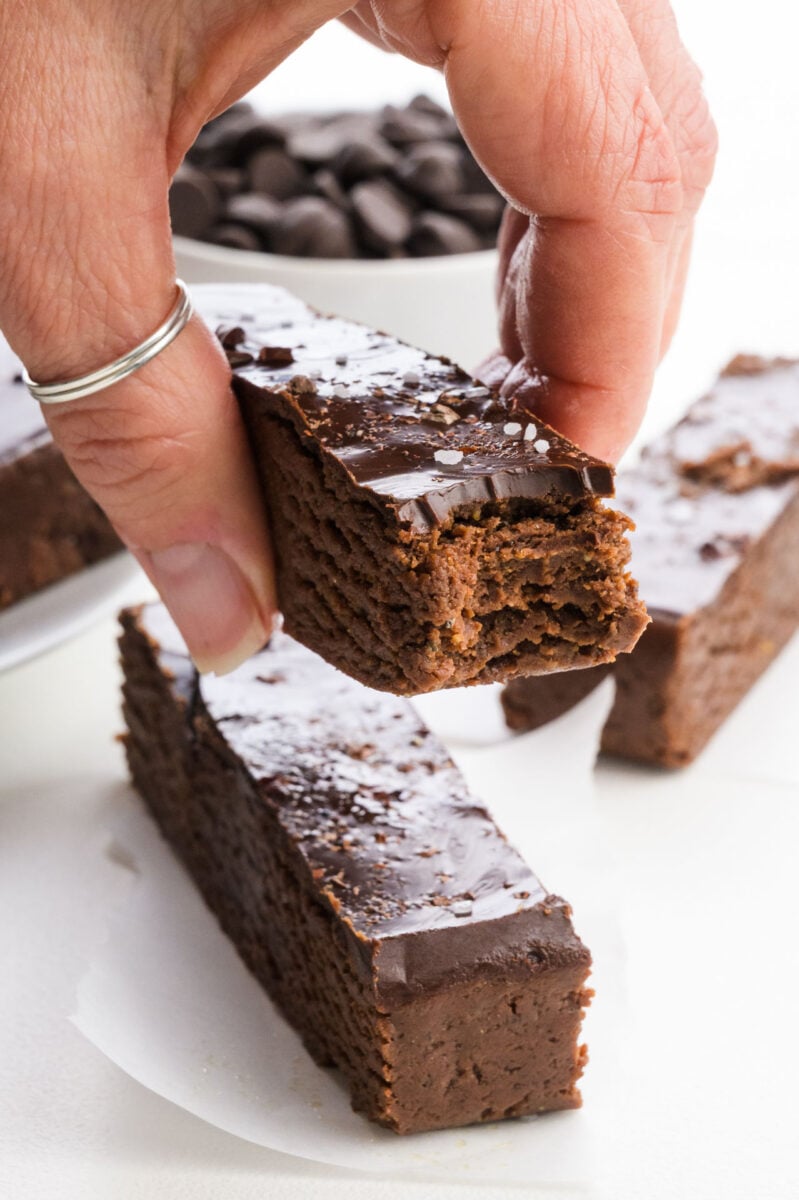
These no-bake Chocolate Brownie Protein Bars are the ultimate solution for when those chocolate cravings hit, but you still want to stay on track with your macros. They have a rich, fudgy texture that feels like eating dessert, yet they’re packed with clean, plant-based protein.
Best of all? You can whip these up in minutes with simple pantry staples, making them the perfect meal-prep snack for a busy week!
In this Post
Watch How to Make These Bars
Ingredients & Substitutions
You can find the full printable recipe, including ingredient quantities, below. But first, here are some explanations of ingredients and steps to help you make this recipe perfect every time.
- Chocolate Protein Powder – This is the base of your bars. Since it’s a major flavor component, use a brand you love. I recommend a plant-based blend for the best plant-based “brownie” texture.
- Cocoa Powder – Use unsweetened cocoa powder to deepen that dark chocolate color and flavor.
- Pumpkin Seed Powder – My “secret ingredient” for these bars! It adds a boost of magnesium and zinc while creating a creamy, nutty profile. (If you don’t have it, oat flour or almond flour works as a 1:1 swap).
- Peanut Butter – This acts as the binder. Creamy, salted peanut butter works best, but you can swap this for almond butter or sunflower seed butter for a nut-free option.
- Maple Syrup – A touch of natural sweetness to balance the cocoa. If you prefer, you can use 4–7 pitted Medjool dates processed into a paste instead.
- Ground Chia Seeds – These help the bars hold their shape and add a nice dose of fiber and healthy fats.
- Almond Milk – We’ll be adding just enough to reach a thick, cookie-dough consistency so the bars stay firm.
How to Make Protein Brownie Bars
Honestly, the best part about these bars (besides the chocolate) is how easy they are to pull together. You don’t even have to turn on the oven! (Sorry, Oven, you get to take a breather for this one! Lol!)
So, grab your food processor, and let’s get started.
Protein Bars Prep Work
First, line a small loaf pan with some parchment paper. I like to leave a little extra hanging over the sides; it makes it so much easier to lift the whole block out later so you can get those perfect, clean slices.
Make the Batter
Toss your dry ingredients, like protein powder, cocoa, and chia seeds, into the processor. Give it a few quick pulses just to make sure they’re all introduced, and there aren’t any big lumps.
Bringing it Together: Now, add in your peanut butter, maple syrup, and vanilla. Pulse it again until it starts looking like a thick, dark, but crumbly dough.
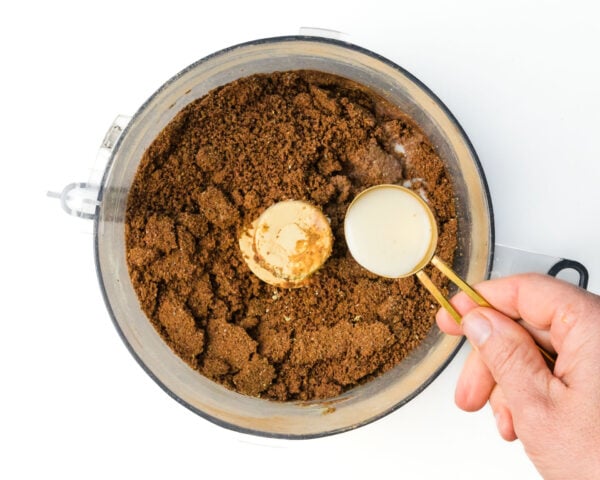
The “Secret” Step: This is where we get the texture just right. Drizzle in half of your almond milk. Pulse a few times and then swipe down the sides of the processor with a spatula. Then add the remaining milk and pulse again.
We’re looking for a “cookie dough” feel—thick enough to hold together when you pinch it, but not so wet that it sticks to your fingers.

Press and Don’t Bake
Transfer that dough to your pan. I usually just use the back of a measuring cup (or even my hands!) to press it firmly into every corner. You want it nice and compact so the bars don’t crumble on you later.
Then pop them in the fridge for 5-10 minutes while you prep the topping.

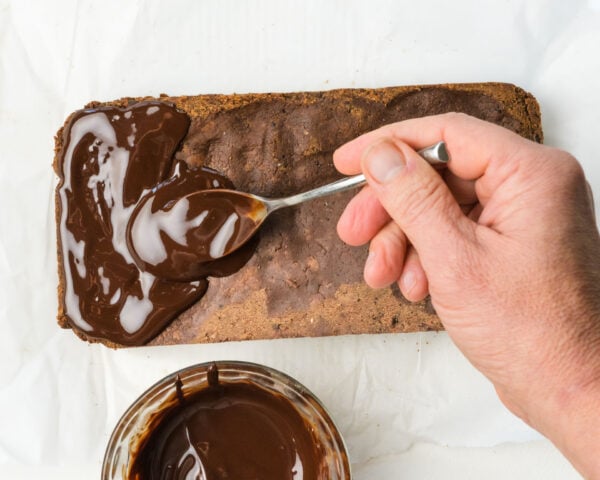
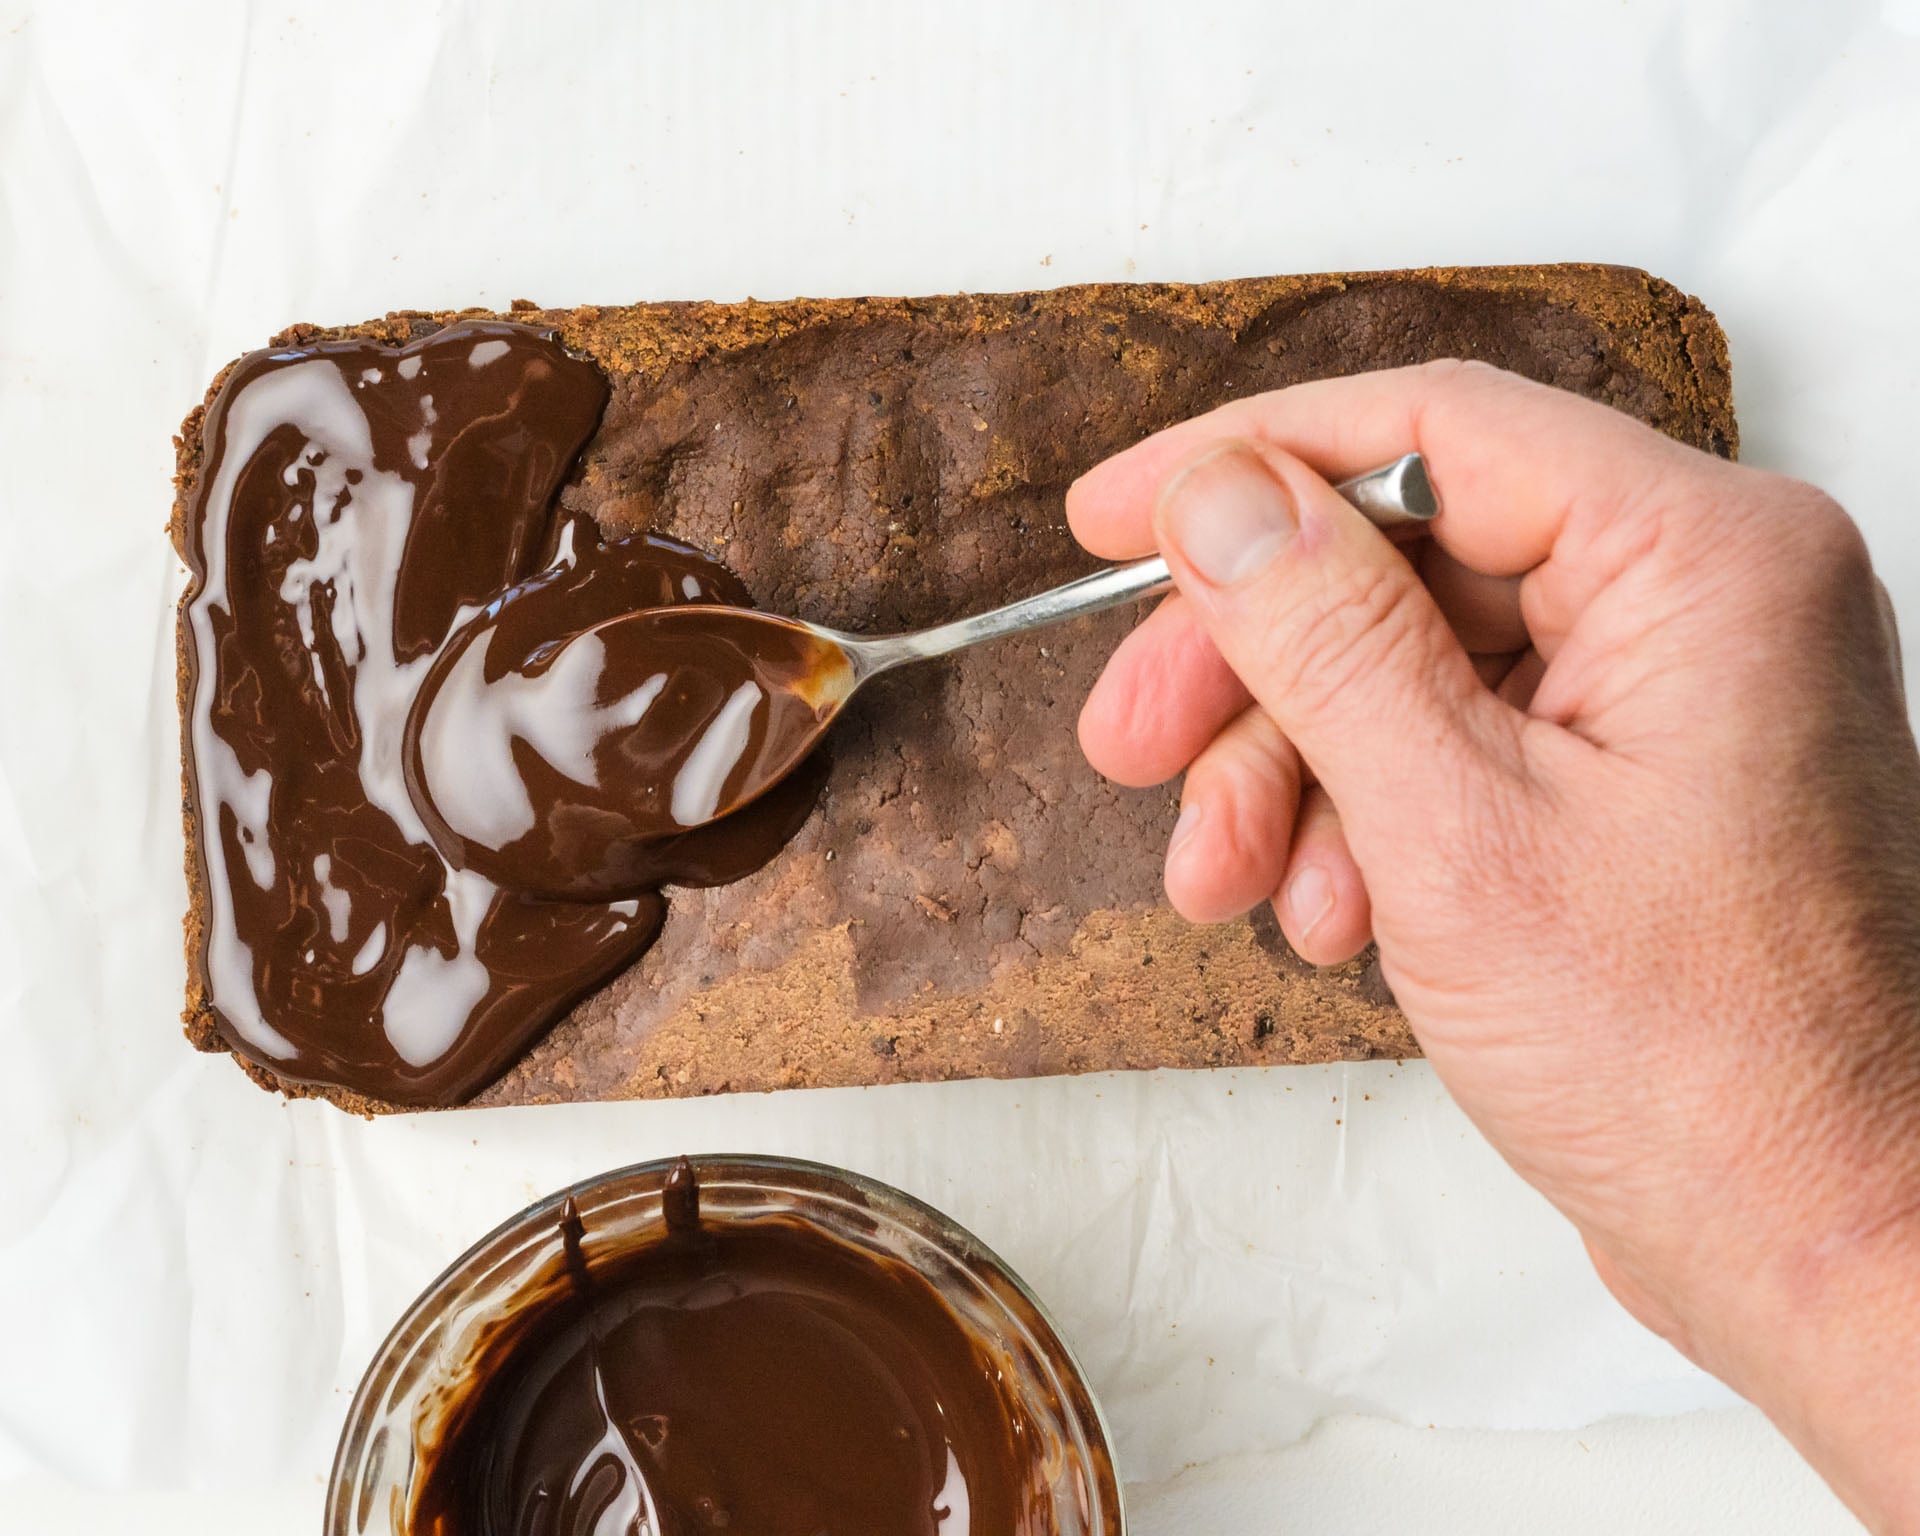
That Chocolate Topping
Melt down those chocolate chips with a tiny bit of coconut oil and spread that glossy goodness right over the top.

Topping the Topping: I’m a sucker for a pinch of flaky sea salt here, but cacao nibs are a great touch too. If you want a “cosmic protein brownie bar” vibe, you can add some colorful mini candies on top. Whatever you do, it’s going to make that chocolate really “pop”!
The Waiting is the Hardest Part
Now we just have to wait, and as Tom Petty says, that can be the hardest part. But, go ahead and pop the pan in the fridge for about 10 minutes to let everything set up. It’s the perfect amount of time to clean up the kitchen (or just grab a cup of coffee) before you slice into them!
Recipe Test Kitchen
I spent quite a bit of time tweaking this recipe to get that “just right” brownie texture. It’s ok, we have thoroughly enjoyed each taste test!
Here are a few things I learned along the way that might help you in your own kitchen:
- The Almond Milk Ratio: When I first started testing these, I tried using only 3–4 tablespoons of almond milk. The bars were okay, but honestly? They were a little too dry. Plant-based protein powders are like sponges—they really soak up moisture! I found that going up to 8 tablespoons (1/2 cup) makes all the difference in getting that fudgy, melt-in-your-mouth feel.
- Finding the Sweet Spot: I tested these with both 2 and 3 tablespoons of maple syrup. I’ve decided to stick with 2 tablespoons for the official recipe because it keeps the bars right around that 200-calorie mark, which is my personal “sweet spot” for a snack. However, if you’re in the mood for an even gooier, slightly sweeter bar, feel free to add that third tablespoon!
- Why Pumpkin Seed Protein? I know it’s a bit of a “hidden gem” in the protein world, but I’m obsessed. Not only does it help the texture, but it’s a nutritional powerhouse—adding magnesium, potassium, and zinc. Most importantly for this recipe, it has zero sodium. Since many plant-based powders can be surprisingly high in salt, this keeps the flavors balanced and the nutrition on point.
- The Topping Debate: Is a protein bar still a brownie if it doesn’t have a glossy chocolate top? I mean… maybe, but why risk it? During testing, there was really no doubt: that thin layer of melted chocolate on top is what truly sets these apart from your average snack bar. Don’t skip it!
Serving Suggestions
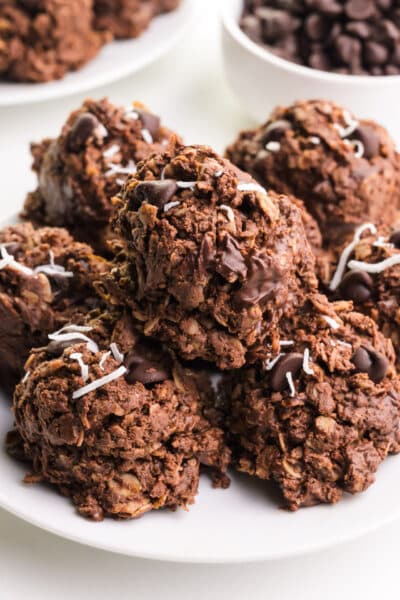
While these bars are perfect on their own for a quick post-workout snack, they are also incredibly versatile! One of my favorite ways to eat them is to crumble them into other dishes to give them a decadent “brownie batter” vibe. Here are a few ways we love to serve them:
The Ultimate Topping: These are amazing stirred into Chocolate Chia Pudding. The chewy brownie bits against the creamy pudding texture? Perfection.
Movie Night Mashup: It might sound a little wild, but try crumbling a bar over a big bowl of my Vegan Cheesy Popcorn. That sweet-and-salty combination of chocolate and “cheese” is absolutely addictive!
Breakfast Upgrade: Add some crumbled bits to your Chocolate Overnight Oats in the morning. It feels like you’re having dessert for breakfast, but with all the protein to keep you full until lunch.
Storage Tips
Since these are no-bake and use fresh ingredients, you’ll want to keep them tucked away properly to maintain that fudgy texture:
In the Fridge: Store your bars in an airtight container for up to one week. I actually think they taste even better after they’ve chilled for a day and the flavors have had time to meld!
In the Freezer: These freeze beautifully. Wrap them individually or keep them in a freezer-safe bag for up to two months. You can eat them straight from the freezer for a firmer “fudge” texture, or let them sit on the counter for a few minutes to soften back up.
Subscribe and Get a Free Easy Vegan Recipes eBook
Plus our latest vegan recipes, delivered right to your inbox!
We won’t send you spam. Unsubscribe at any time.
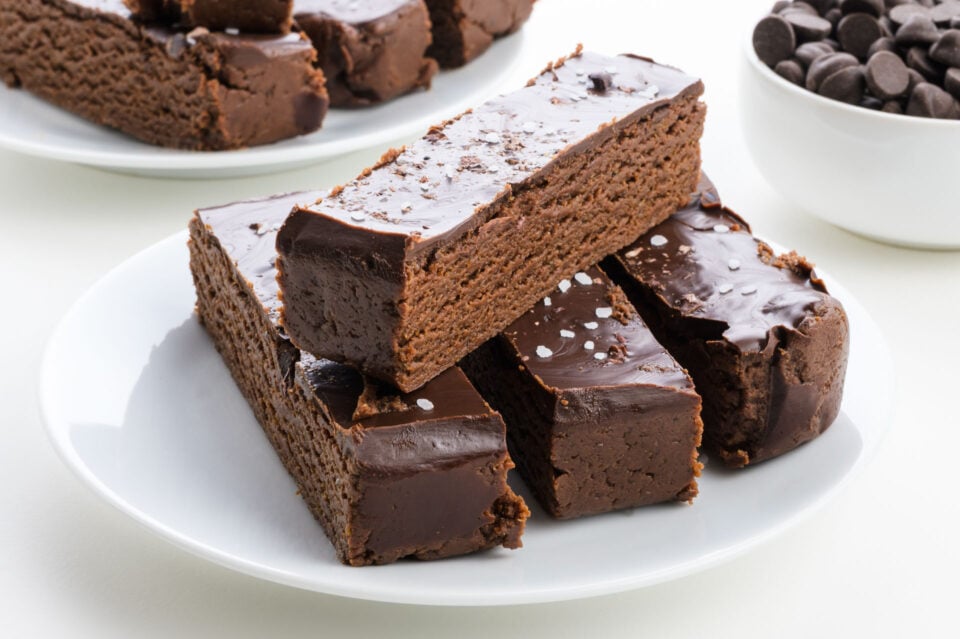
No-Bake Brownie Protein Bars
Ingredients
- ¾ cup chocolate protein powder
- 3 tablespoons cocoa powder
- ¼ cup pumpkin seed powder (see notes)
- 2 tablespoons ground chia seeds
- 2 tablespoons maple syrup (substitute 4-7 pitted Medjool dates)
- ⅔ cup peanut butter
- 1 teaspoon vanilla extract
- 8 tablespoons almond milk
Chocolate Topping
- ¼ cup semi-sweet chocolate chips
- 1 teaspoon coconut oil
- Optional toppings: cacao nibs, chocolate chips, flaky sea salt sprinkles, or colorful candies
Instructions
- Line your pan: Grease and line an 8×4 or 9×5-inch loaf pan with parchment paper, leaving overhang on the sides for easy removal.
- Add dry ingredients: Mix in the chocolate protein powder, cocoa powder, pumpkin seed powder, and ground chia seeds. Pulse a few times to combine the ingredients (Or stir to combine).¾ cup chocolate protein powder, 3 tablespoons cocoa powder, ¼ cup pumpkin seed powder, 2 tablespoons ground chia seeds
- Add wet ingredients: Add the maple syrup, peanut butter, and vanilla extract. The mixture will be thick and dough-like. Add half of the milk, then pulse and wipe down the sides of the bowl. Then repeat with the remaining milk and pulse until it holds together when pressed (like cookie dough). It should not be overly wet or sticky.2 tablespoons maple syrup, ⅔ cup peanut butter, 1 teaspoon vanilla extract, 8 tablespoons almond milk
- Press into pan: Transfer the mixture to your lined pan. Press firmly and evenly with your hands or the bottom of a glass to create a smooth, compact layer.

- Add topping (optional but recommended): Melt the chocolate chips with coconut oil in the microwave (20-second bursts, stirring in between) or over a double boiler. Pour over the bars and spread evenly. Sprinkle with topings like: cacao nibs, chocolate chips, flaky salt, or colorful mini candies (for a cosmic brownie vibe) while the chocoalte is still wet.¼ cup semi-sweet chocolate chips, 1 teaspoon coconut oil
- Chill: Refrigerate for at least 30–60 minutes (or freeze for 10–15 minutes) until firm. Once set, lift out using the parchment and cut into 10 bars.
- Store: Keep in an airtight container in the fridge for up to 1 week, or freeze for up to 2 months (thaw in the fridge or at room temp for a few minutes).


Recommended Equipment
(The products above contain sponsored links to products we use and recommend)
Notes
Pumpkin Seed Protein Powder
I prefer using pumpkin seed protein powder. It is a specialty product, but it’s so worth it because it helps create a creamy texture and nutty flavor. And it adds magnesium, potassium, and even a little bit of zinc to these yummy bars. You can substitute oat flour or almond flour. Pro Tip for Slicing: For those perfectly clean ‘professional’ edges, wipe your knife with a warm, damp cloth between every single cut. It keeps the chocolate topping from cracking and the fudgy center from sticking!Tips for Success & Variations
- Protein powder matters — Chocolate-flavored works best. Avoid super-sweet or artificial-tasting ones. Whey tends to give a smoother texture; plant-based keeps it vegan.
- Too dry? Add a splash more milk or syrup. Too sticky? Add a bit more protein powder.
- Flavor boosts: Add ½ tsp espresso powder for mocha brownie bars, or a pinch of cinnamon.
- Chocolate Boost: Add 2 tablespoons of mini semi-sweet chocolate chips to the batter.
Video
Nutrition
The nutrition information shown is an estimate provided by an online nutrition calculator and should not be considered a substitute for a professional nutritionist’s advice.
Plant-Based Protein Favorites
If you love this recipe for chocolate brownie protein bars, here are more plant-based protein favorites to try:


Check out more of my best Plant-Based Protein Recipes!
Frequently-Asked Questions
Can I make these nut-free?
Absolutely! You can swap the peanut butter for sunflower seed butter or even tahini. Just keep an eye on the consistency; you might need a tiny bit more pumpkin seed powder if the alternative butter is extra runny.
What is the best protein powder to use?
I always recommend a plant-based chocolate protein powder for that authentic brownie flavor. Every brand absorbs liquid differently, so just remember our “neighborly” rule: add your almond milk slowly until it feels like cookie dough!
Why are my protein bars crumbly?
If they’re falling apart, they likely just need a bit more moisture. Try adding one more tablespoon of almond milk or maple syrup. Also, make sure you press the mixture into the pan really firmly—that’s the secret to a bar that holds its shape.
How long do these last in the fridge?
These stay fresh and fudgy in an airtight container for about a week. If you’re meal-prepping for the whole month, they also freeze beautifully for up to two months!
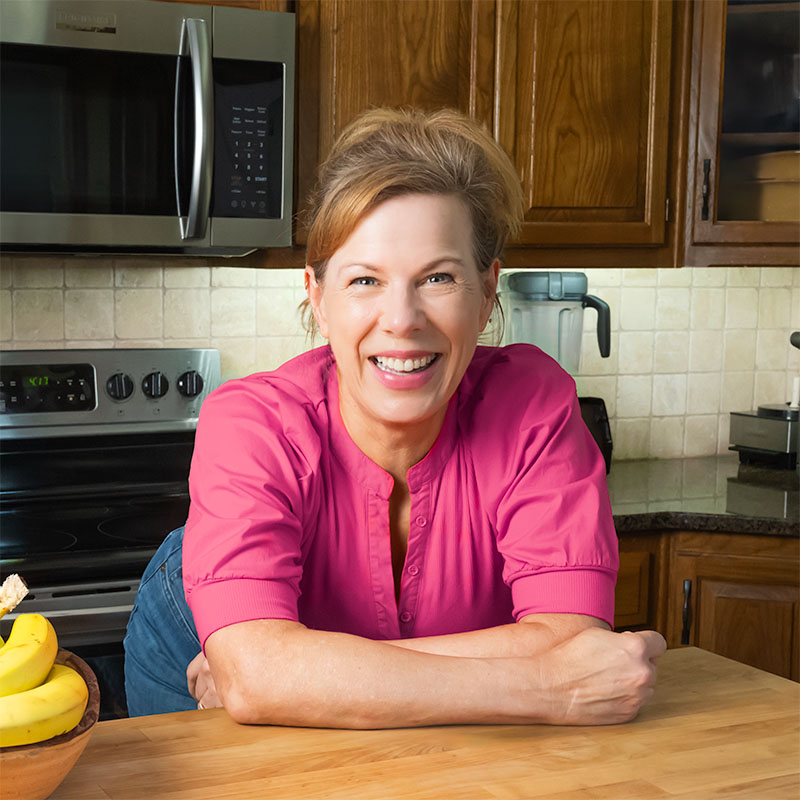
About the Author
Hi! I’m Marly McMillen. I’m the founding editor, author, recipe developer, vegan home chef, and food stylist behind Namely Marly. I’m so grateful to you and every member of my audience for your support and dedication. More about Namely Marly ›
Loved these