Vegan Sweetened Condensed Milk
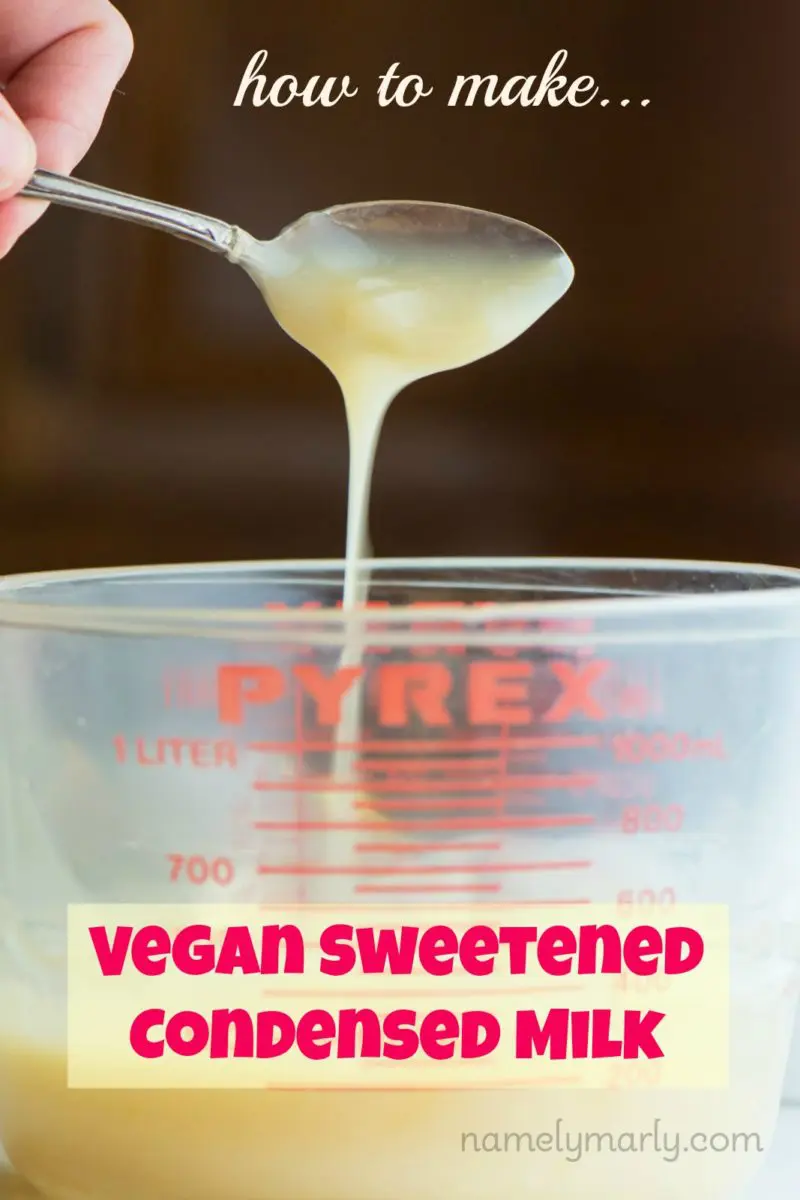
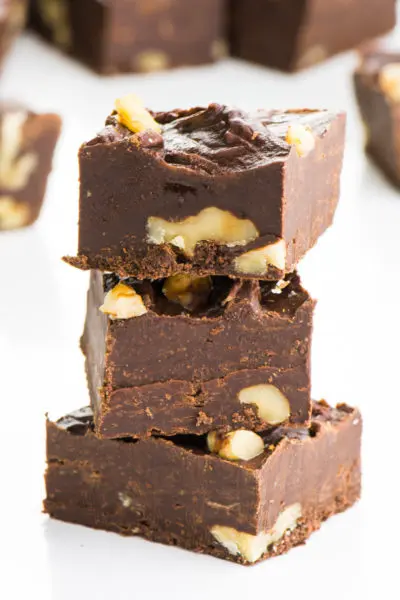
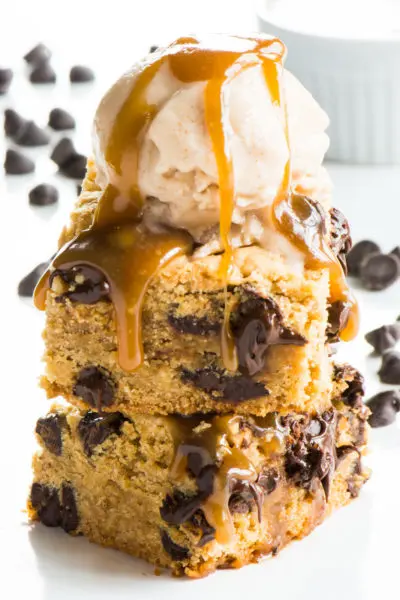
Make this creamy vegan condensed milk recipe to substitute for condensed milk in your favorite recipes, like vegan fudge! Vegan sweetened condensed milk is easy to make even if you need it for a recipe you’re making right now.
Several of my recipes call for vegan condensed milk and I realized that my process for making it is unique, so I thought I’d share it with you. If you like some more vegan “how to” recipes, you should check out my post on How to Make Vegan Coconut Whipped Cream, How to Make Vegan Meringue, and how to make Vegan Condensed Milk (which is great for savory recipes in addition to sweet ones).
Once I realized sweetened condensed milk wasn’t vegan, I sought ways to create a non-dairy sweetened condensed milk. I’ve tried several different processes to make this recipe and finally settled on this one.
What Makes This Recipe Shine?
- Using cornstarch creates a thick vegan condensed milk that firms up as its own layer in baked goods, like magic bars
- Making this condensed milk from scratch is pretty easy, making it easy to adapt and use for your favorite recipes
- Adding vegan butter adds a creamy texture and flavor that you’ll love

Key Ingredients
You can find the full printable recipe, including ingredient quantities, below. But first, here are some explanations of ingredients and steps to help you make this recipe perfect every time.
Here are the ingredients you’ll need for this recipe, including substitution ideas:
- Plant-based milk — Use your favorite plant-based milk, such as soy or almond milk. It can be plain or vanilla-flavored. I oftentimes use soy, but you can also use coconut milk to make sweetened condensed coconut milk (see instructions below).
- Sugar — I use granulated sugar, but you can substitute maple syrup (it will impact the color, but it will taste the same). You can experiment with different quantities of sugar, between 1/4 cup to 1/2 cup.
- Cornstarch — condensed milk is thick, so we’ll use cornstarch as a quick way to make this vegan condensed milk thick too.
- Vegan butter — Adding a bit of vegan butter adds flavor.

What Vegan Milk is Best for Condensed Milk?
There are various dairy-free milk options when making homemade sweetened condensed milk. You can use oat milk, almond milk, pecan milk, cashew milk, coconut milk, soy milk, and more. I tend to choose soy milk because it starts out with a thicker consistency. The good news is, thanks to the ingredients we’ll be adding, you can use any plant-based milk you prefer.
How to Make Vegan Sweetened Condensed Milk
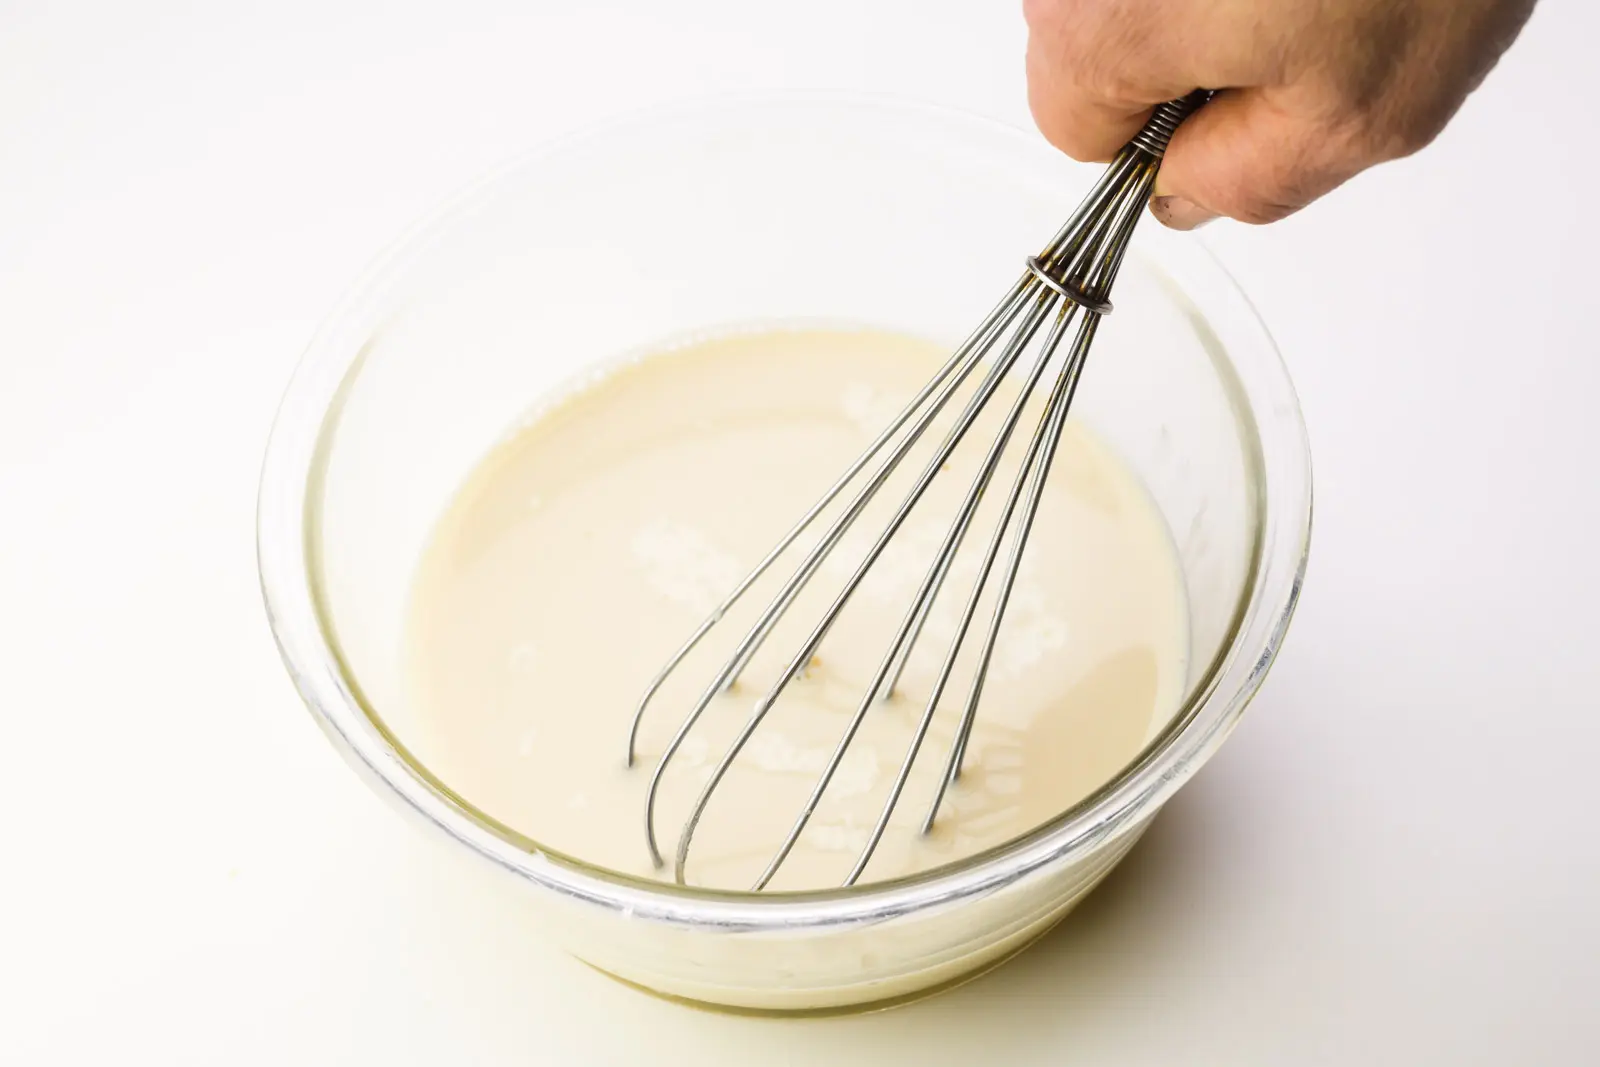
- Combine the plant-based milk in a large microwave-safe bowl along with the corn starch, and sugar.
- Stir until there aren’t any lumps from the cornstarch.

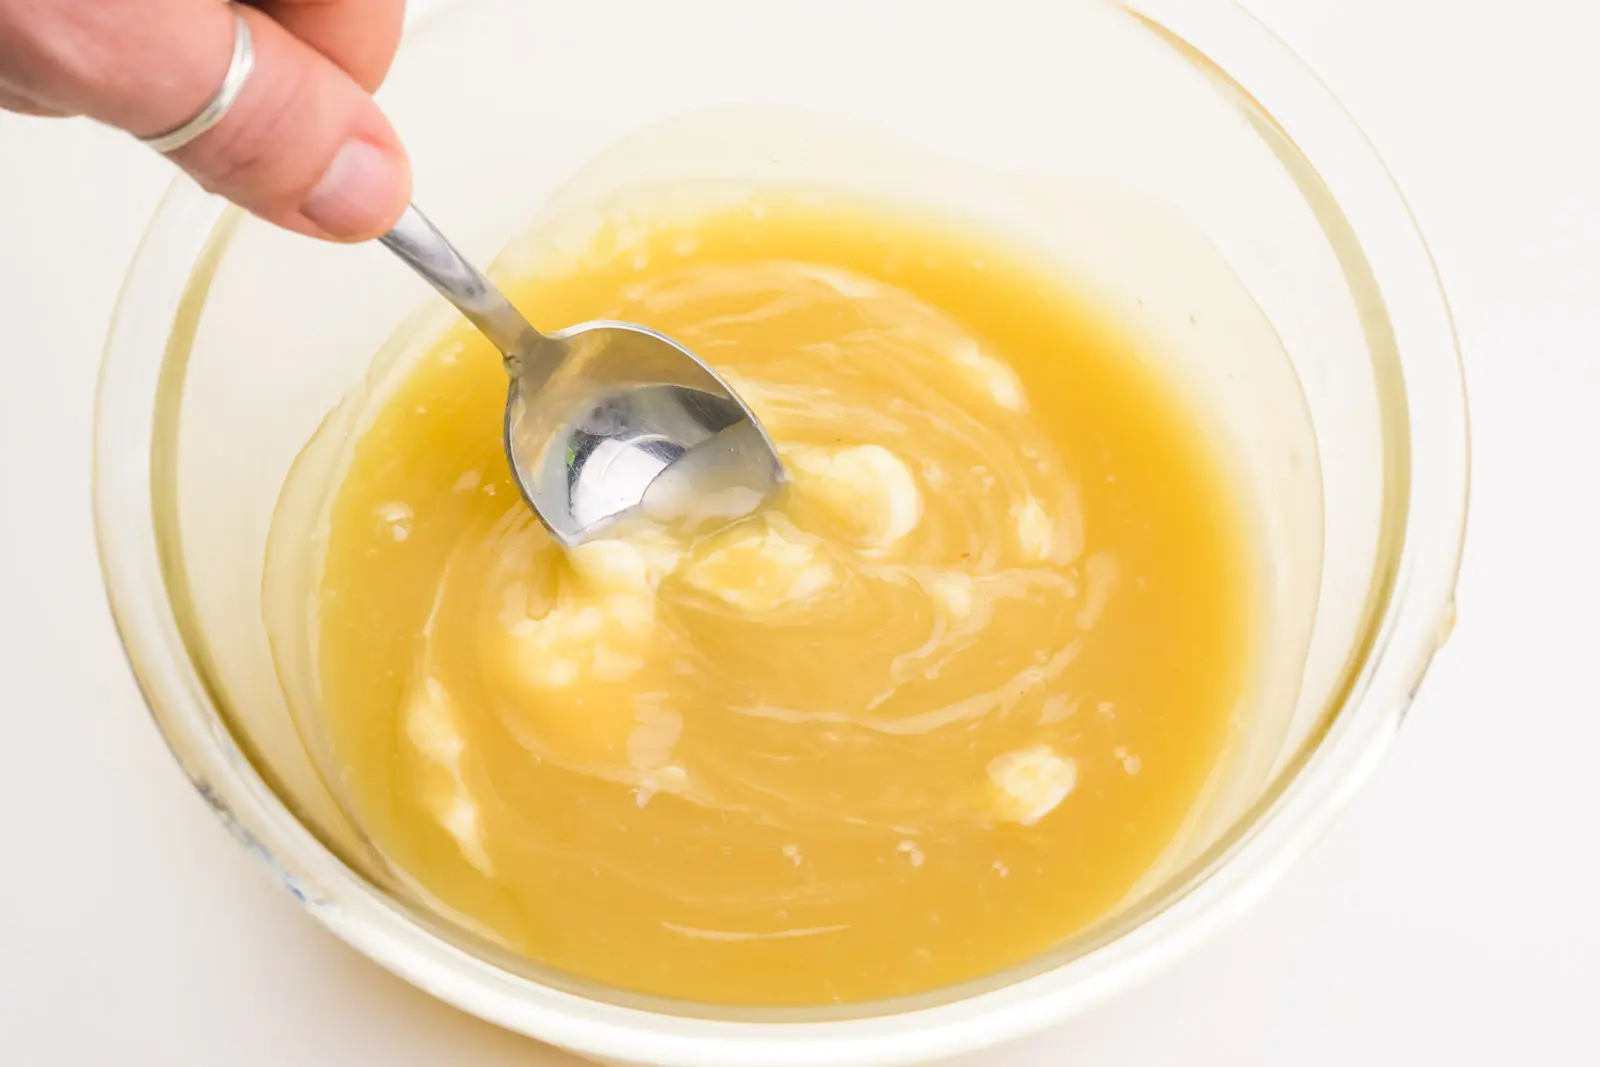
- Microwave for about a minute and stir. Repeat this until the mixture is nice and thick, usually 3 to 5 minutes of cooking.
- Use potholders to remove from the microwave.
- Stir in the vegan butter until smooth.
- Allow it to cool before covering and placing it in the fridge.
Marly’s Tips
- Be sure to use a large dish to prevent spillage in the microwave.
- To make this on the stovetop, add the ingredients to a saucepan and stir. Place the pan over medium heat and bring it to a simmer while stirring. Simmer for 1 to 2 minutes until thickened.
- If lumps form, simply pour the thickened milk into a blender and pulse until smooth.
Storage Tips
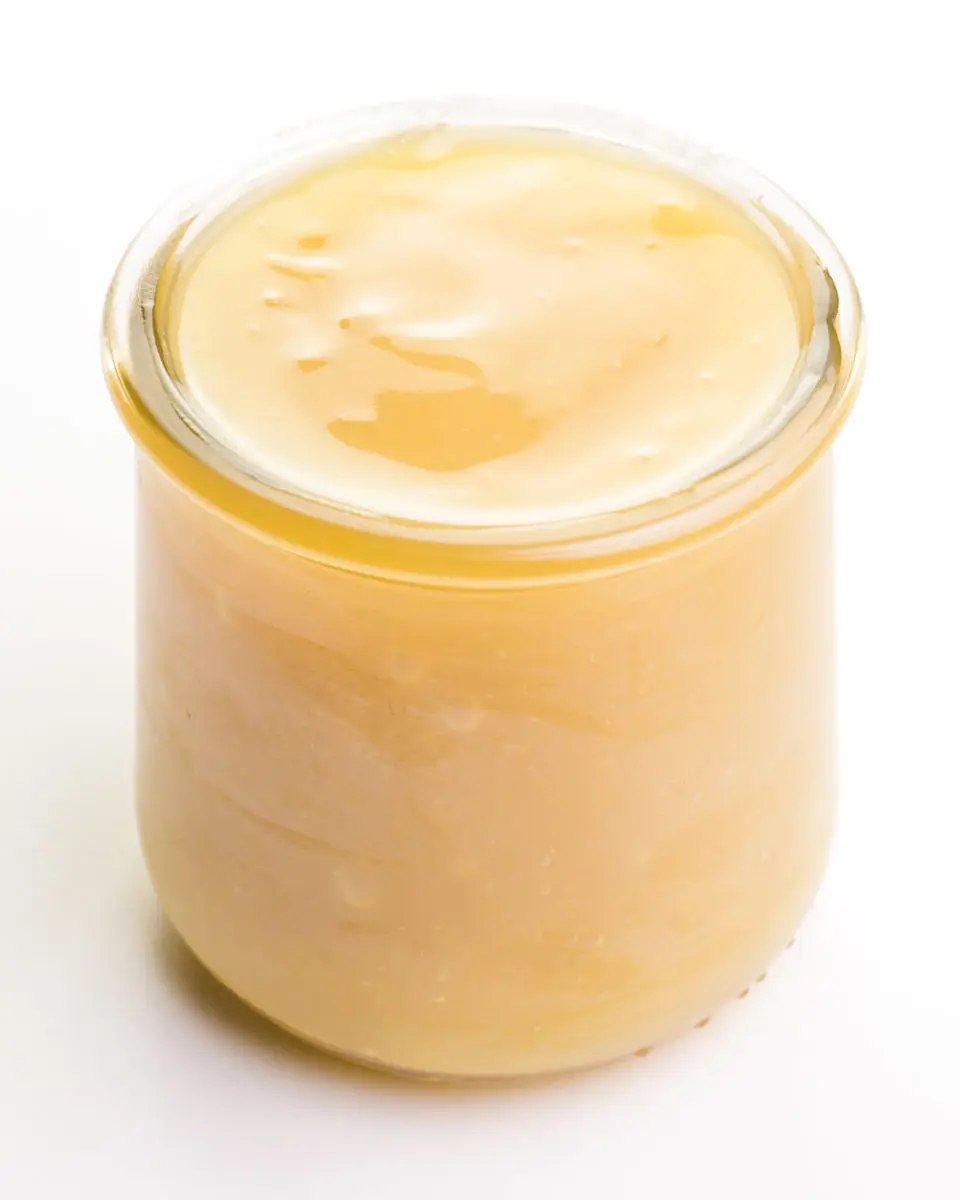
Once the mixture cools, transfer it to an airtight container and store it in the fridge for up to 7 days. You can freeze it in appropriate freezer-safe containers for up to 2 months. Transfer it to the fridge overnight to thaw before using it in recipes.
Making Thick Condensed Milk
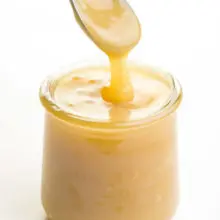
After the first heating in the microwave, your vegan condensed milk will be runny.
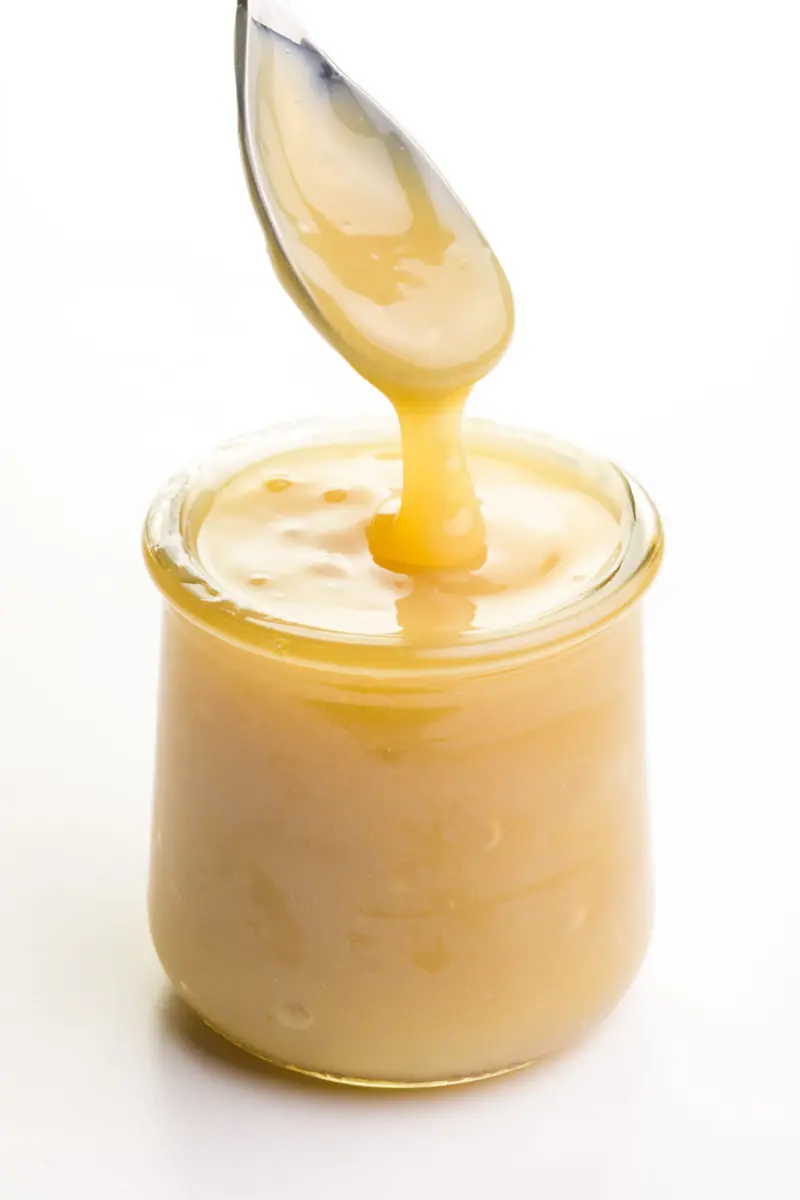
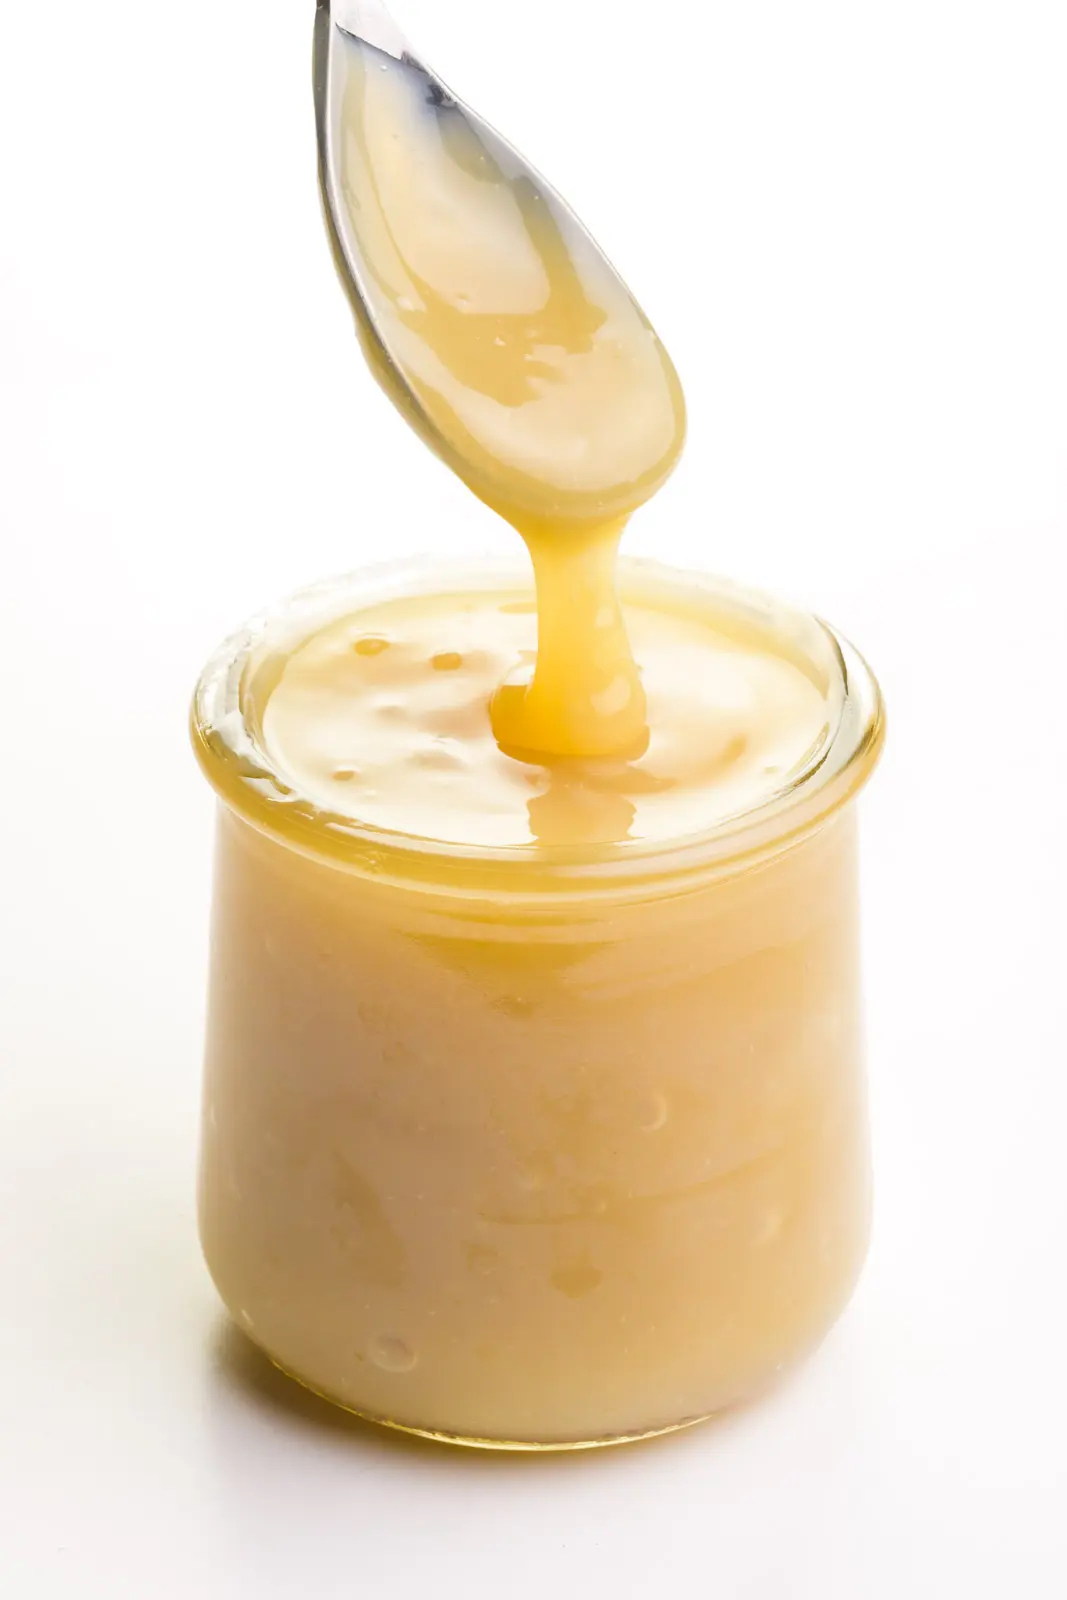
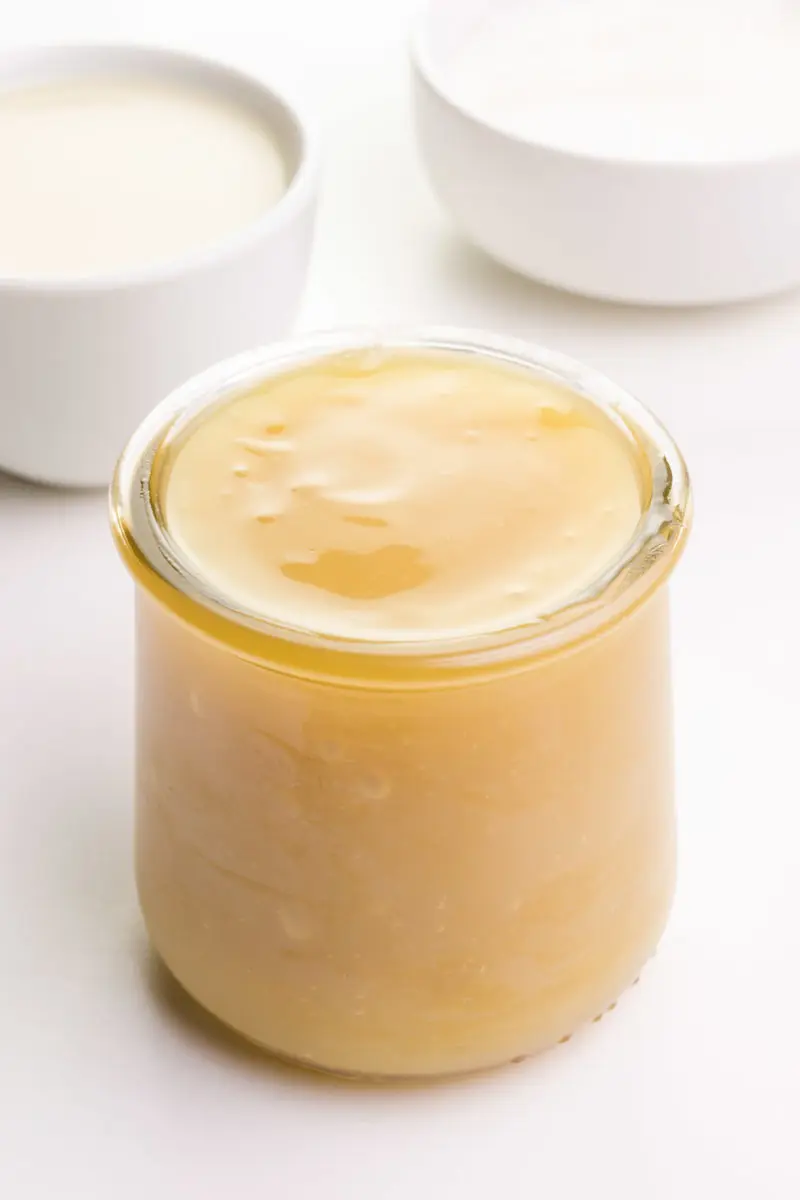
After a couple of rounds in the microwave (or over the stove if that’s your preference), it will thicken up nicely. I usually let it cool on the counter and then refrigerate it until I’m ready to use it in my recipes, such as the ones listed below.
You know the dairy-free sweetened condensed milk is done when it’s thick, just like the regular kind and it will thicken even more as it cools.
Making Coconut Sweetened Condensed Milk
If you prefer making sweetened condensed milk without cornstarch, you can use coconut milk. Coconut condensed milk is rich and creamy, and relatively easy to make. Here’s how to do it:
- Start with a 14-ounce can of full-fat coconut milk and pour it into a saucepan.
- Add 1/4 to 1/3 cup of sugar (substitute maple syrup if you prefer).
- Heat over medium-high heat until boiling, then reduce heat to medium.
- Whisk regularly to prevent the milk from burning so the pot doesn’t boil over.
- Simmer (low boil) for 30 to 45 minutes until it’s reduced by half and is nice and thick, stirring regularly.
- Add a teaspoon of vanilla and then set aside to cool completely before using it in your recipe.
Because coconut milk has lots of fat, you won’t need to add vegan butter.
Frequently-Asked Questions
Is condensed milk suitable for vegans?
Typical store-bought condensed milk is made with cow dairy and is therefore unsuitable for vegans. However, there are now vegan condensed milk products available for purchase and great recipes for vegan condensed milk too.
Where can I buy vegan condensed milk?
You can buy dairy-free condensed milk in health food stores and sometimes the health food and/or baking section at your local grocery store as well. If your store doesn’t carry it, be sure to ask them too. The more requests they receive, the more likely they are to carry it.
Can I make sweetened condensed almond milk?
You can use almond milk to make sweetened condensed milk. It’s easy to make and creates an excellent, thick condensed milk that you can use in recipes just like regular sweetened condensed milk.
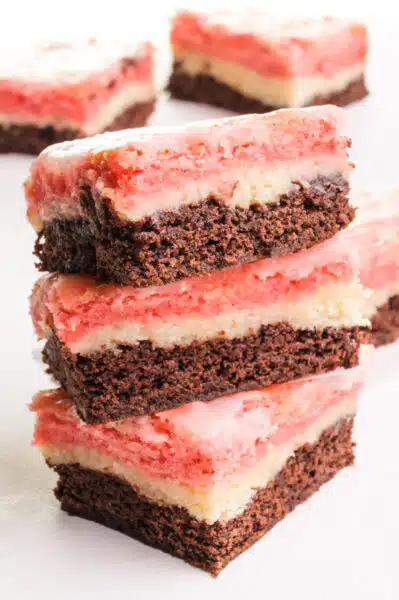
Vegan Condensed Milk Recipes
Would you like to see some of my dairy-free condensed milk in action? Here are some vegan condensed milk recipe ideas you can use and enjoy right away:

So that’s it for my recipe for vegan condensed milk, and some supporting recipes to go with it!
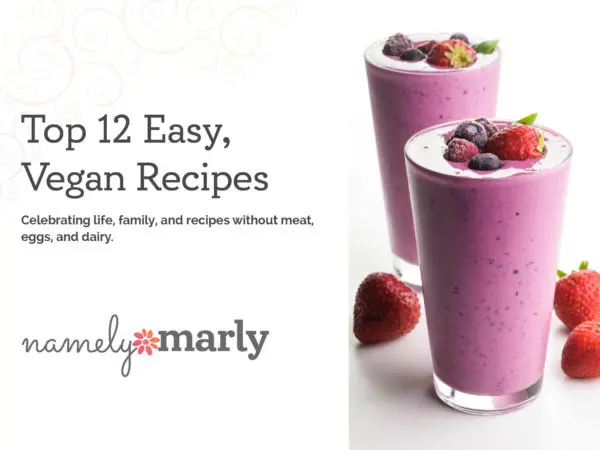
Subscribe and get a free Easy Vegan Recipes eBook
Plus our latest vegan recipes, delivered right to your inbox!
Vegan Sweetened Condensed Milk
Ingredients
- 1 cup plant-based milk vanilla flavored*
- ½ cup sugar
- 1 tablespoon cornstarch
- 1 tablespoon vegan butter
Instructions
- Combine the plant-based milk, corn starch, and sugar in a large, microwave-safe bowl.
- Stir until there aren’t any lumps from the corn starch.
- Microwave for about a minute and stir. Repeat this until the mixture is nice and thick, usually about 3 minutes (see notes for stovetop instructions).
- Use potholders to remove from the microwave. Stir in the vegan butter until incorporated.
- Allow to cool before covering and placing in the fridge.
- Store in an airtight container in the fridge for 7 days.
(The products above contain sponsored links to products we use and recommend)
Notes
The nutrition information shown is an estimate provided by an online nutrition calculator and should not be considered a substitute for a professional nutritionist’s advice.
This post was originally published in 2016 and was updated to include new photos, new text, and an updated recipe in 2021.
This is excellent
Thank you for sharing
I’m using it to make vegan Bailey’s Irish cream but can’t wait to use it in deserts
Thanks, Sue! So glad you like this condensed milk. I love the idea of using it to make your own Baileys!
Hi! Can I use margarine instead of Vegan Butter?
Margarine isn’t vegan…so I’m not sure what your point in following a vegan recipe is?
Hi Sarah! Plenty of margarine products are dairy-free. You can also use a vegan butter product like Earth Balance. As with any product, look at the ingredients to ensure it doesn’t have dairy.
Easy to make. Taste and consistency are great. Excited to try in a variety of desserts. Happy I tried this recipe first!
Hi CJ. So glad you like this recipe!
So simple! Thank you for this. Would you have a recommendation for a low carb alternative to cornstarch?
Hi Alvin. So glad you liked this recipe! The cornstarch is a thickener and when it comes to low-carb thickeners that are also vegetarian/vegan, I prefer agar agar. It comes in both powders and flakes and has about 4 grams of carbs. If you use flakes (which is what I use most commonly), it requires more. I have not tried using agar with this recipe, but I think it would work beautifully, and I should do this and add a low-carb option for folks.
If it were me, here’s how I would go about it: 1) I would use 1 teaspoon of agar powder or 1 tablespoon of agar flakes 2) I would stir it all together and let it sit for a minute to allow the agar to “bloom”, 3) I would cook it in a saucepan just to more carefully monitor the simmering process, 4) Let it come to a slow boil while stirring. And cook that for about a minute. Then remove from heat and proceed with the recipe. Let me know how this goes!
Thank you so much for this recipe! Even though vegan for many years, I fight high cholesterol, I’m ever on the hunt for non-dairy recipes that don’t overdose coconut milk/cream.
So glad you liked it Izzi. I understand – it’s nice to have some vegan recipes without coconut milk!
Hi Marly,
Thank you for the recipe. I used organic oat milk and simmered for a little more than ten minutes, stirring very often, and it is nice and thick. It has an amazing taste. I’m making a pineapple cheese cake for a get-together with friends, two of whom are vegan eaters. Oh and I quadrupled the recipe, saves me time. How long can I keep it the refrigerator?
I lool forward to trying out some of your recipes
Best wishes,
Lutfiya
I first made this in the microwave but I wasn’t paying close enough attention and it boiled over during the third minute – oops!!! I decided to try a second batch on the stove & I wanted it very thick so I simmered it for about 10 minutes, stirring frequently. It turned out perfectly! I’m going to use it to make the toffee filling of a vegan banoffee pie and I’m really excited to see how it turns out. Thanks for the great recipe. 🙂
Hi Kelly. Thanks for this feedback. I will add the stovetop option to the notes on the recipe. Your banoffee pie sounds…AMAZING!
I doubled the recipe right away. I used oat milk and avocado oil instead of the vegan butter. It overflowed and left an unpretty mess but that was my fault for covering the pot as I was waiting for it to boil or simmer. It thickened around 7 minutes but I kept going until it thickened up to my desired consistency. So good and so excited that I made my own dairy free condensed milk for the first time and it’s not coconut milk-based! Thanks so much for the recipe!
Hi Michelle! So glad you like this recipe. Coconut flavor does get a little old after awhile. I’m so with you!
This tastes so delicious and is very easy to make that I’m glad I decided on your recipe as I made 2 individual (separate) recipes, and one double recipe last night. For me, I think doubling the recipe works better as it was much thicker and yielded a little over 16 oz (about 2 Cups). When I did individual separate recipes, each yielded about 1 Cup (8oz) but it took longer to thicken each, and one took about 5.5 – 6 minutes. The double recipe batch also started to thicken quicker around 4 minutes and I did another half-minute (30 secs) for a total of 4.5 minutes in the microwave. I used Zulka Pure Cane Sugar (Vegan), Unsweetened Almond Milk and added 1 Tsp Vanilla as recommended in your recipe. However, I did not mix in the Vanilla until after the mixture was removed from the microwave (added the Vanilla with my Vegan butter at same time.) Turned out great and I made several fudge recipes tonight. I will definitely be regularly making and using your recipe. Thanks for a great recipe! Blessings,
What size is the servings? 1 Tbsp?
Hi Darlene. A serving would be more like 2 tablespoons.