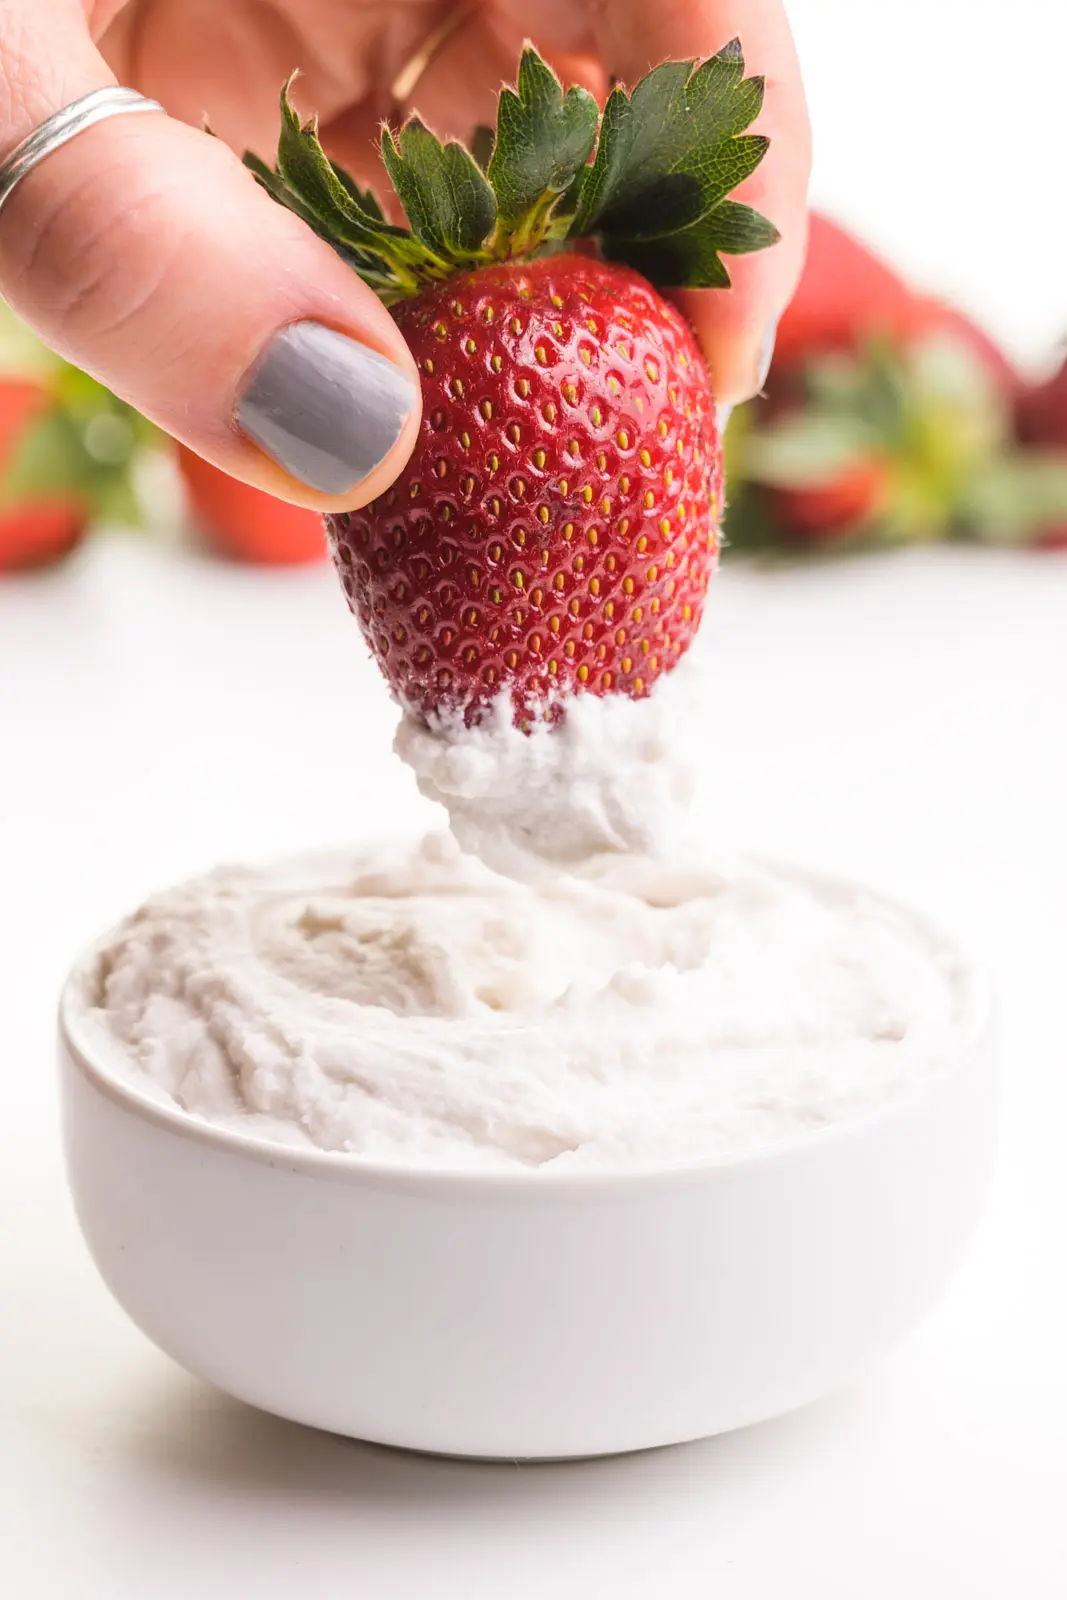
Coconut Whipped Cream
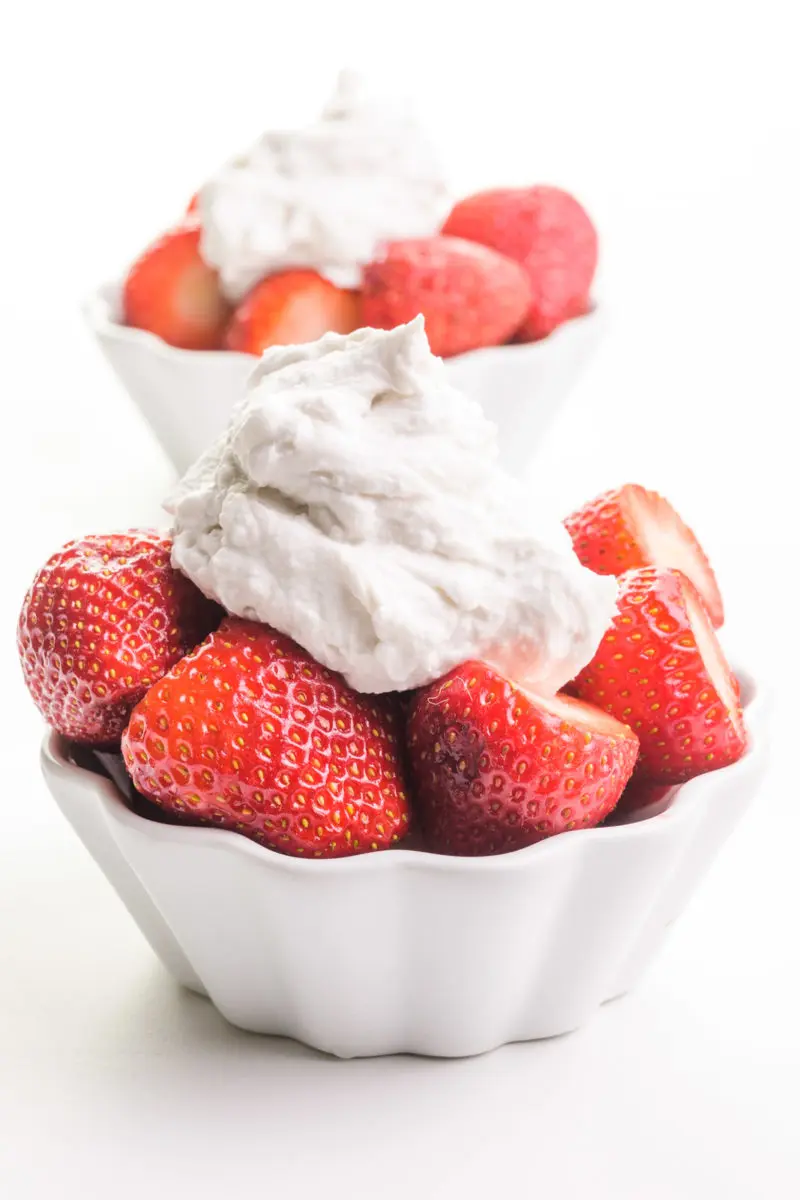
This easy vegan coconut whipped cream recipe is a delicious, lightly sweet topping to serve over fruit, in hot cocoa, on pies, you name it. The coconut fat from a can of coconut is whipped until it’s light and fluffy, making it taste amazing. And it has only 1 gram of carbs per serving.
This is a time-tested recipe for non-dairy whipped cream that’s perfect for adding to your favorite desserts, like this Vegan Banana Cream Pie, Vegan Banoffee Pie, or this Dark Chocolate Pie.
It’s also a great “frosting” for Vegan Pineapple Cake and Vegan Apple Cake. It is an excellent frosting for just about any cake!
I’m not one to keep things to myself, so I’m excited to share with you my secrets for making the best coconut cream recipes for whipped topping. If you’ve never whipped coconut cream before, my tips will make it easy!
How to Make Coconut Whipped Cream
You can find the full printable recipe, including ingredient quantities, below. But first, here are some explanations of ingredients and steps to help you make this recipe perfect every time.
Curious how to make vegan whipped cream? You’ve come to the right place! It’s actually a simple process. Here’s a synopsis of the steps:
- Scoop the firm coconut fat (not the milky, liquid part) into a chilled mixing bowl.
- Use your mixer with the whisk attachment and beat until soft peaks form.
- Serve it as is or add vanilla and/or a sweetener.
What is Coconut Cream?
Coconut milk whipped cream is dairy-free whipped topping in a nutshell. Or a coconut shell. Instead of using cow-dairy cream, you’ll use full-fat coconut milk and whip it into stiff peaks. If you think about how whipped cream is made, you’re basically transforming a liquid into a solid. The process involves introducing lots and lots of air bubbles into the liquid and then slowly, breaking down and emulsifying the fat. That’s where those soft peaks form.
Is Cool Whip Vegan?
Cool Whip is commercially prepared whipped cream, and it’s made with dairy, so it’s not vegan. You can buy vegan cool whip in health food stores and some grocery stores. It’s called CocoWhip by So Delicious.
Key Ingredients
Here are the ingredients you’ll need for this recipe, including substitution ideas:
- Coconut milk — You’ll need one can of full-fat coconut milk or coconut cream.
- Sweetener — You can use a zero-calorie sweetener like Truvia, stevia, or monk fruit or use or use powdered sugar.
- Vanilla — You can make this whipped cream without added vanilla flavor. But if you’re adding it, you can use scrapings of one vanilla bean or vanilla extract.
What Coconut Milk is Best for Whipping?
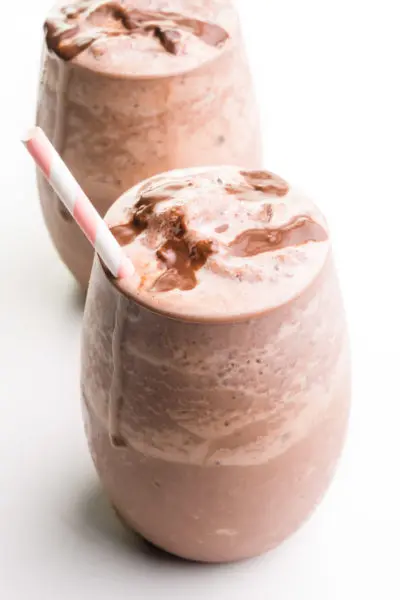
It’s best to use full-fat coconut milk when creating whipped topping because we’ll be using the fat portion from the can. Full-fat coconut milk should have between 12 and 15 (or more) grams of fat. Refrigerate the can up to overnight to help separate the fat from the more watery liquid in the can. If you are using coconut milk with less fat, you may need to scoop out the fat from 2 cans. The fat content should equal about one cup. Save the water liquid to use in green smoothies or this piña colada smoothie.
Reader Reviews
★★★★★
Margaret
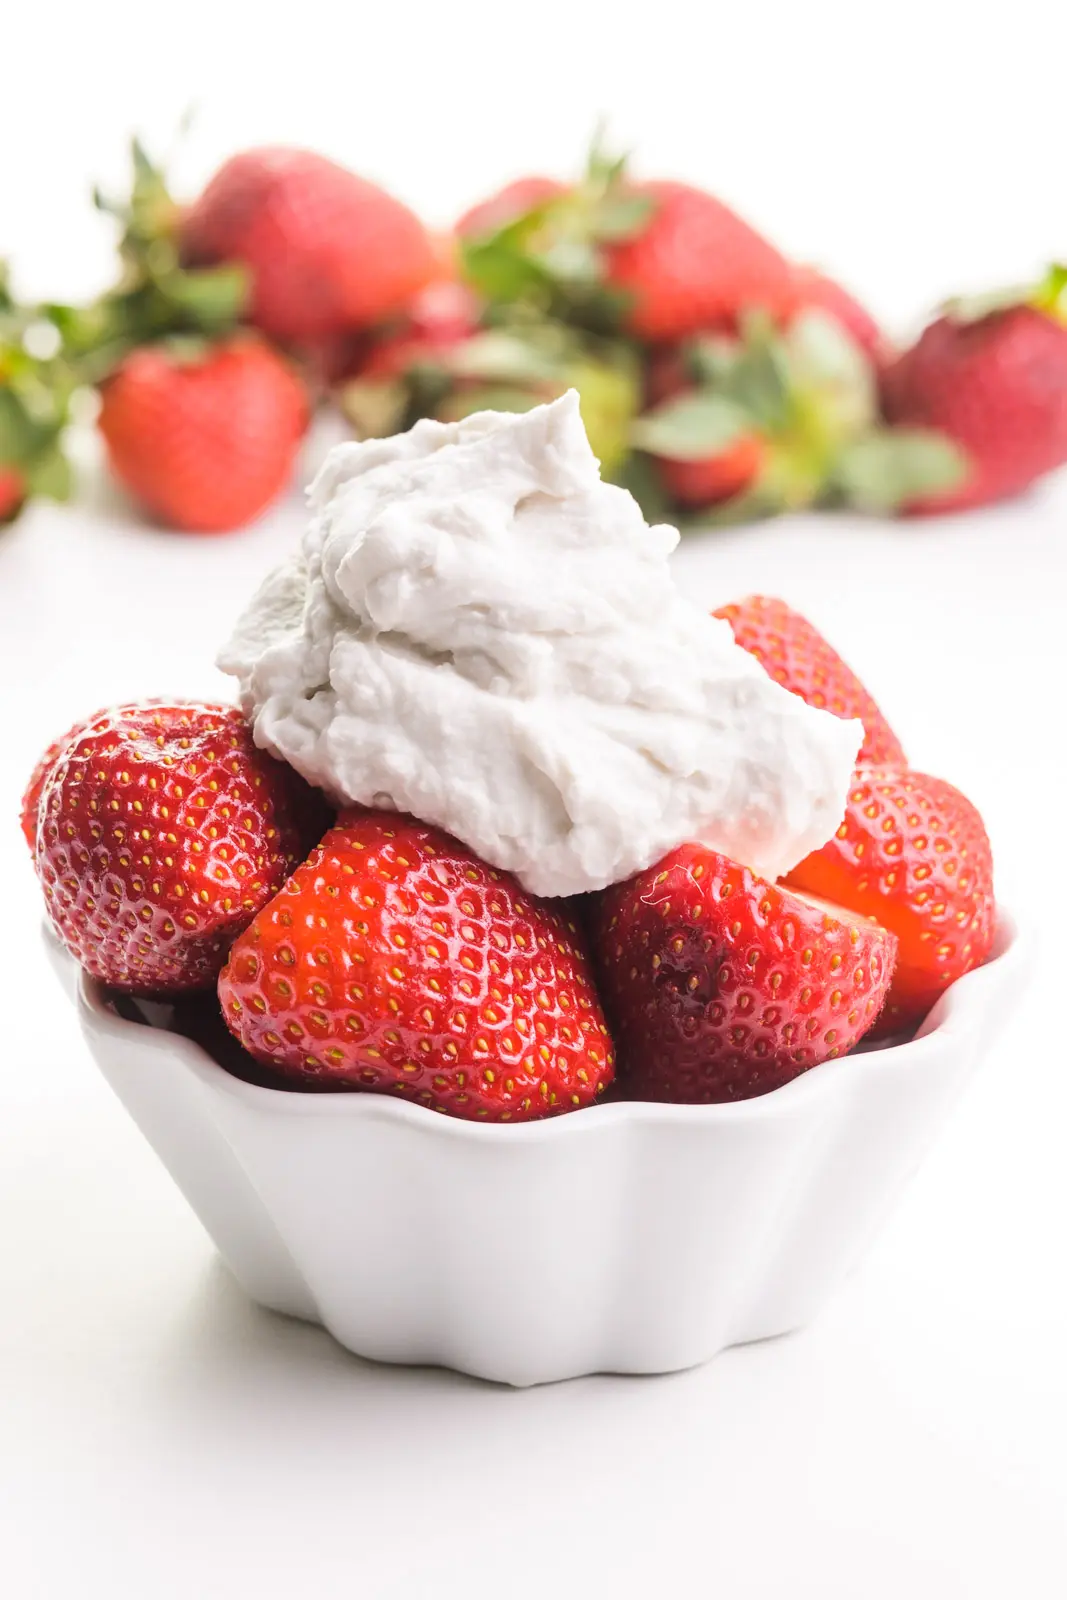
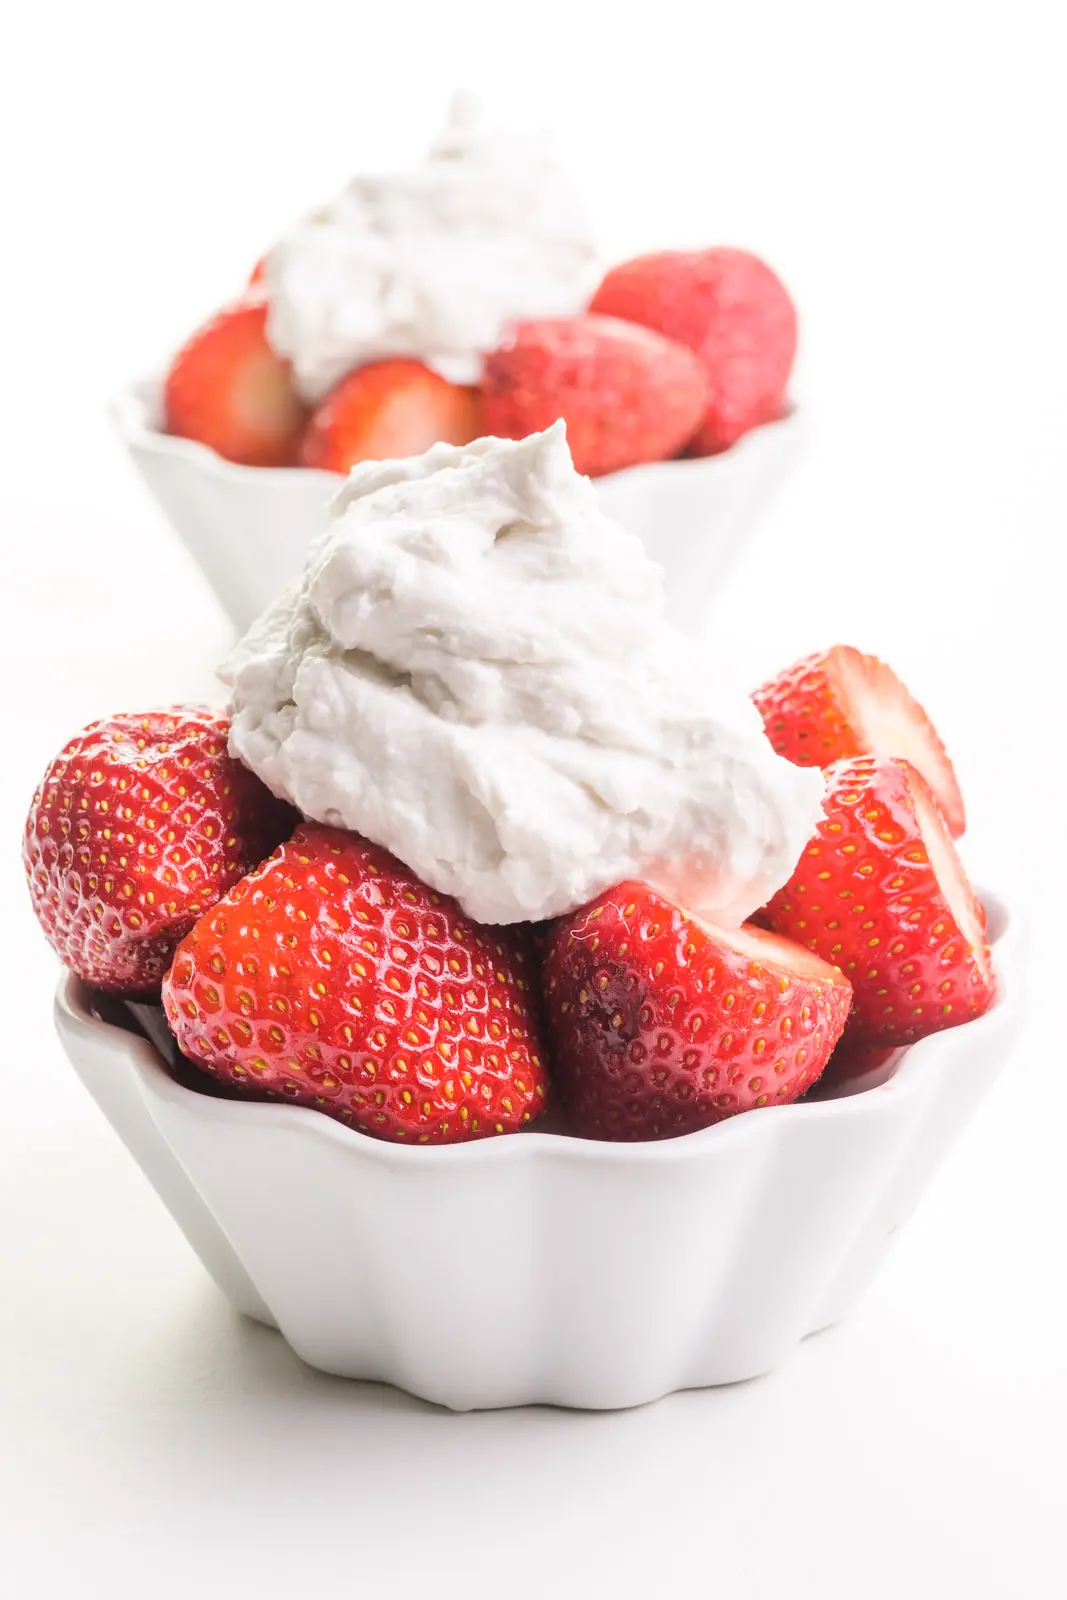
Thanks for the clear instructions! I followed them to make some coconut whipped cream for a gluten-free, vegan version of strawberry shortcake and it came out wonderful!
Step-by-Step Instructions
This sounds pretty straightforward, but there’s more to it than that. Let’s go through these steps one by one.
Step One: Prepare the Coconut Milk
Place your can of coconut milk or cream in the fridge for at least 4 hours to solidify the fat.
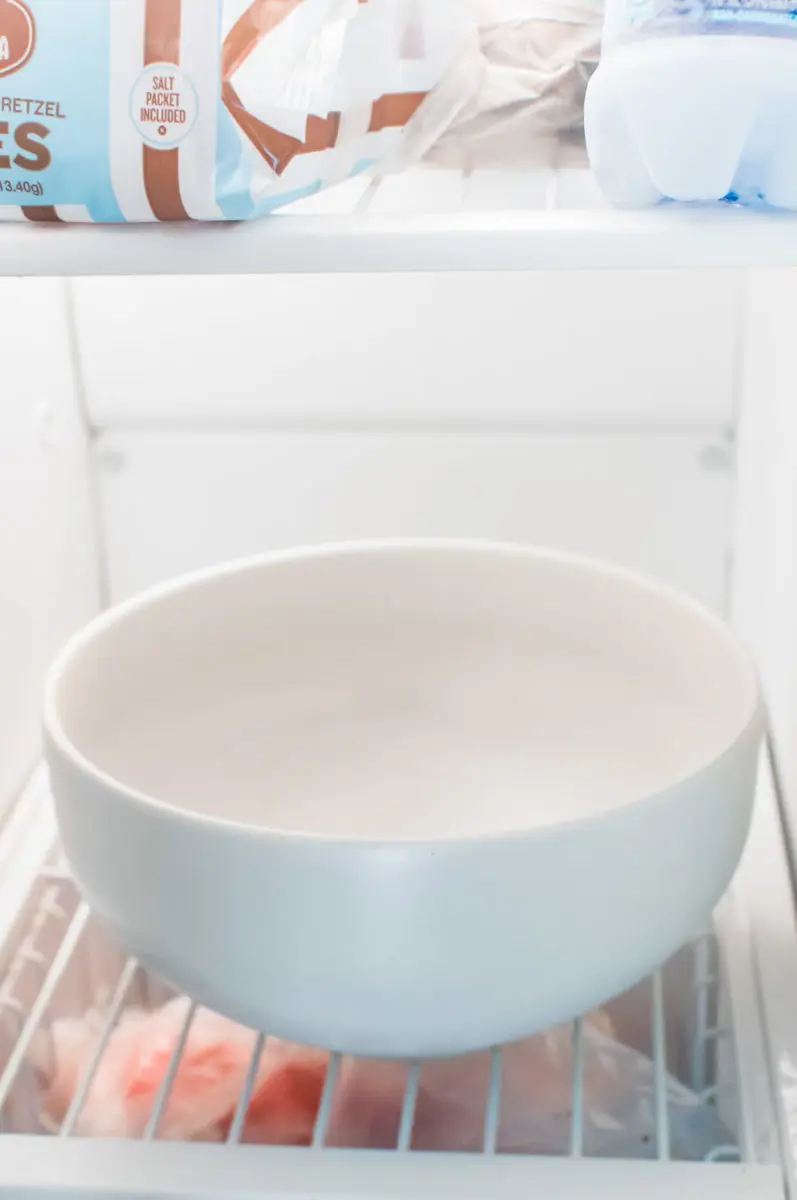
Step Two: Freeze Your Mixing Bowl
Next, place your mixing bowl in the freezer for about 10 minutes. Having that bowl good and cold helps, especially if your kitchen is warm. I find in the winter I don’t have to worry about this step as much.
You can even throw your mixer’s whip attachment in the bowl, too.
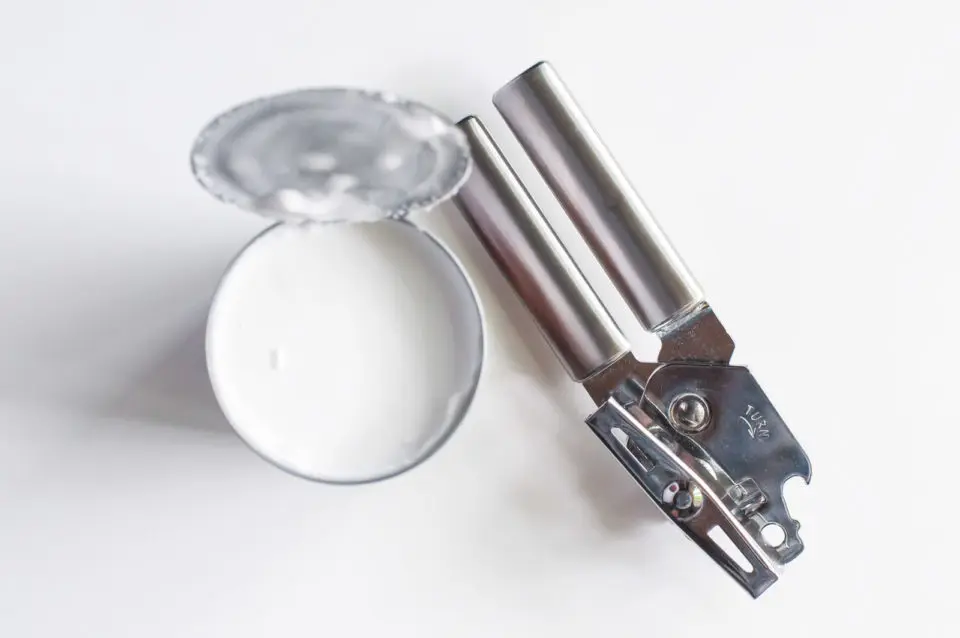
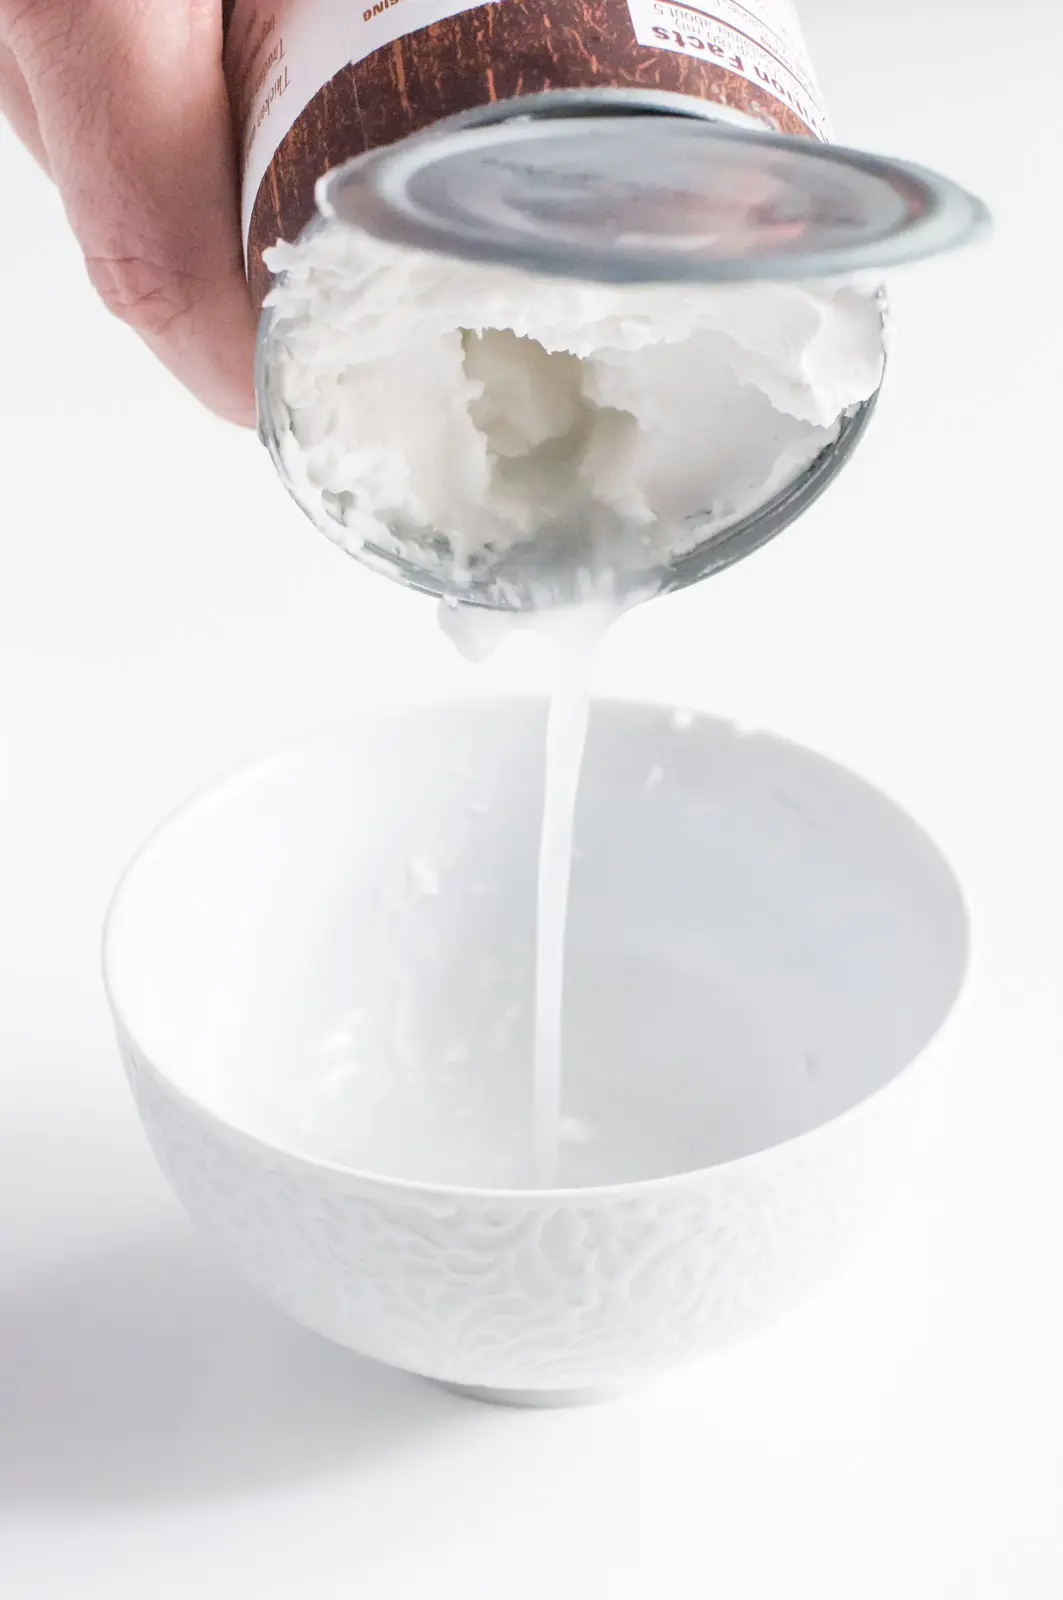
Step 3: Pour out the Liquid and Scoop out the Fat
- Remove the can of coconut milk from the fridge and open it with a can opener.
- Use a butter knife, straw, or chopsticks to create two tunnels through the firm cream. Creating two tunnels, one at the front of the can and one at the back helps it pour. It’s similar to a gas can, where the second hole allows the oxygen to enter the can and equalize the pressure, making an easier pour.

- Pour the watery mixture into a bowl. Reserve that liquid to use in other recipes, such as blueberry overnight oats, or use it in place of milk in other recipes.
- Scoop out the fat from the can into the chilled mixing bowl.

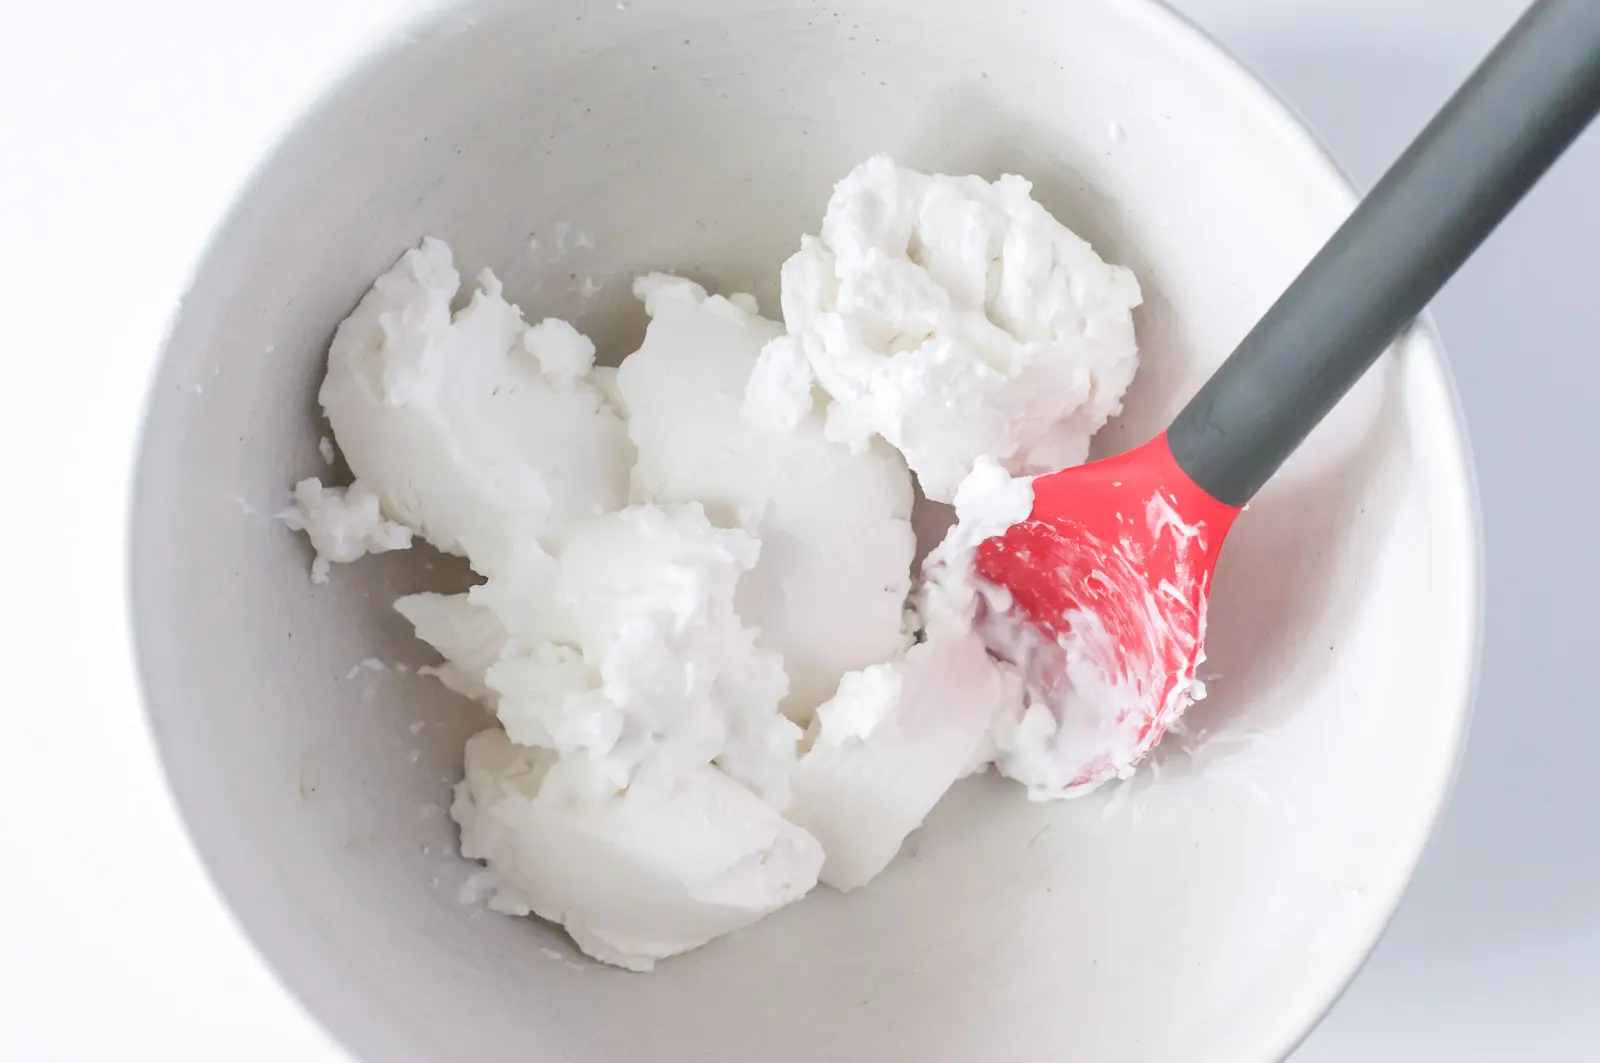
Step 4: Use a Mixer to Whip Cream
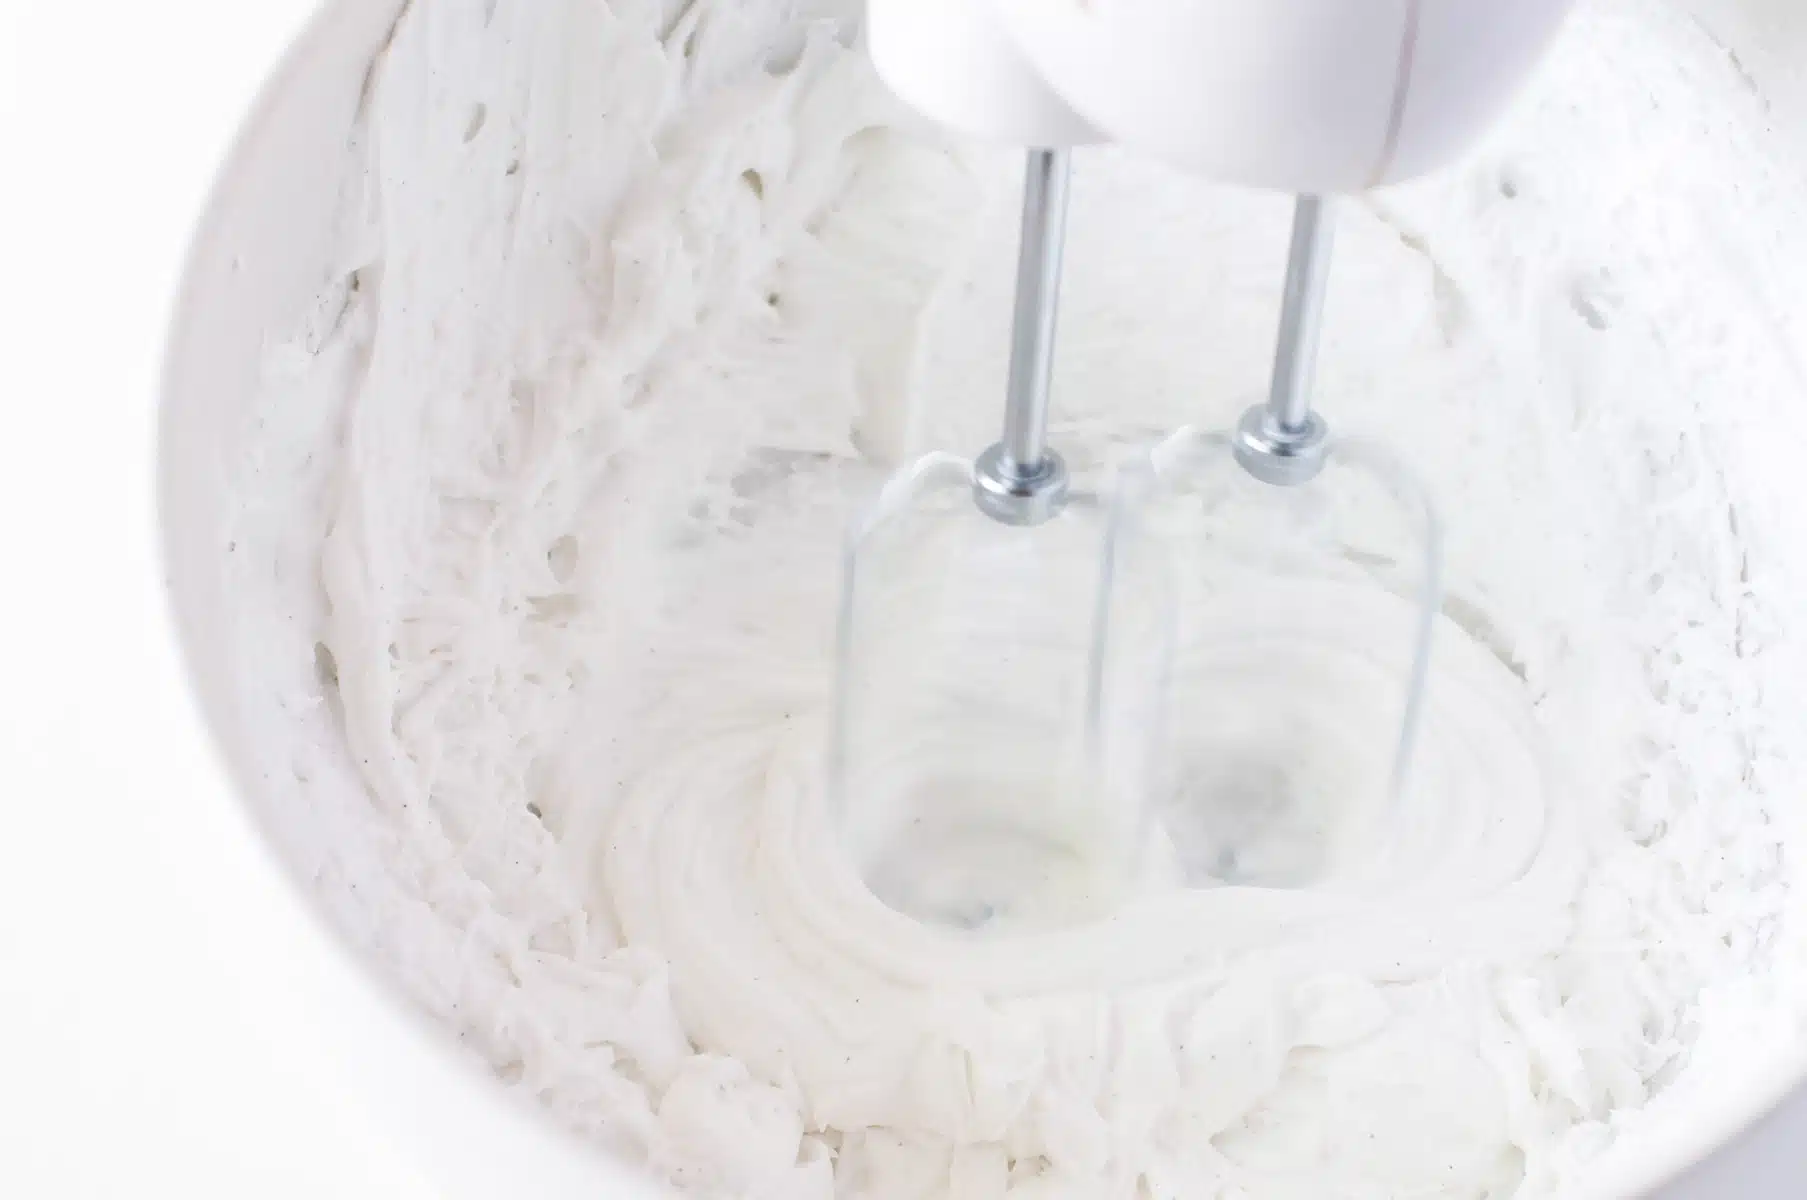
- Whip the cream at medium to medium-high speed, using a spatula to occasionally push down ingredients from the side of the bowl.
- Continue whipping for 3 to 5 minutes until soft peaks form.
- If the cream stays firm and frozen to the sides of the bowl, add a teaspoon or two of the runny liquid from the can to help break it up.
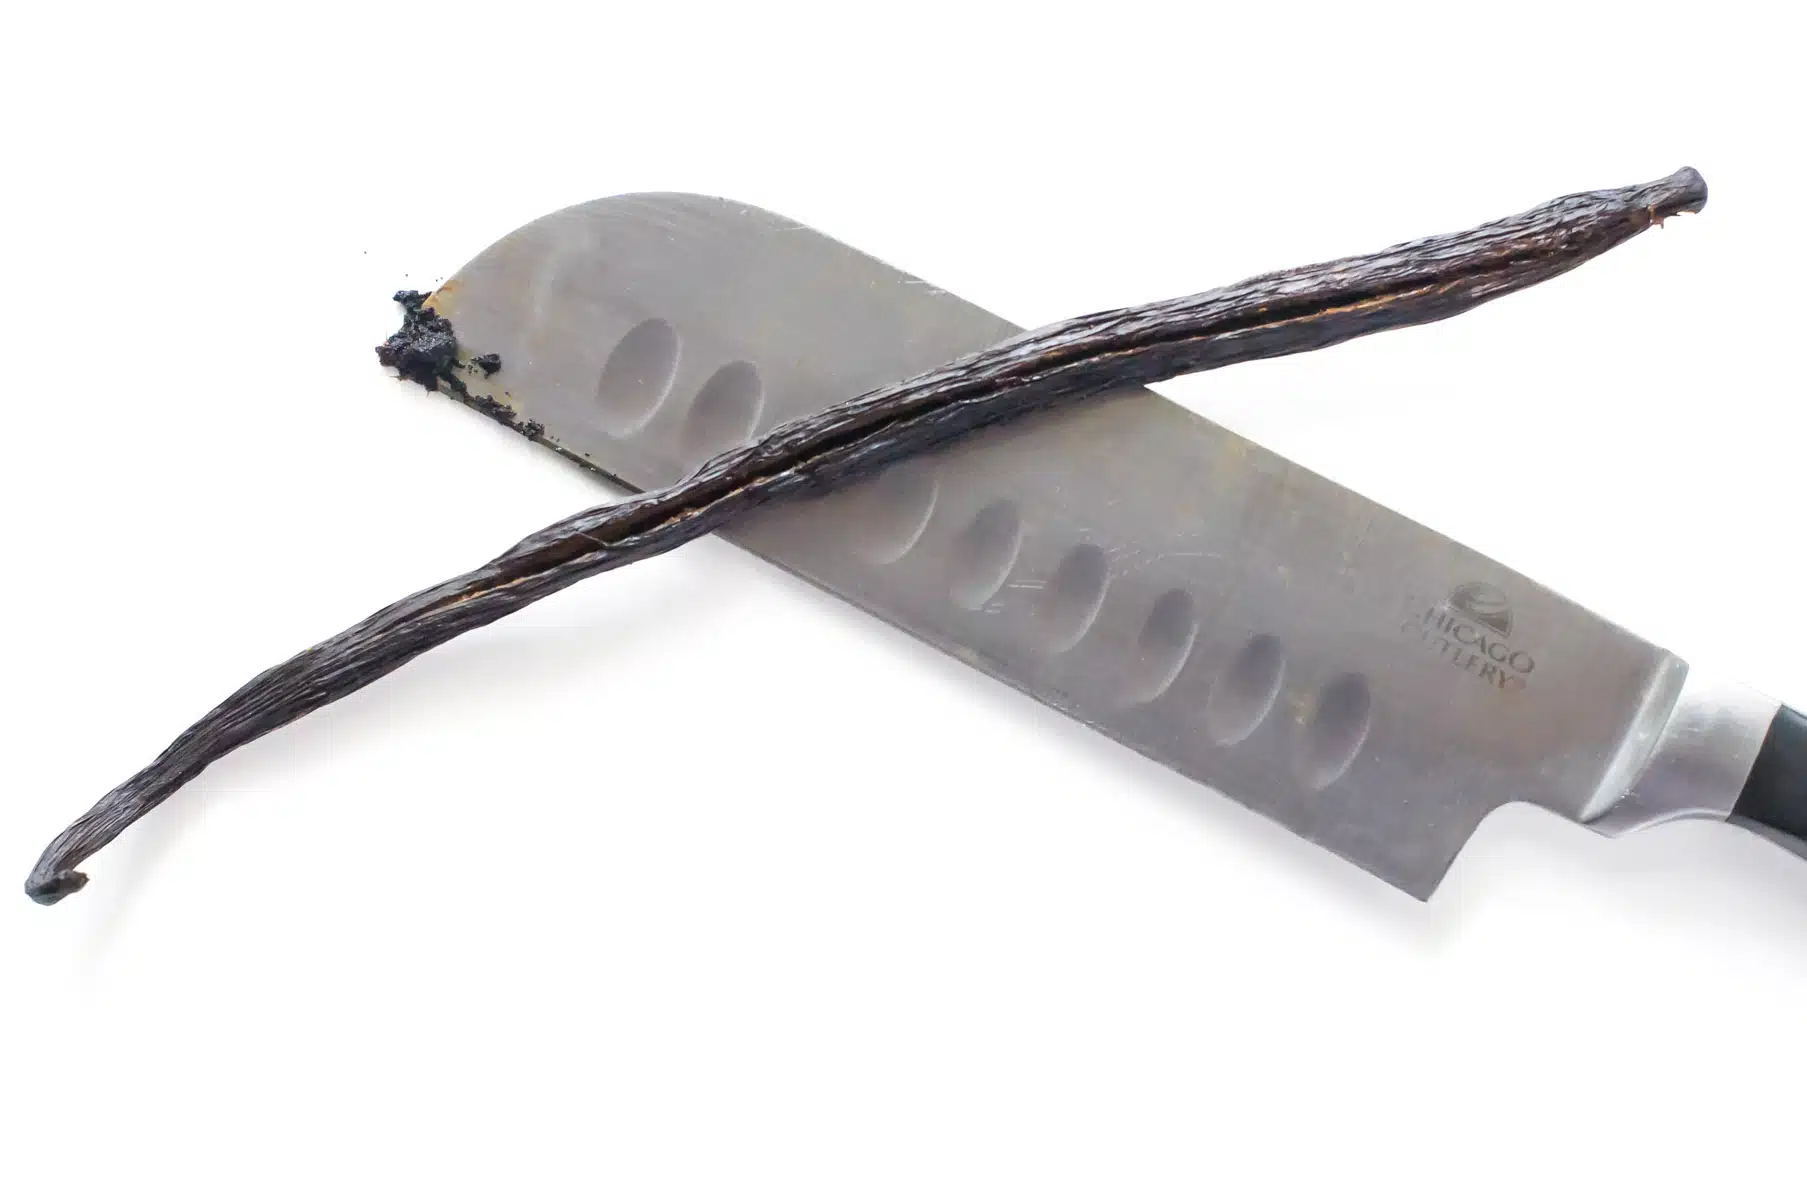
Step 5: Optional Add-Ins
- Vanilla — You can add a teaspoon of regular vanilla extract or the scrapings from one vanilla bean.
- Sweetener — I typically use two packets of Truvia or Monk Fruit.
- Powdered Sugar — If you prefer using powdered sugar, add a tablespoon at a time and taste it to get the right level of sweetness for your taste buds.
What Makes This Recipe Shine?
- The fat from a can of coconut milk is whipped, aerating the fat and creating a light texture
- Adding vanilla (either vanilla extract or vanilla bean) infuses the whipped cream with vanilla flavor
- Using a bit of sweetener adds hints of sweetness to every bite, making this the most addictive vegan whipped cream ever!
Best Coconut Milk Brands
Here are my favorite coconut milk brands to make coconut whipped cream:
- Nature’s Charm Coco Whipping Cream — this whips nicely, and you don’t have to drain the can because it’s perfectly formulated for whipped cream.
- Savoy Coconut Cream — another one perfect for making vegan whipped cream.
- Sprouts Coconut Cream — mostly cream in the can, a little grainy, but still very good. I have also had good luck with Sprouts Coconut Milk, too.
- Trader Joe’s Coconut Cream — mostly cream, but it takes a little longer to whip and is not as firm as peaks as the ones above.
Marly’s Tips
Use these expert tips to make this coconut whipped cream perfect every time:
- Keep your cans of coconut milk refrigerated so you can make this dairy-free whipped cream at a moment’s notice.
- Do not use a liquid sweetener for this recipe — it will weigh the peaks down. Instead, use powdered sugar or a zero-calorie sweetener.
- Reserve any liquid drained from the can of vegan coconut cream. If the cream is too thick, add a teaspoon or two of the reserved liquid to help it froth up.
- Chill the whipped coconut cream for up to an hour to allow it to thicken.
- Make chocolate coconut whipped cream by beating in a teaspoon or two of cocoa powder to the whipped cream. You may want to increase the sweetener amount to compensate for the cocoa flavor.
- Serve this as coconut cream frosting on your favorite cake recipes such as this vegan coconut cake.

Keto Whipped Cream
Make a perfect keto whipped cream dessert when you use a keto-friendly sweetener like Truvia or MonkFruit. A no-sugar whipped topping is delicious when served with hot chai tea, over low-carb desserts, and more.
Here are the estimated nutritional stats per serving:
Vegan Whipped Cream Calories: 84 Carbs: 1 Protein: 0 Fiber: 0
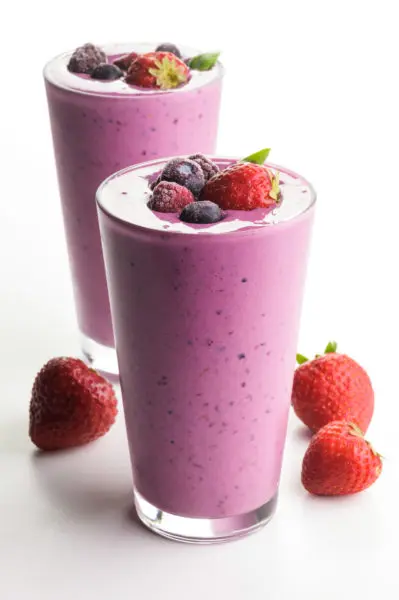
With only 1 gram of carbs per serving, you can add this keto whipped cream to your favorite vegan keto desserts, like fresh berries, Chocolate Chia Pudding (using zero-calorie sweetener instead of dates), Stuffed Strawberries, Peanut Butter Granola, and more!
Vegan Creamy Desserts
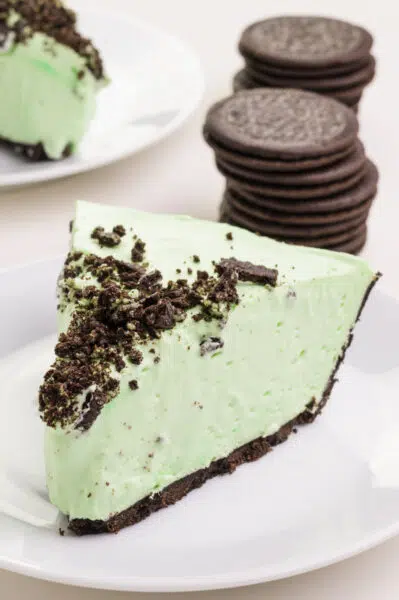
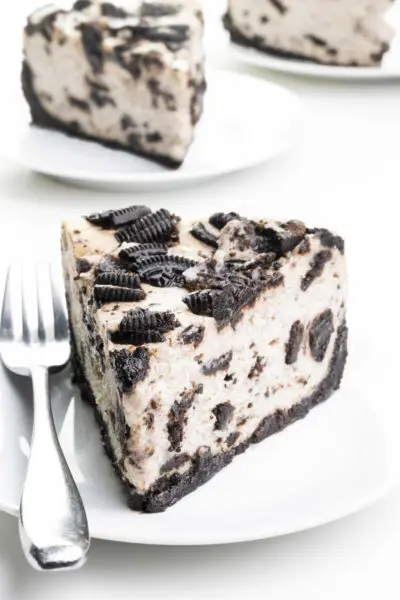
I love adding whipped cream to desserts like smooth vegan pudding. But you can try it on a variety of desserts. For example, this coconut whipped topping is perfect with your favorite vegan creamy desserts. Here are some favorites:
Subscribe and get a free Easy Vegan Recipes eBook
Plus our latest vegan recipes, delivered right to your inbox!
Coconut Whipped Cream
Ingredients
- 15 oz can full fat coconut cream chilled at least 4 hours or more
- 2 teaspoons Truvia or stevia, or powdered sugar
- Scrapings of one vanilla bean or 1 teaspoon vanilla
Instructions
- Place your mixing bowl in the freezer about 10 minutes prior to whipping the coconut cream so the bowl is nice and cold. Also, place whisk attachment on your mixer.
- Remove the can of coconut cream from the fridge, and use a butter knife or straw to poke a hole in the firm cream, pushing down through to the milky substance at the bottom of the can. Drain this liquid, reserving it for another recipe or smoothie.
- Spoon the remaining firm cream into your chilled bowl. Add the Stevia and vanilla. Use your mixer and begin whipping, scraping down sides as needed, for about 5 to 7 minutes, until stiff peaks form.
- Serve with fruit, cake, cocoa, or in place of whipped topping in any recipe.
(The products above contain sponsored links to products we use and recommend)
Video
Notes
The nutrition information shown is an estimate provided by an online nutrition calculator and should not be considered a substitute for a professional nutritionist’s advice.
This post was originally published in 2015 and was updated to include new photos, new text, and an updated recipe in 2021.
I have a sweet tooth and think I’ll add a touch more sugar and whip it up again. It’s so fluffy! Gracias!
A touch more sugar is always a good thing! So glad you like how fluffy it is! Denada!
hey,
thanks for sharing such delicious recipes it helps a lot to me to cook delicious food at home. please keep sharing such recipes.
You’re welcome, Marco. Thanks for your kind comment!
Interesting and healthy!! Thanks
Thanks for the clear instructions! I followed them to make some coconut whipped cream for a gluten free, vegan version of strawberry shortcake and it came out wonderful! 🙂
Yay, Margaret! What says summer more than Strawberry Shortcake! Love it!
Thank goodness for coconut cream, am I right? Stuff is amazing! I have taken to putting a dollop in my morning coffee….hehe 😉
I’m in the choir singing Preach it, Jenn! Coconut cream is the best! 🙂